Add an External Email Warning Banner in Zimbra
Invoice fraud rarely needs a clever exploit. It needs a message that looks like it came
from the finance director, read by someone in a hurry. A warning above every message from
outside the organization gives that person a reason to stop. This article sets one up in
the Zimbra web client in about ten minutes, without putting [EXTERNAL] into a single
subject line.
Why not just tag the subject?
The classic answer is to put [EXTERNAL] in front of the subject, with an
admin Sieve script or a
policy rule. It works in every mail client,
which is its strength. It also has costs that show up a few weeks later:
- Replies carry it. The marker is part of the subject, so the answer goes back as
RE: [EXTERNAL] Invoice 2026-114, and your customer sees that you labelled them. - Threads fill up. Every round trip can add another marker unless the rule checks for one, and the subject your users search for is no longer the subject the sender wrote.
- The message is no longer the one that was signed. The subject is covered by the sender's DKIM signature. Change it before the spam filter checks the signature, and a legitimate message fails, unless DKIM verification checks it first, see DKIM configuration.
- It cannot hold a link. There is no room in a subject for "here is how to report a suspicious message".
A banner avoids all four. It is shown by the web client, not written into the message.
What users see
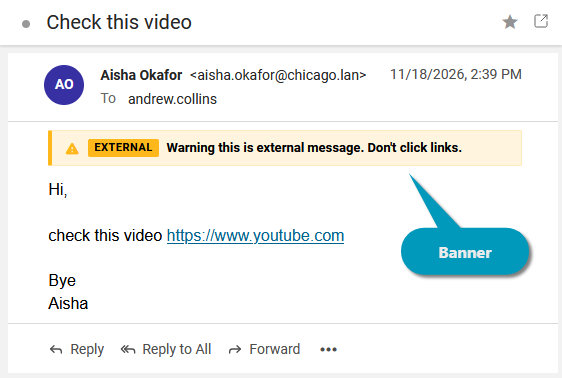
With the Message Notices zimlets installed, the Zimbra web client shows a banner above the body of every external message:
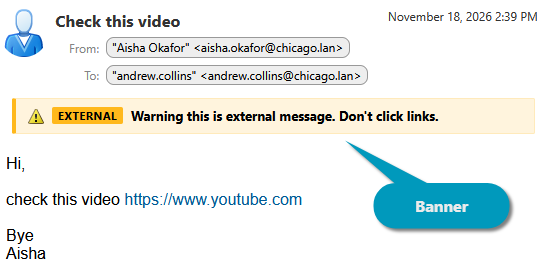
The Classic web client shows the same banner between the header and the body:
A sender tag adds a small badge before the sender's name, in the message list and in the open message, so the warning is visible before the message is even opened:
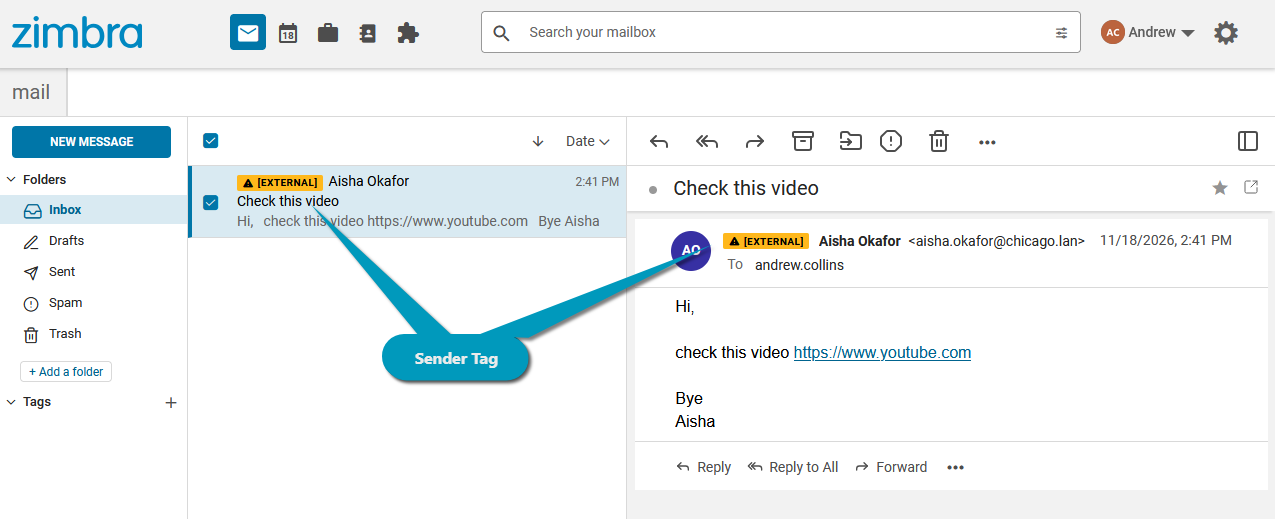
The subject and the body stay exactly as the sender wrote them. The notice travels in an
X-MSH-Message-Notice header that the zimlets read and every other client ignores.
What you will build
One policy rule in MSH Zimbra Rules:
| Setting | Value |
|---|---|
| Condition | All messages |
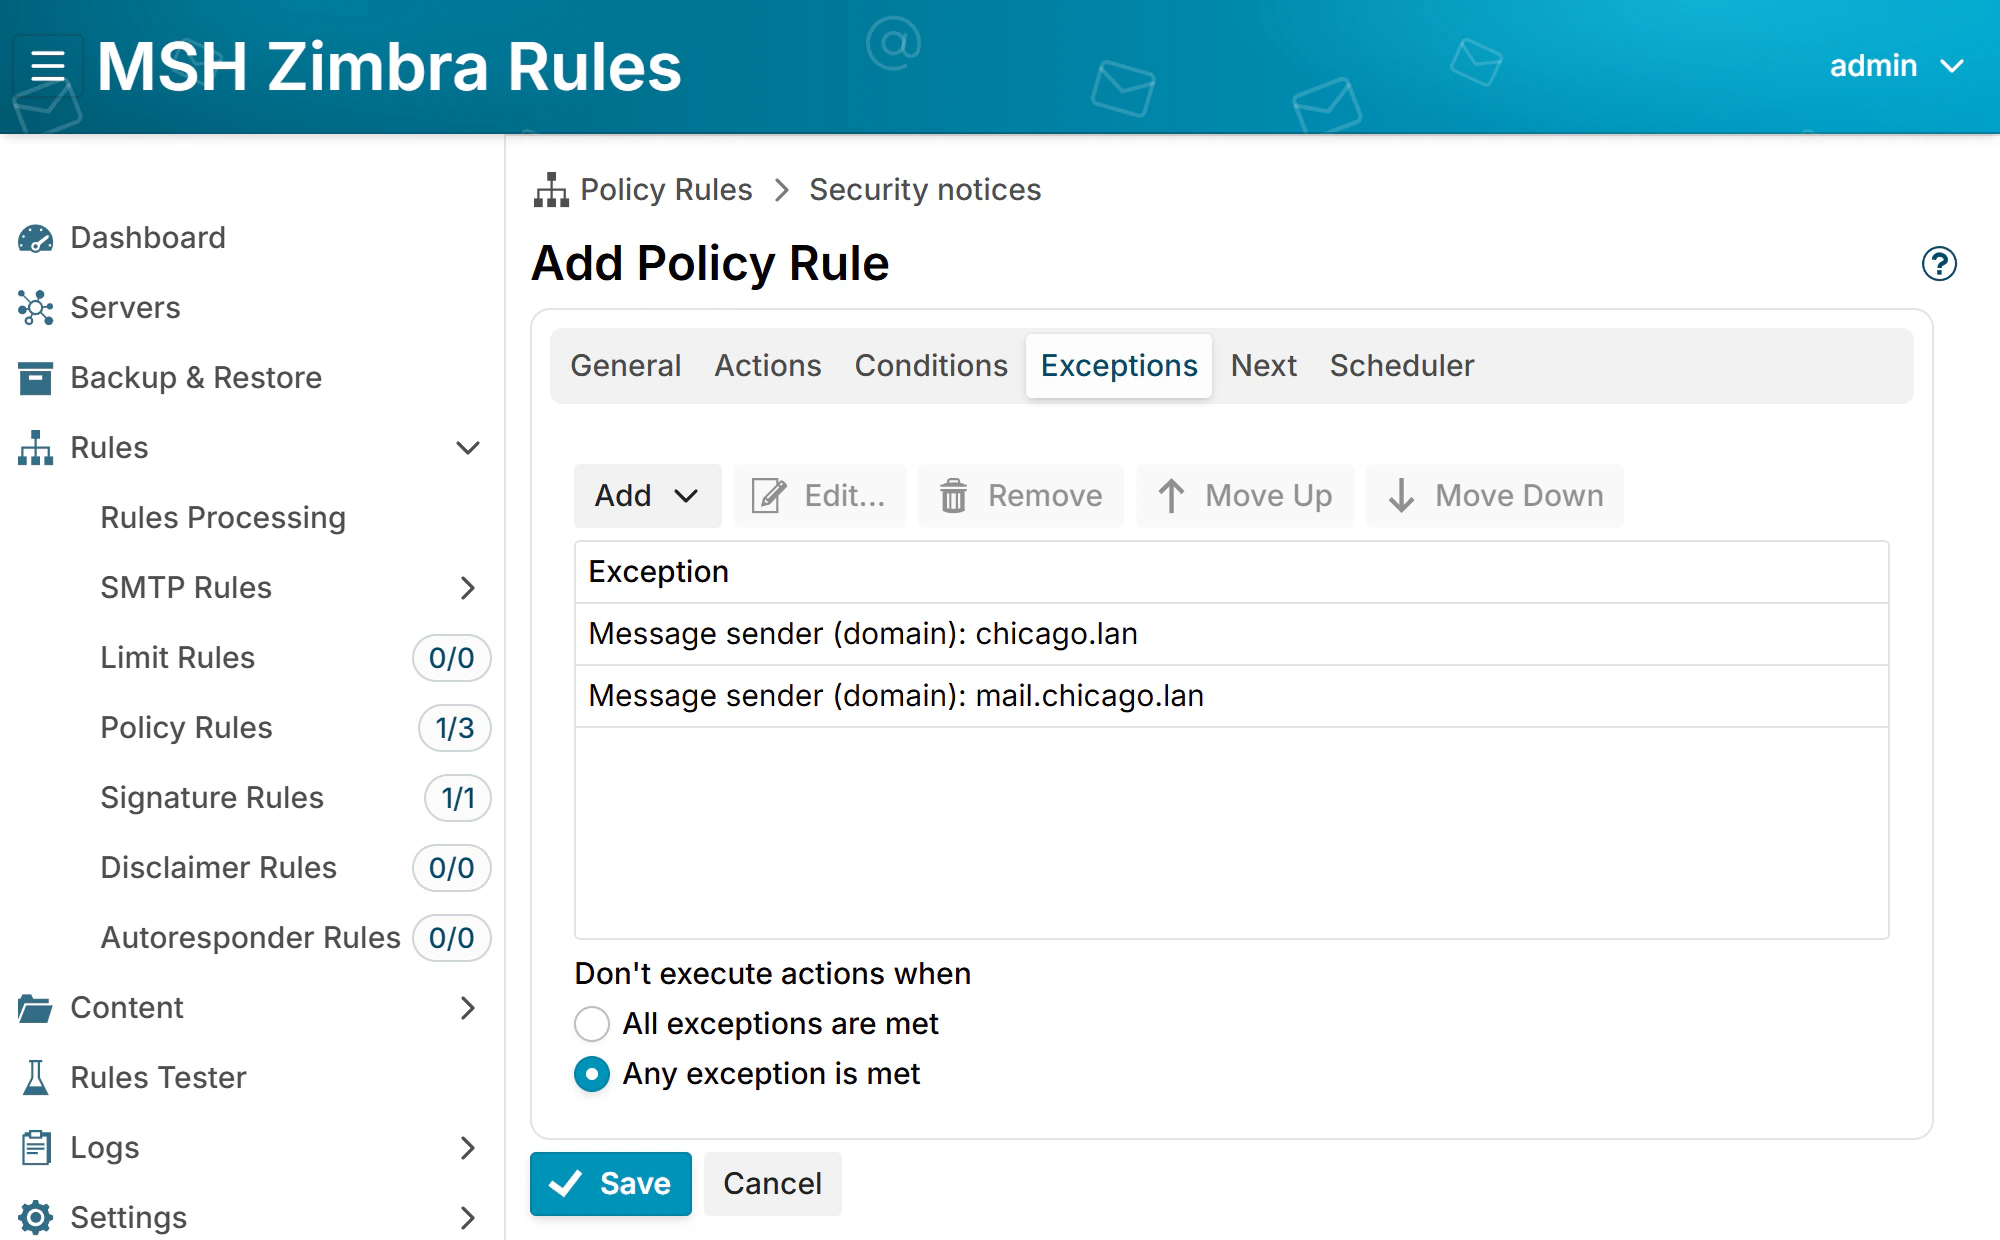
| Exceptions | Message sender is in one of your own domains |
| Action 1 | Add message banner - Warning, EXTERNAL, a short text and a link |
| Action 2 | Add sender tag - Warning, EXTERNAL (optional) |
Before you start
- MSH Zimbra Rules 1.4 or later, installed on the Zimbra server, see the installation guide.
- The Message Notices zimlets deployed, see Zimlet configuration. They ship in the package and do not need the Zimbra extension.
- The directory service configured. The rule recognizes your own domains from the list it syncs from Zimbra's LDAP, see Directory service.
Step 1 - Create the rule
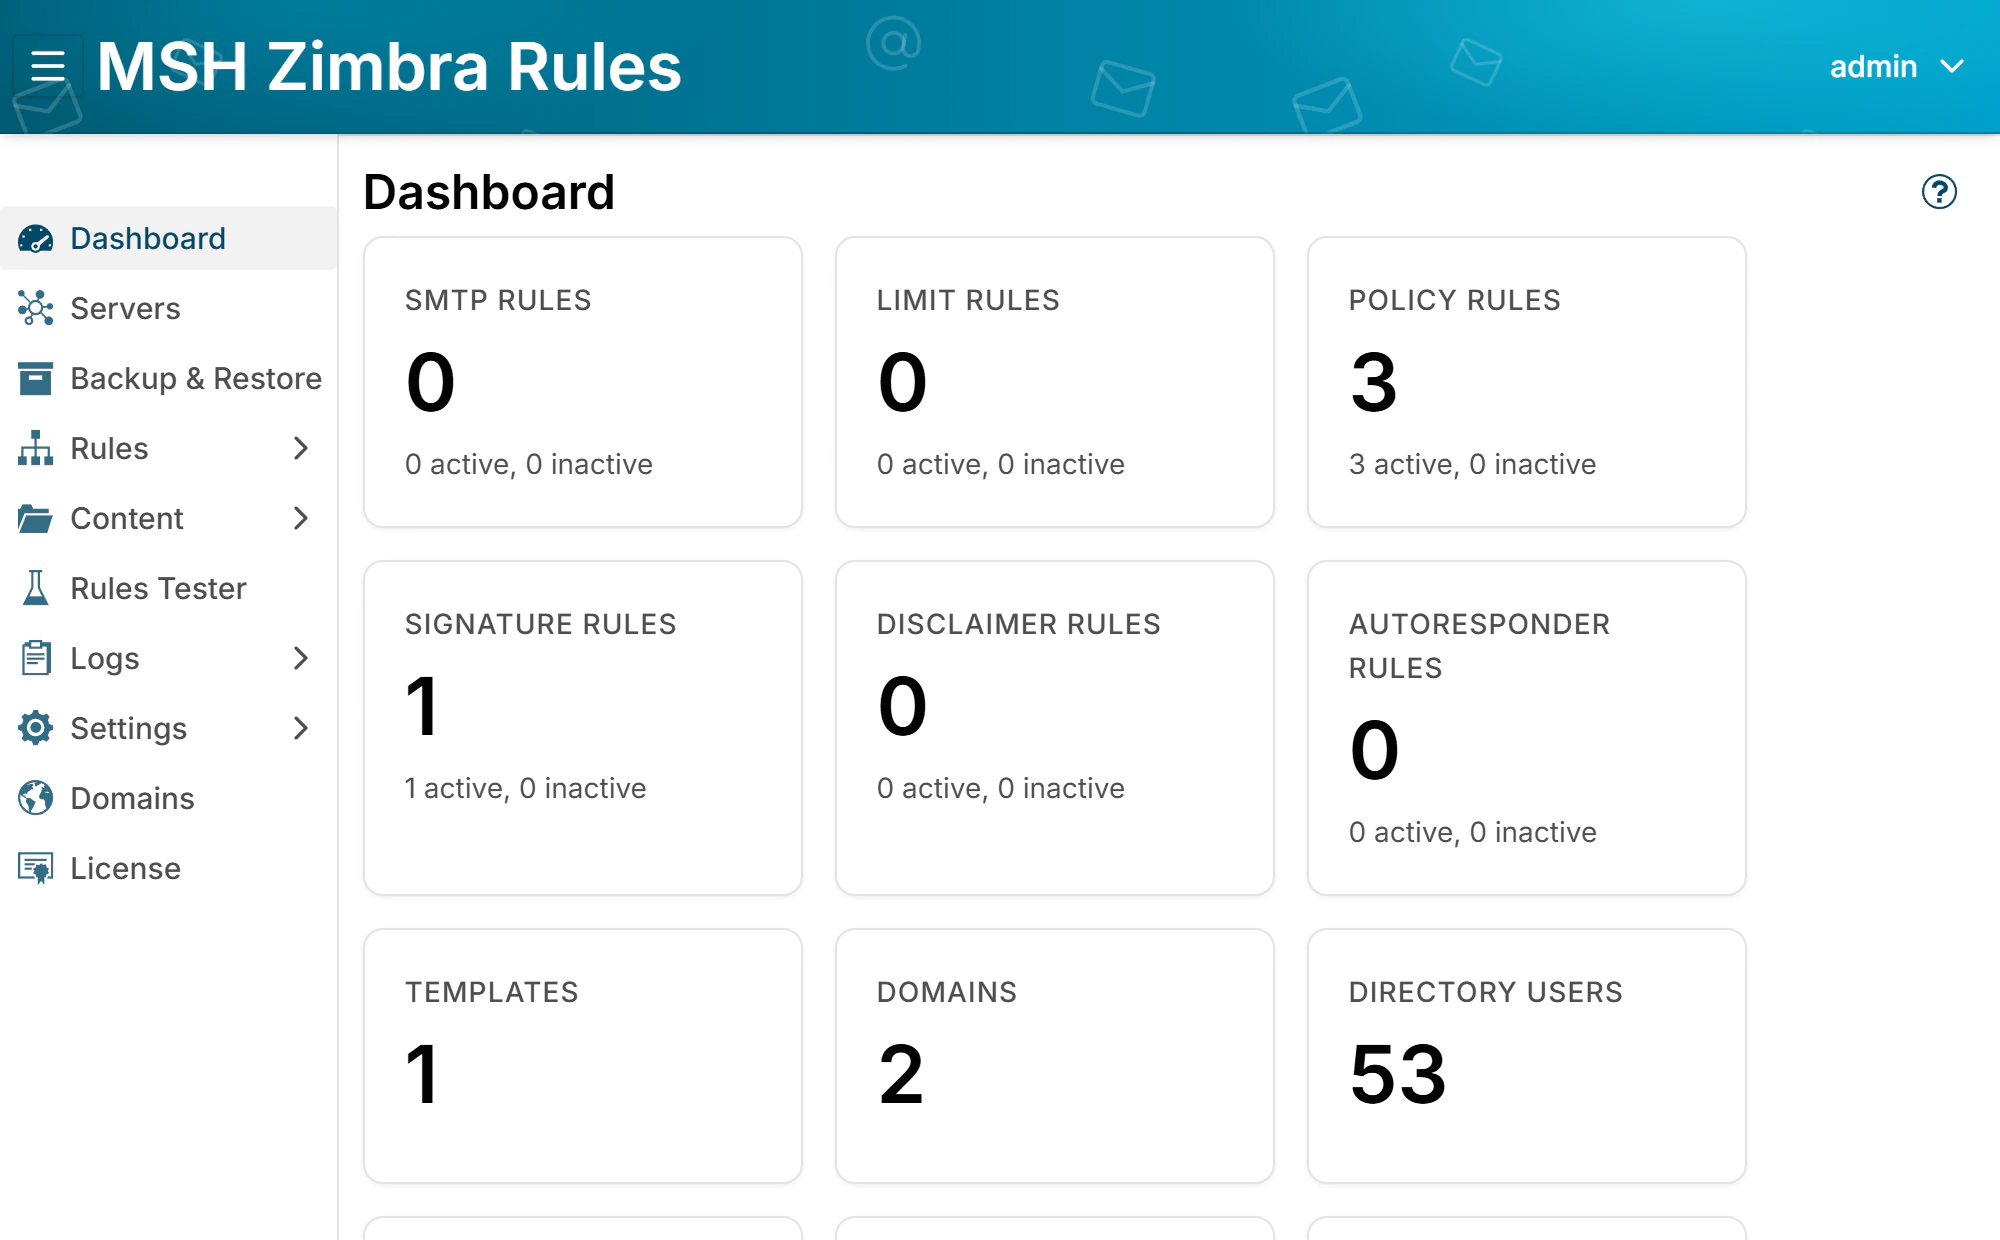
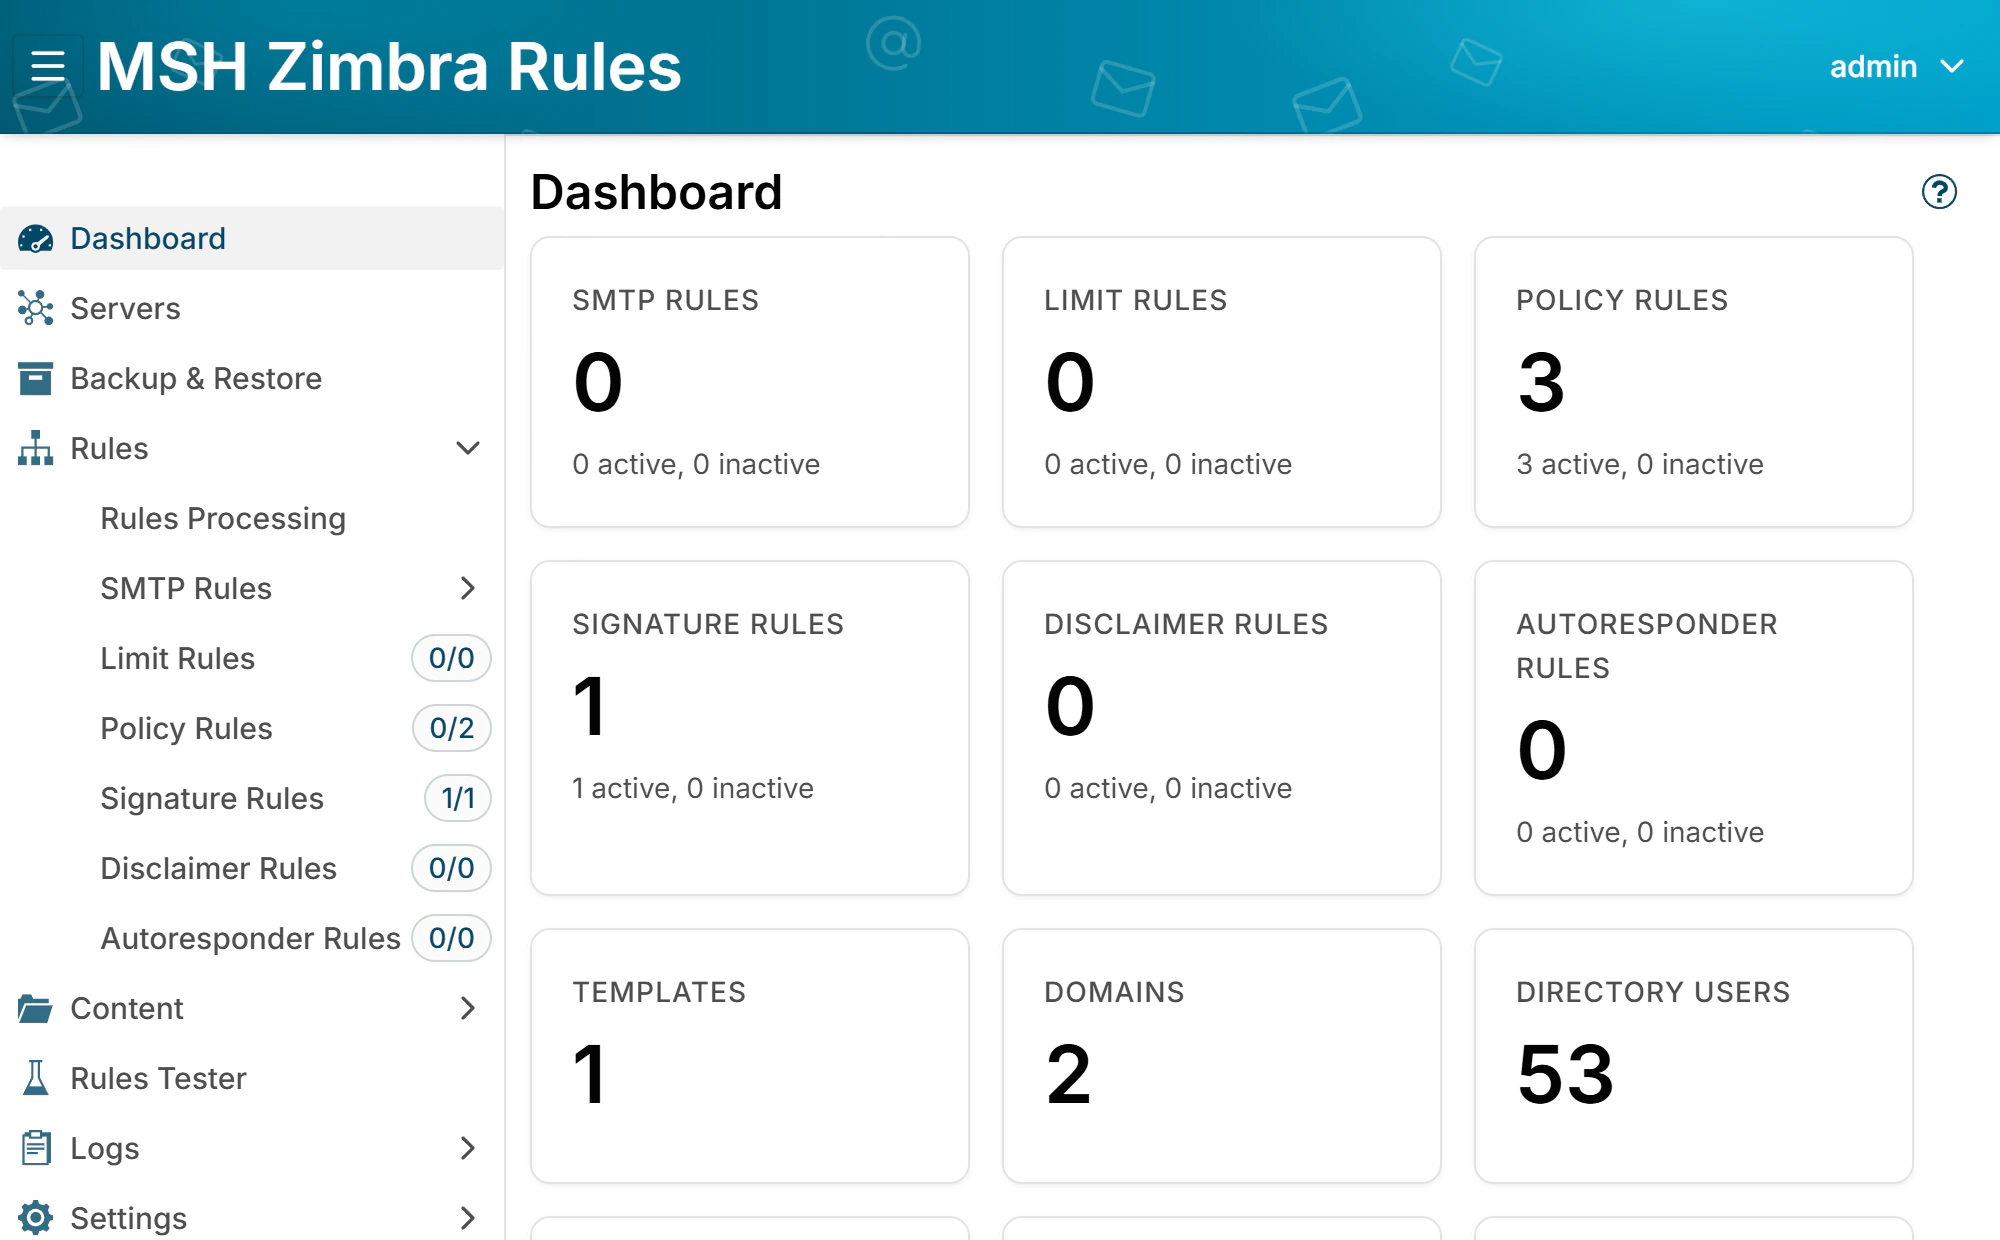
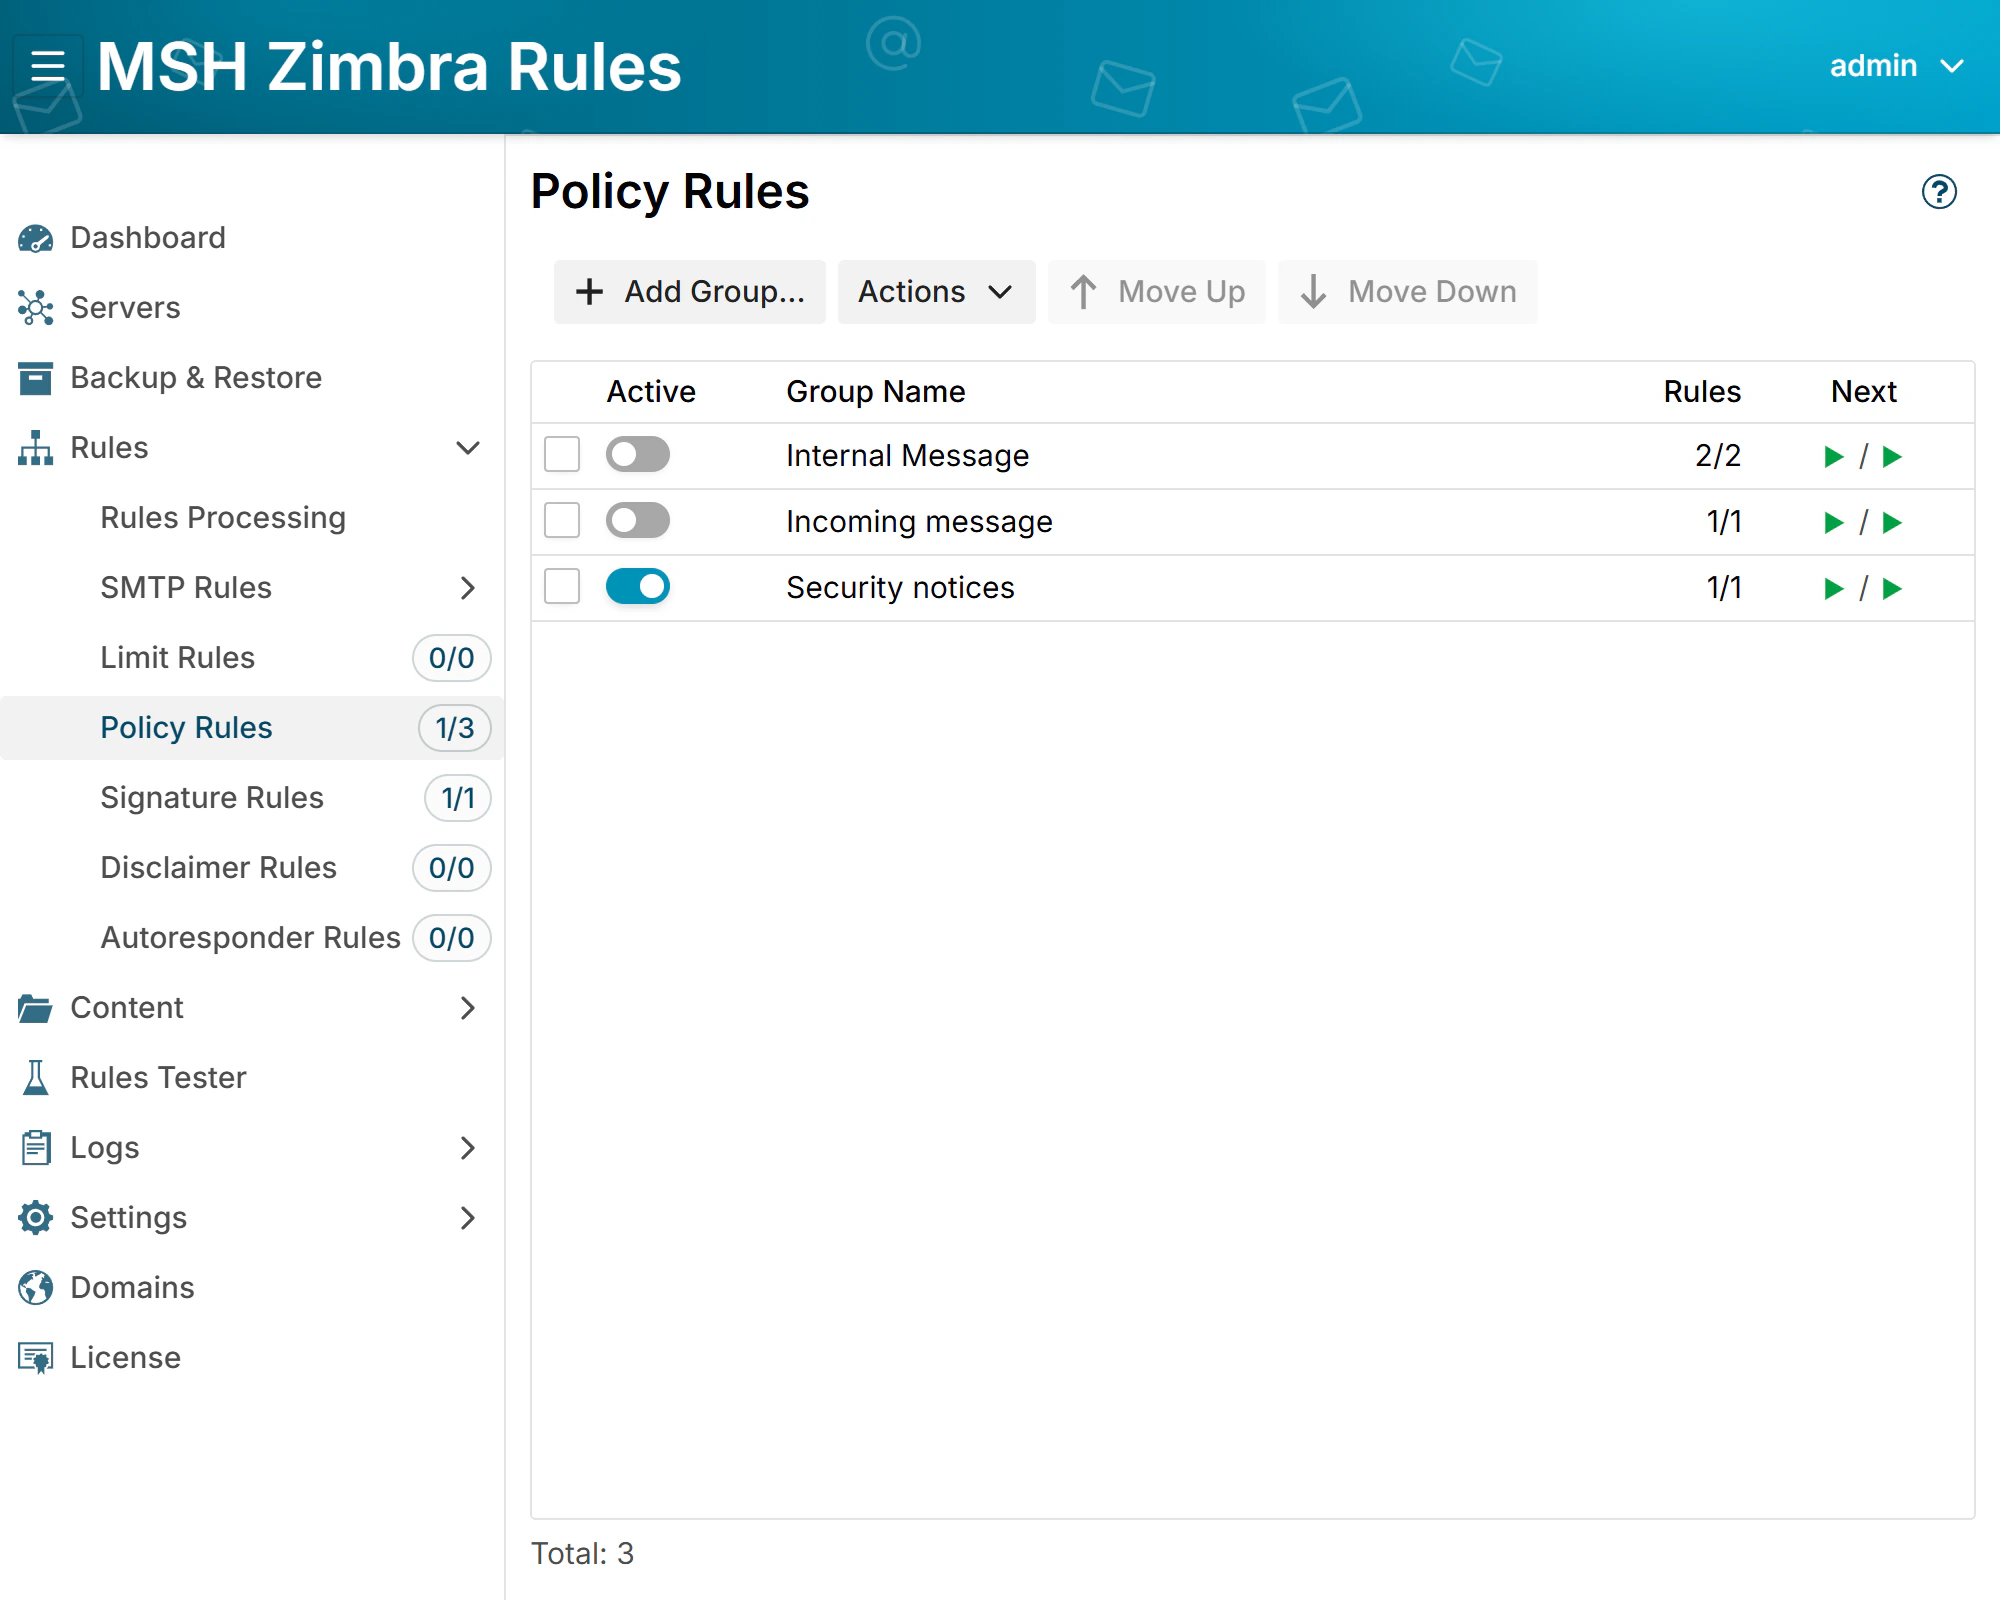
Log in to the administrator panel at https://<host>:9010 and open Rules >
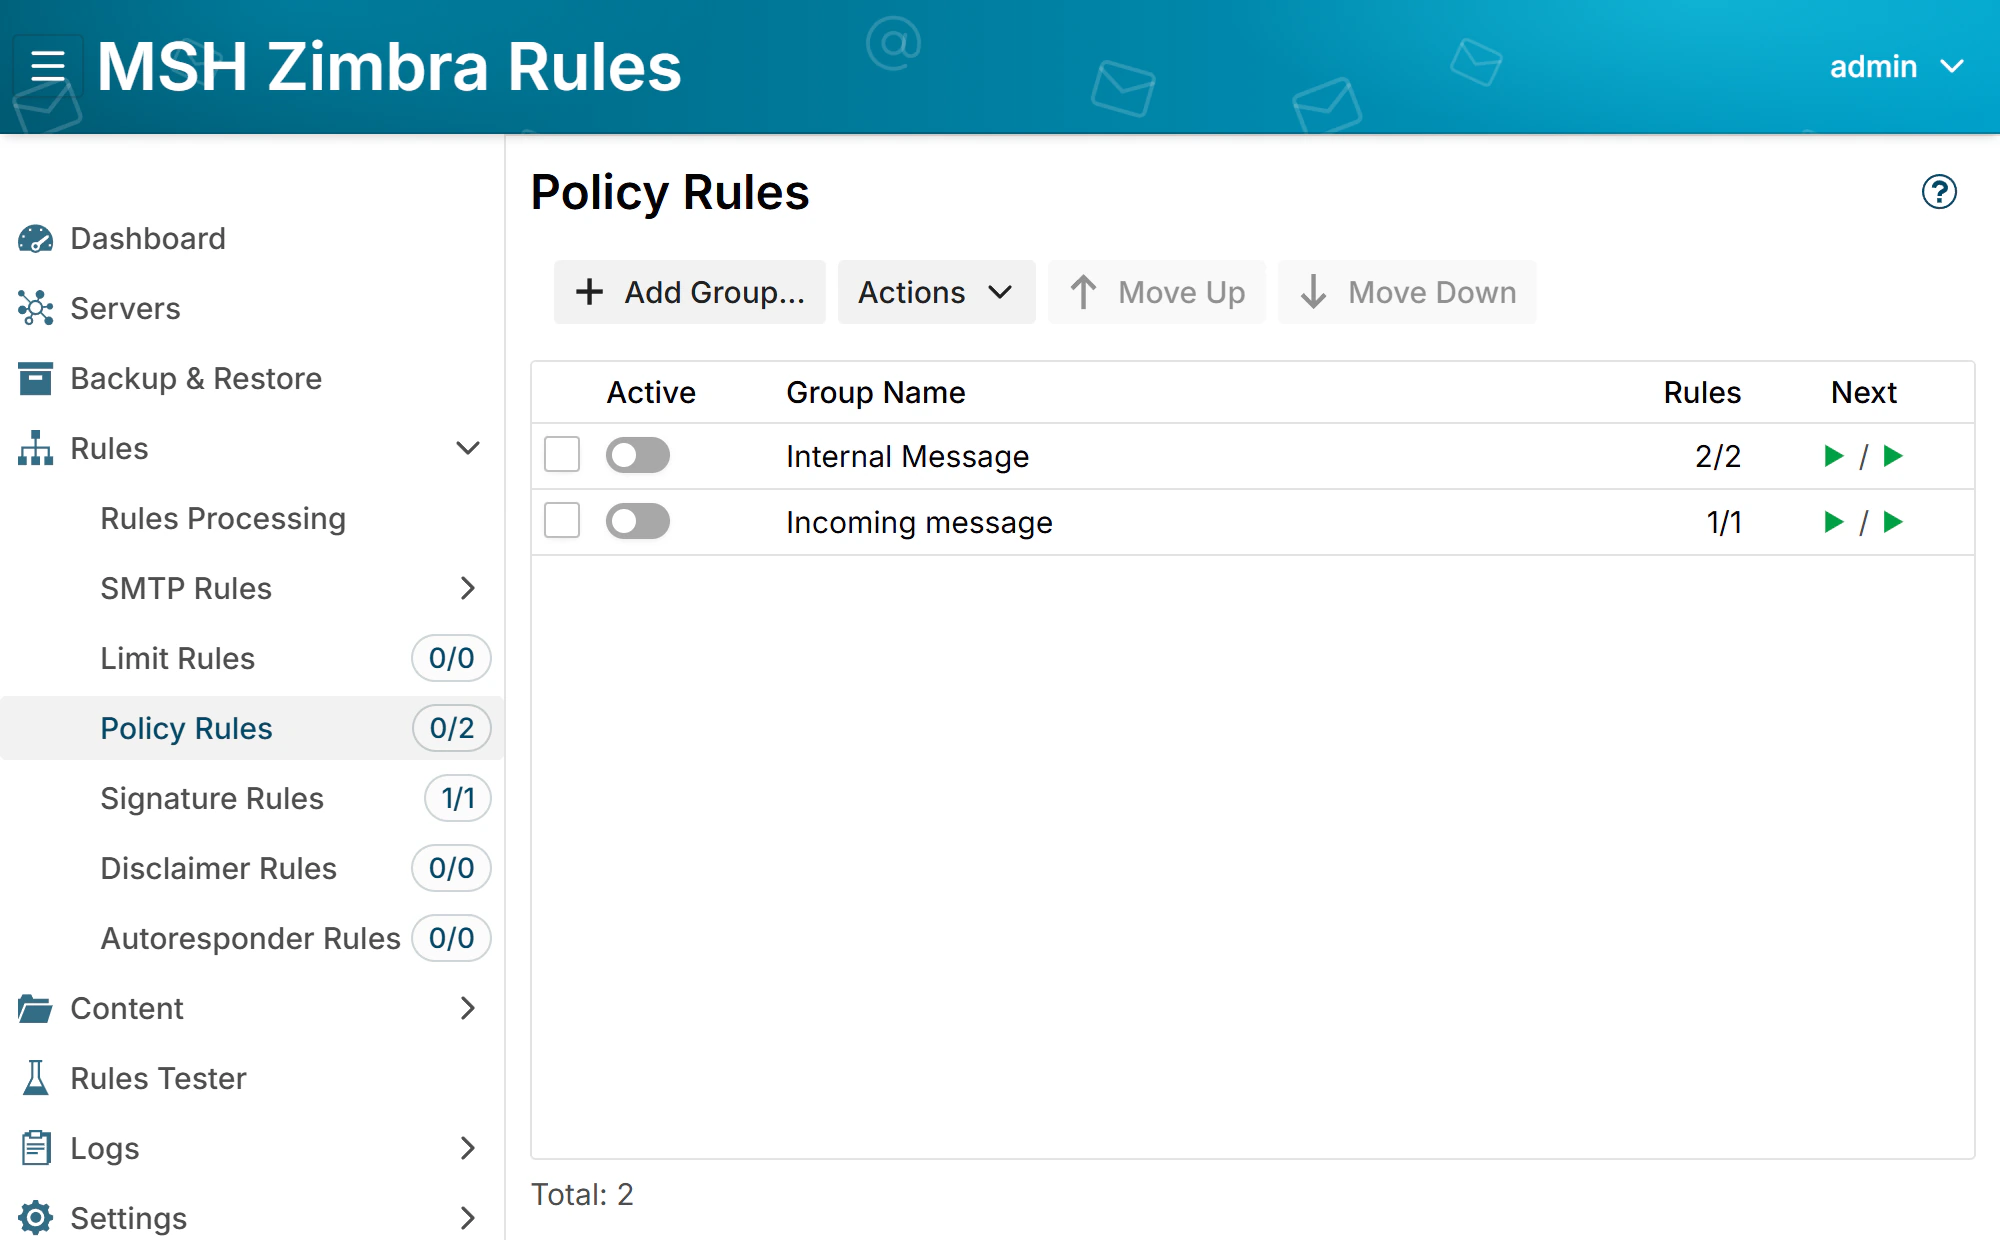
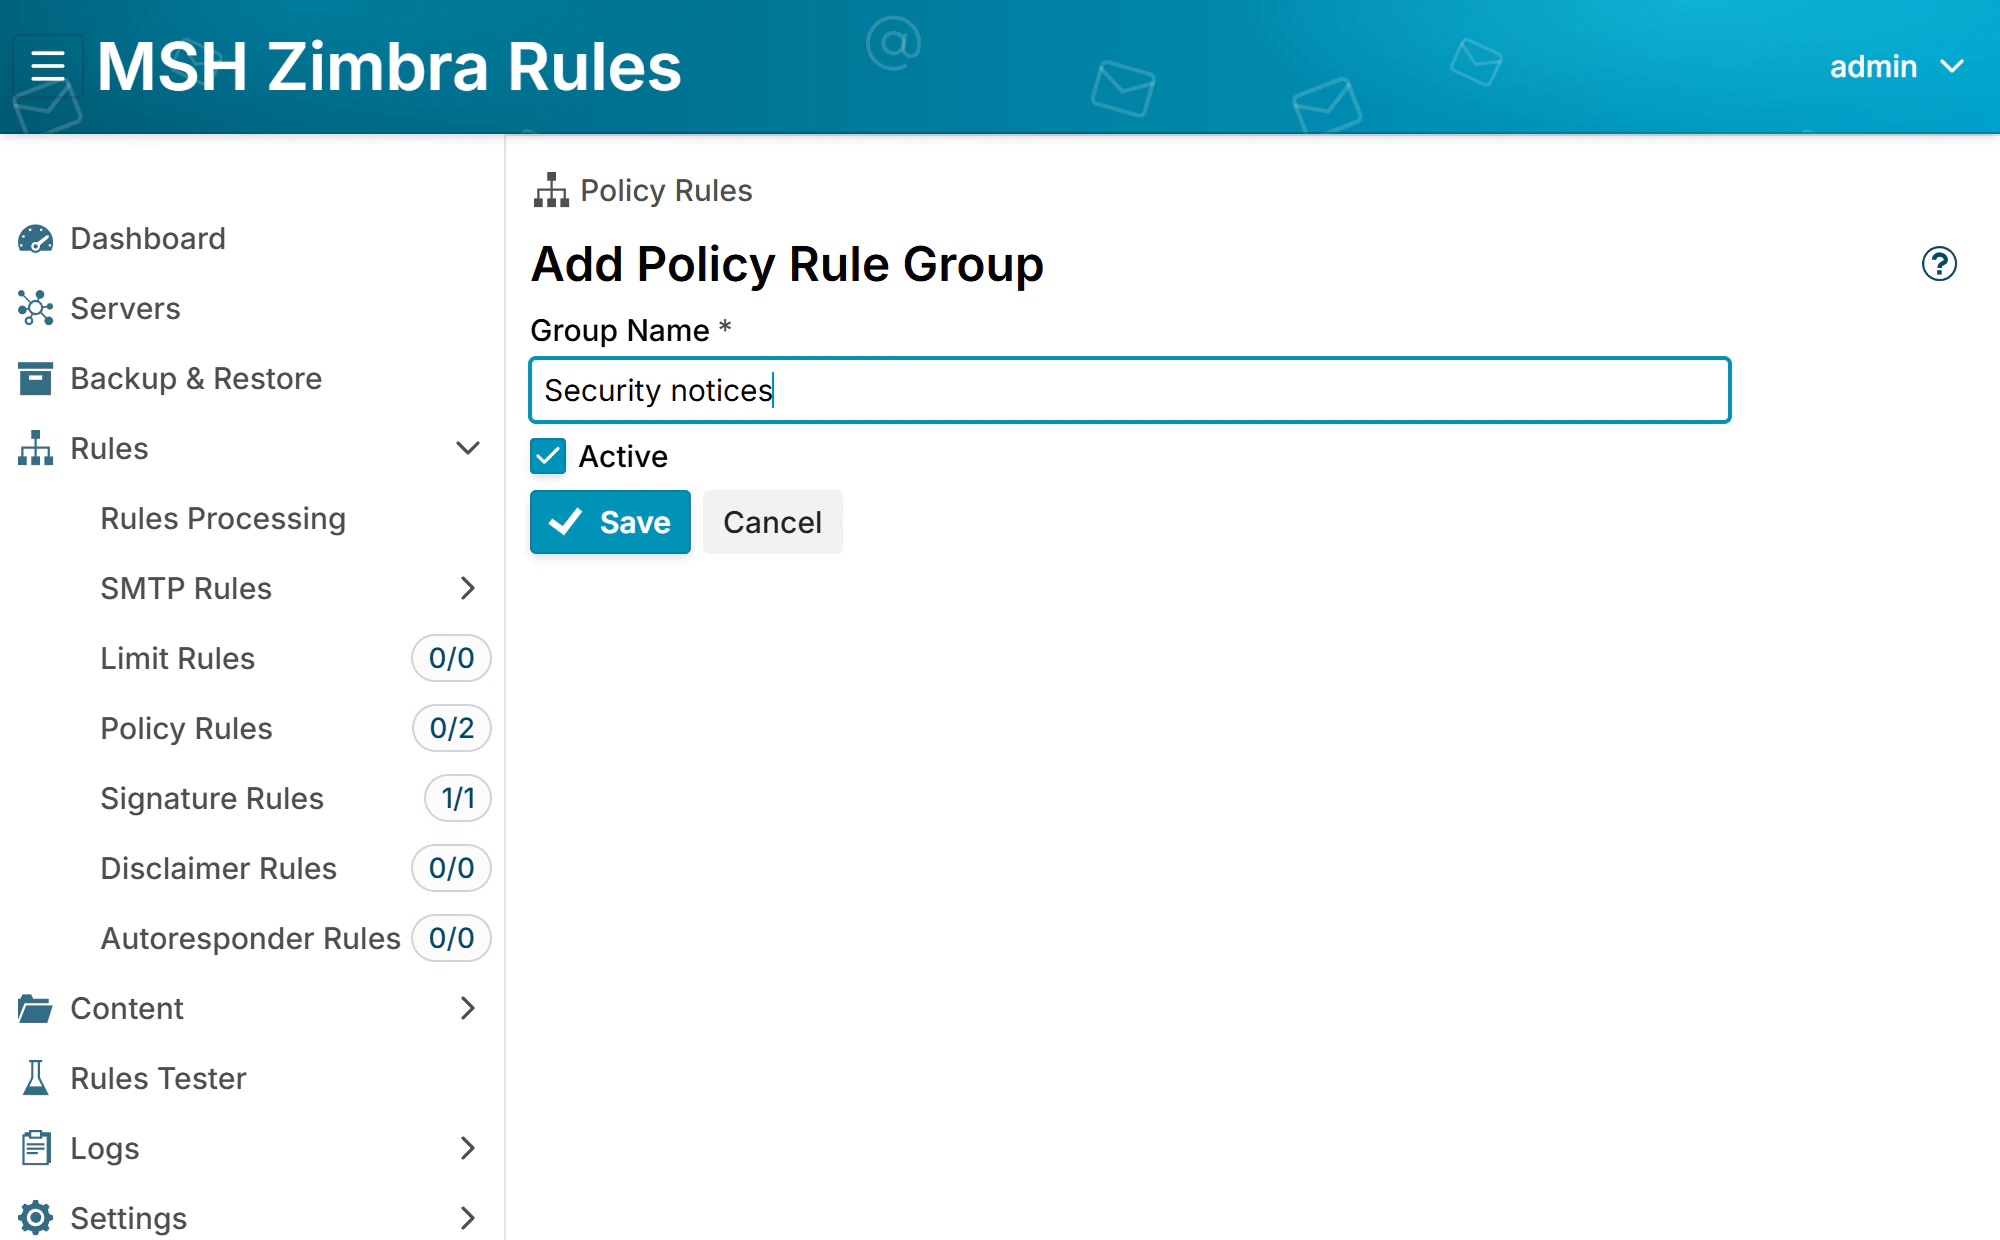
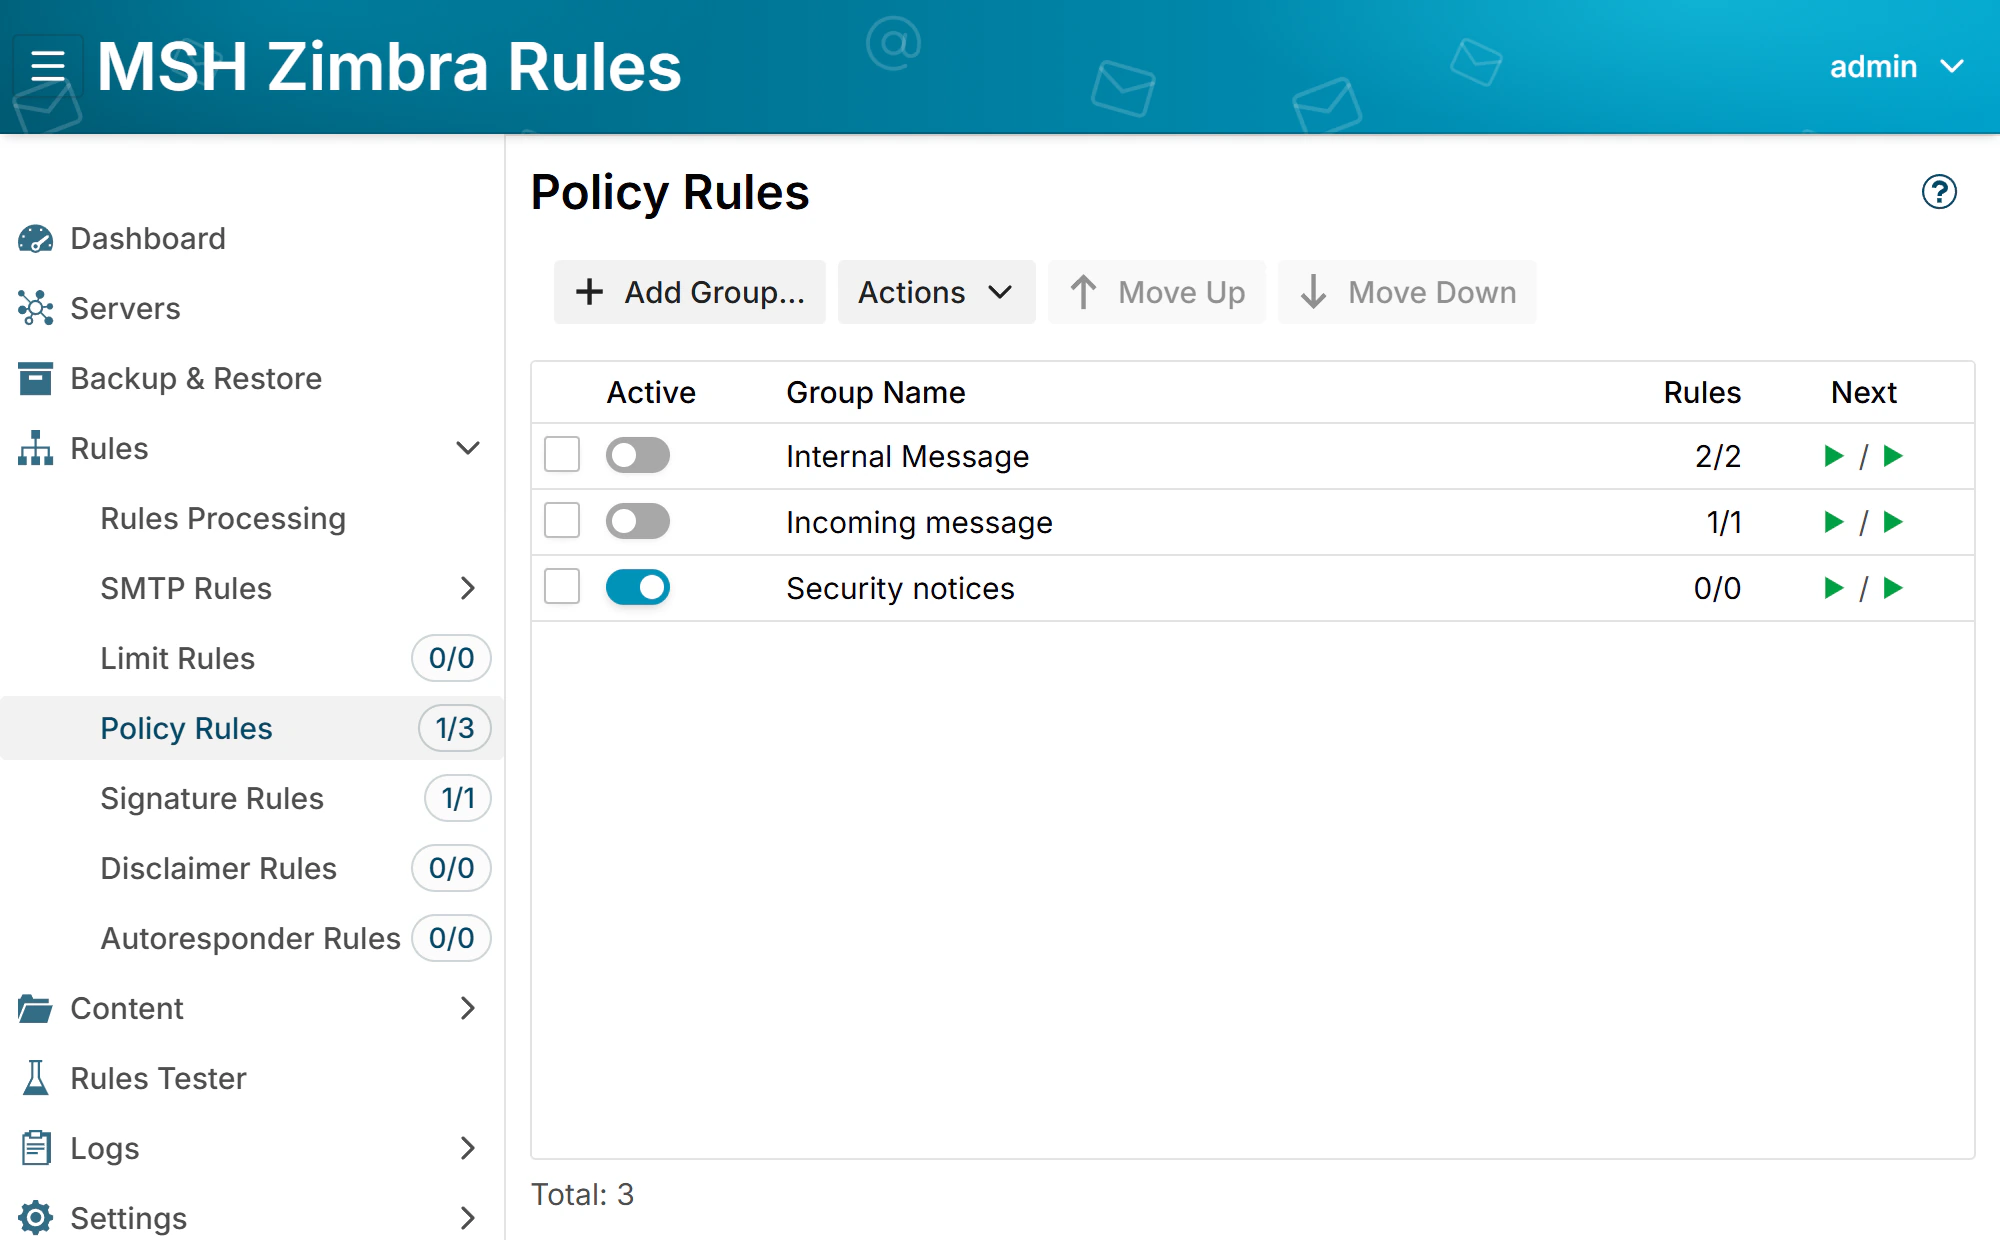
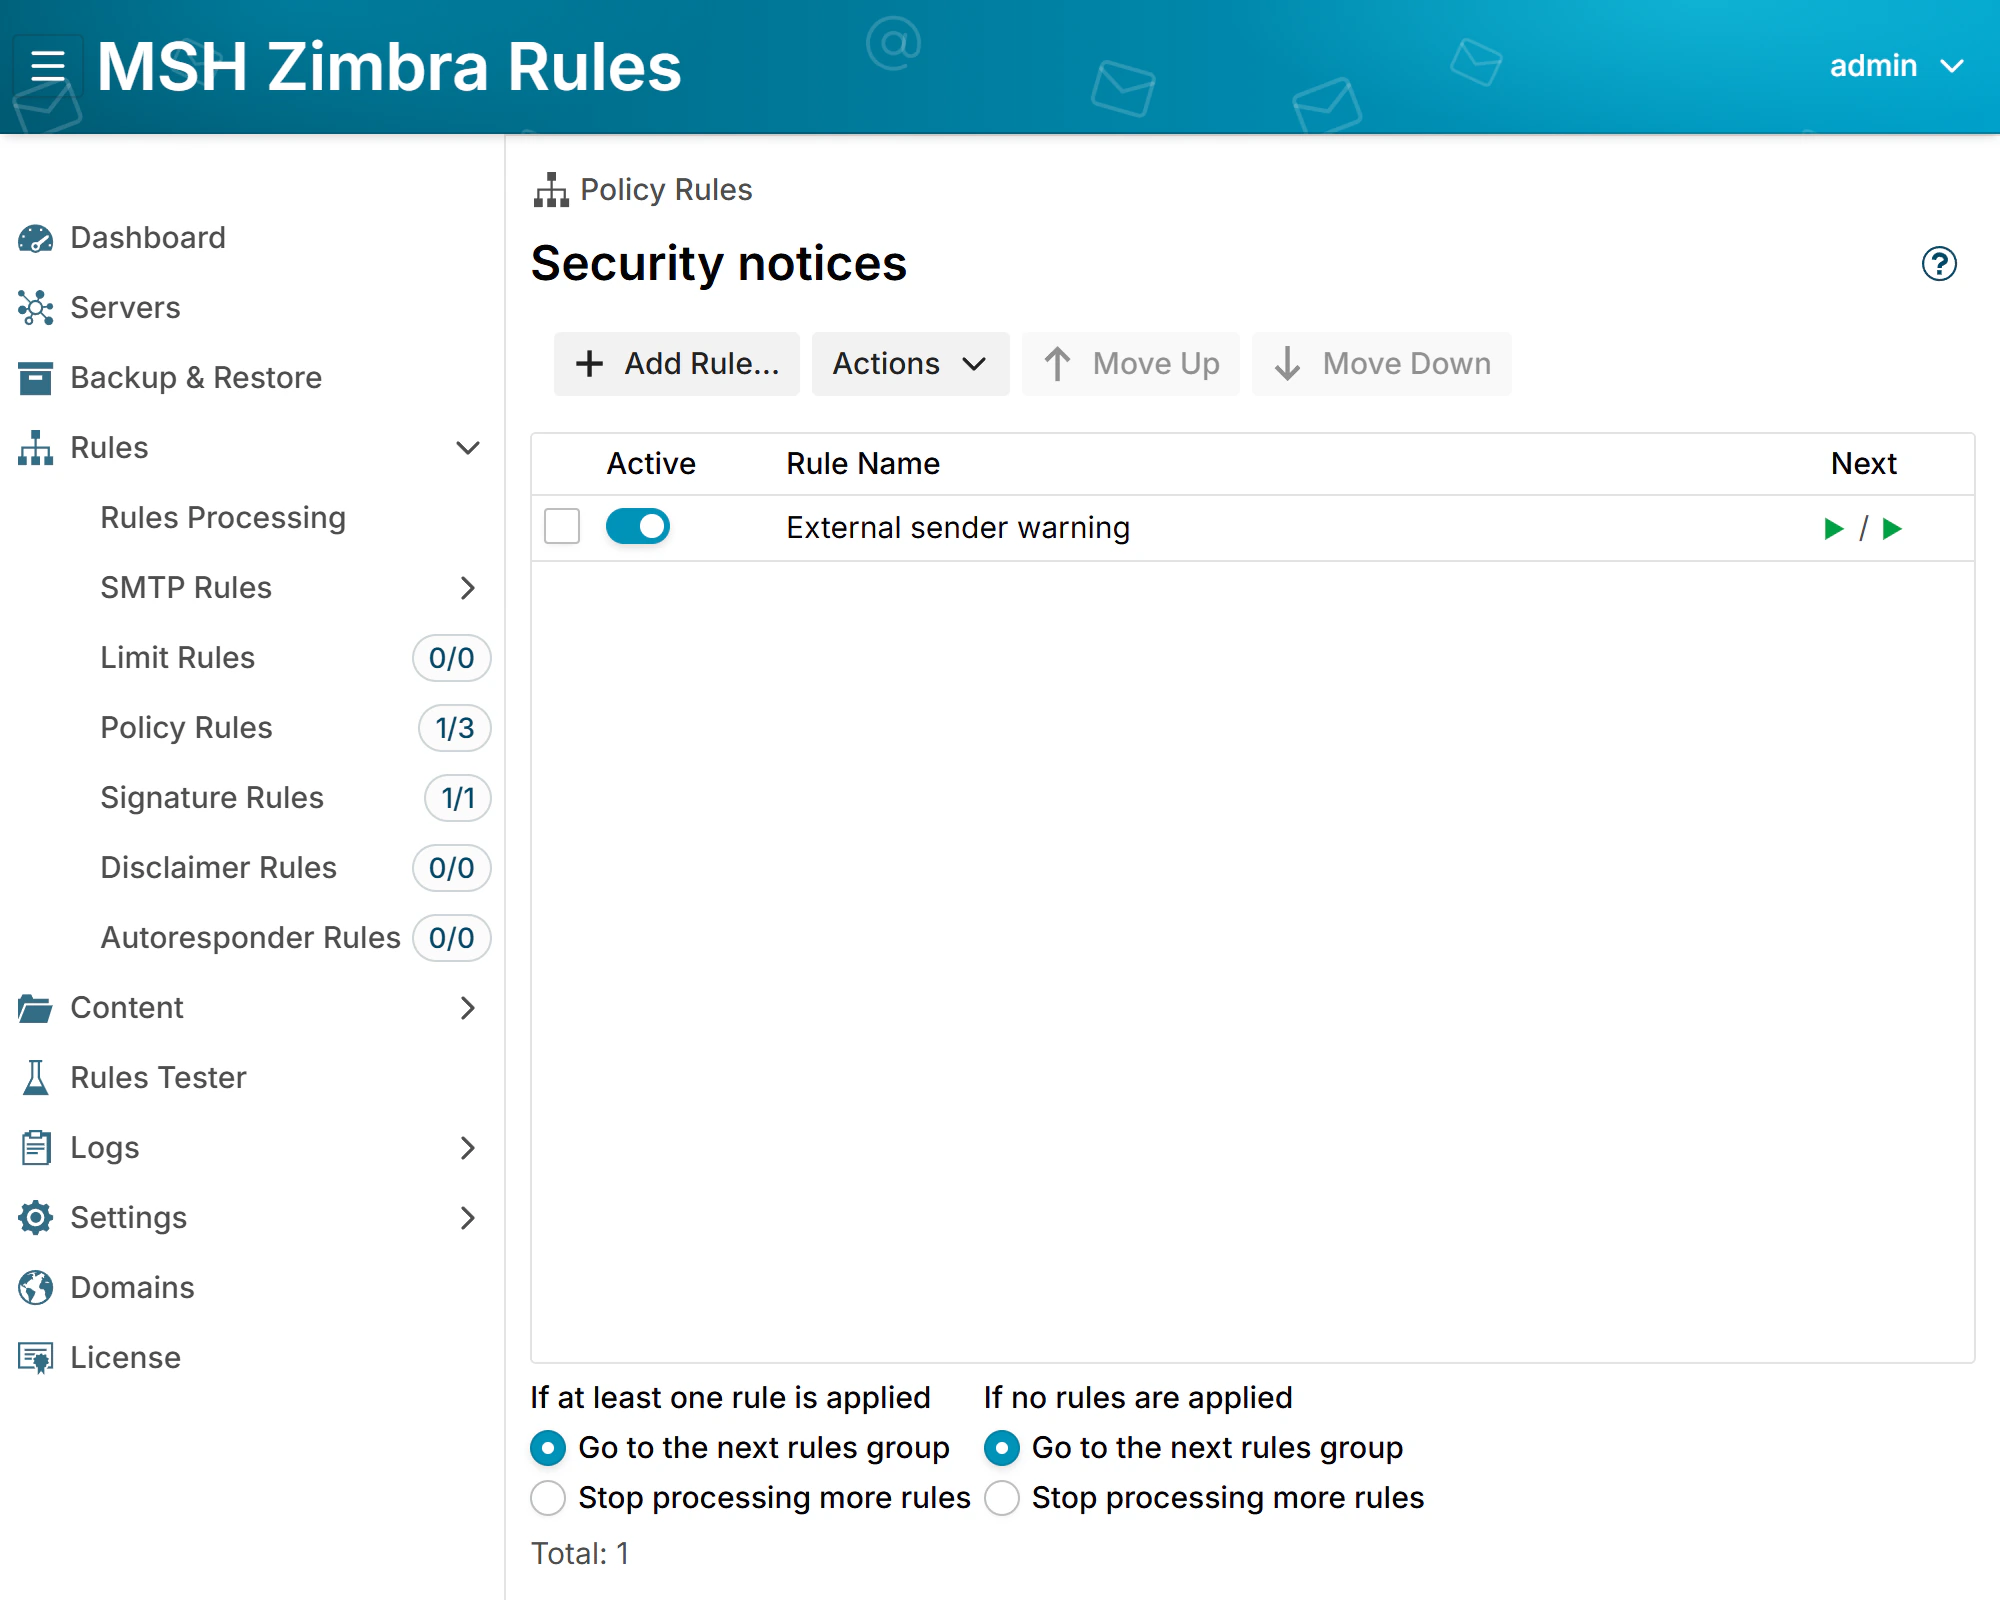
Policy Rules. Click Add Group..., name the group Security notices and save it.
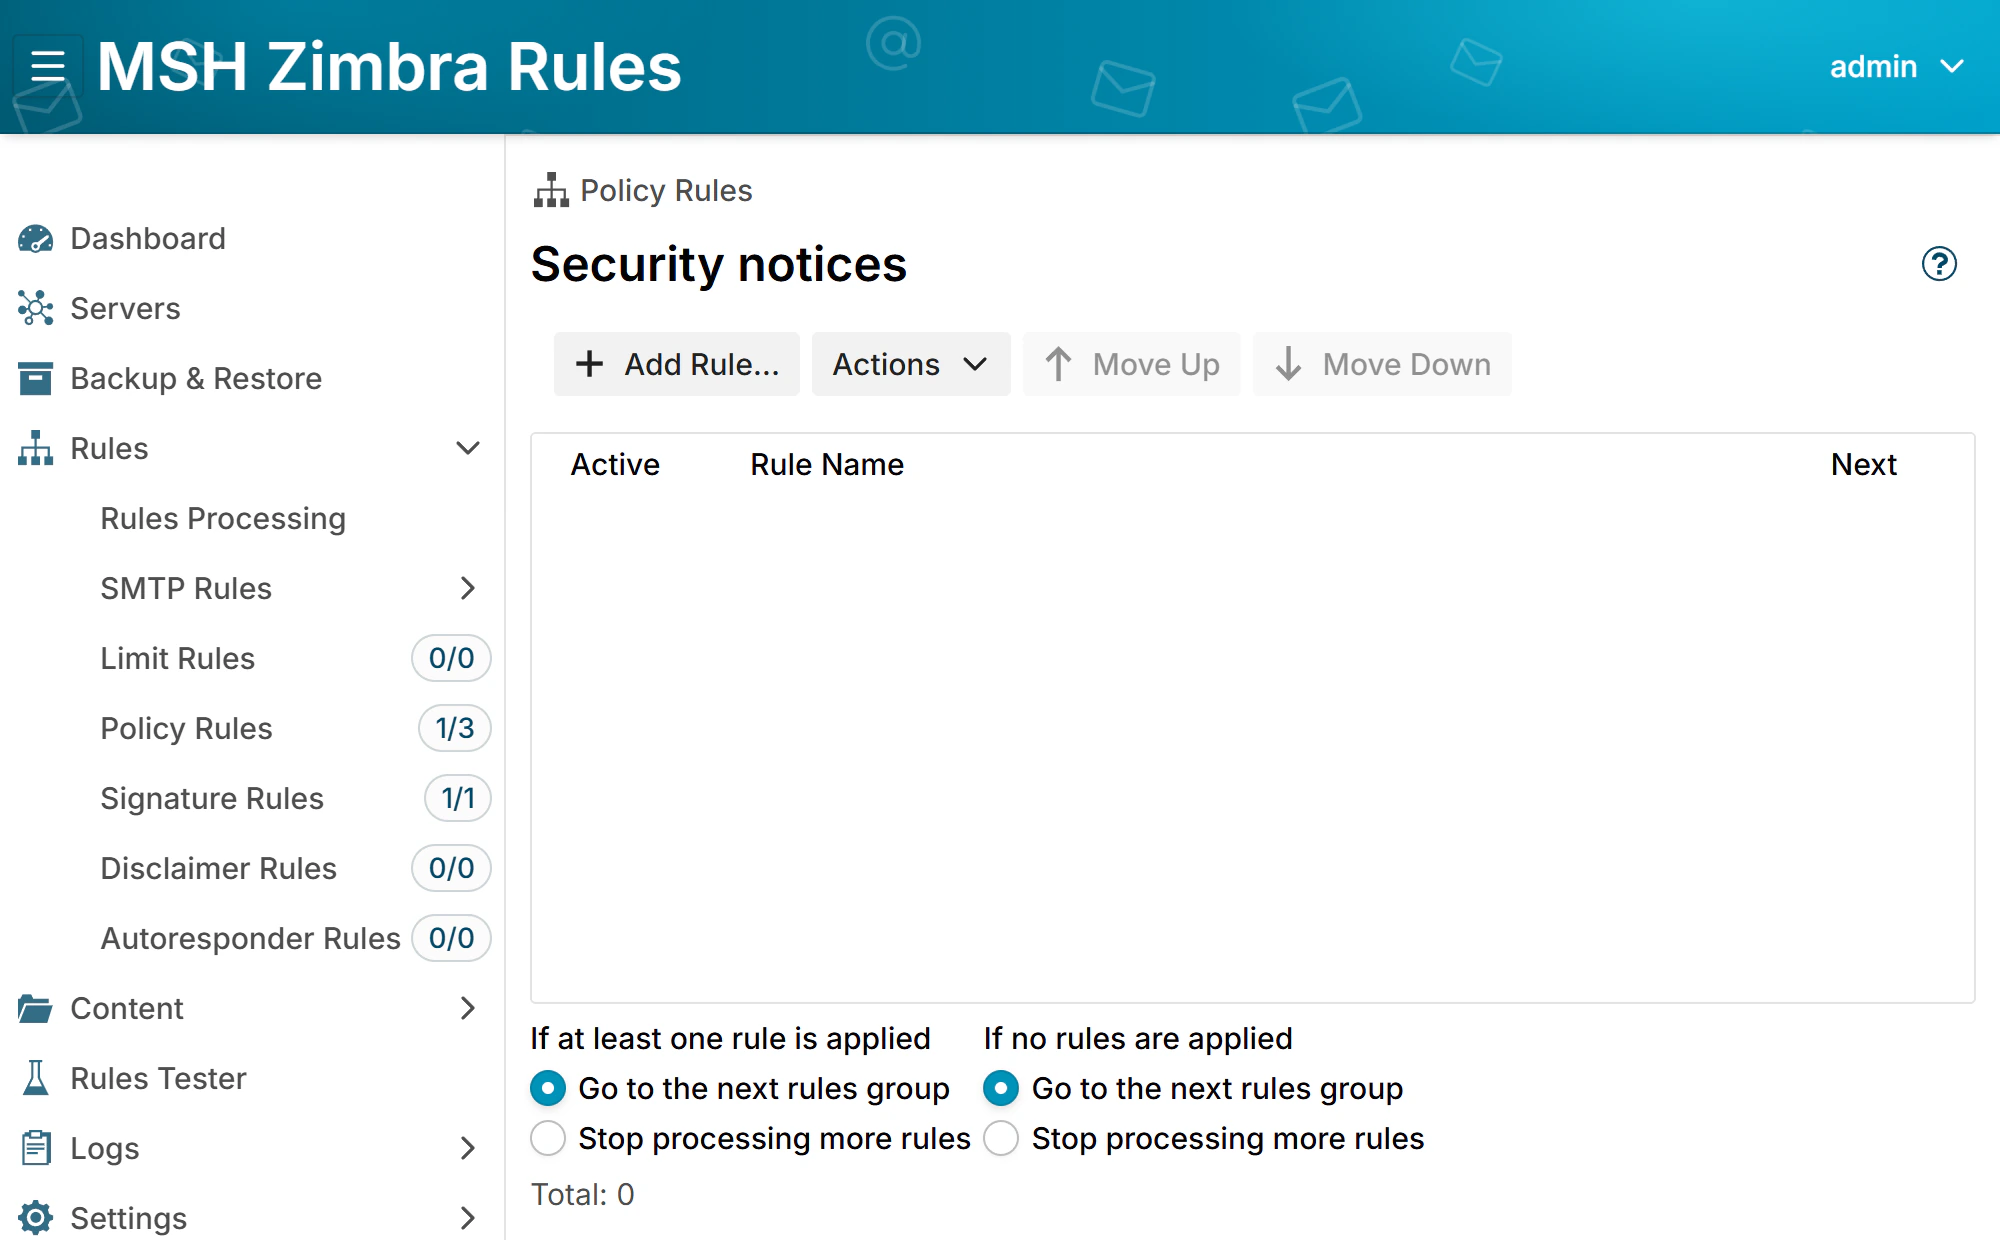
Double-click the group to open it and click Add Rule....
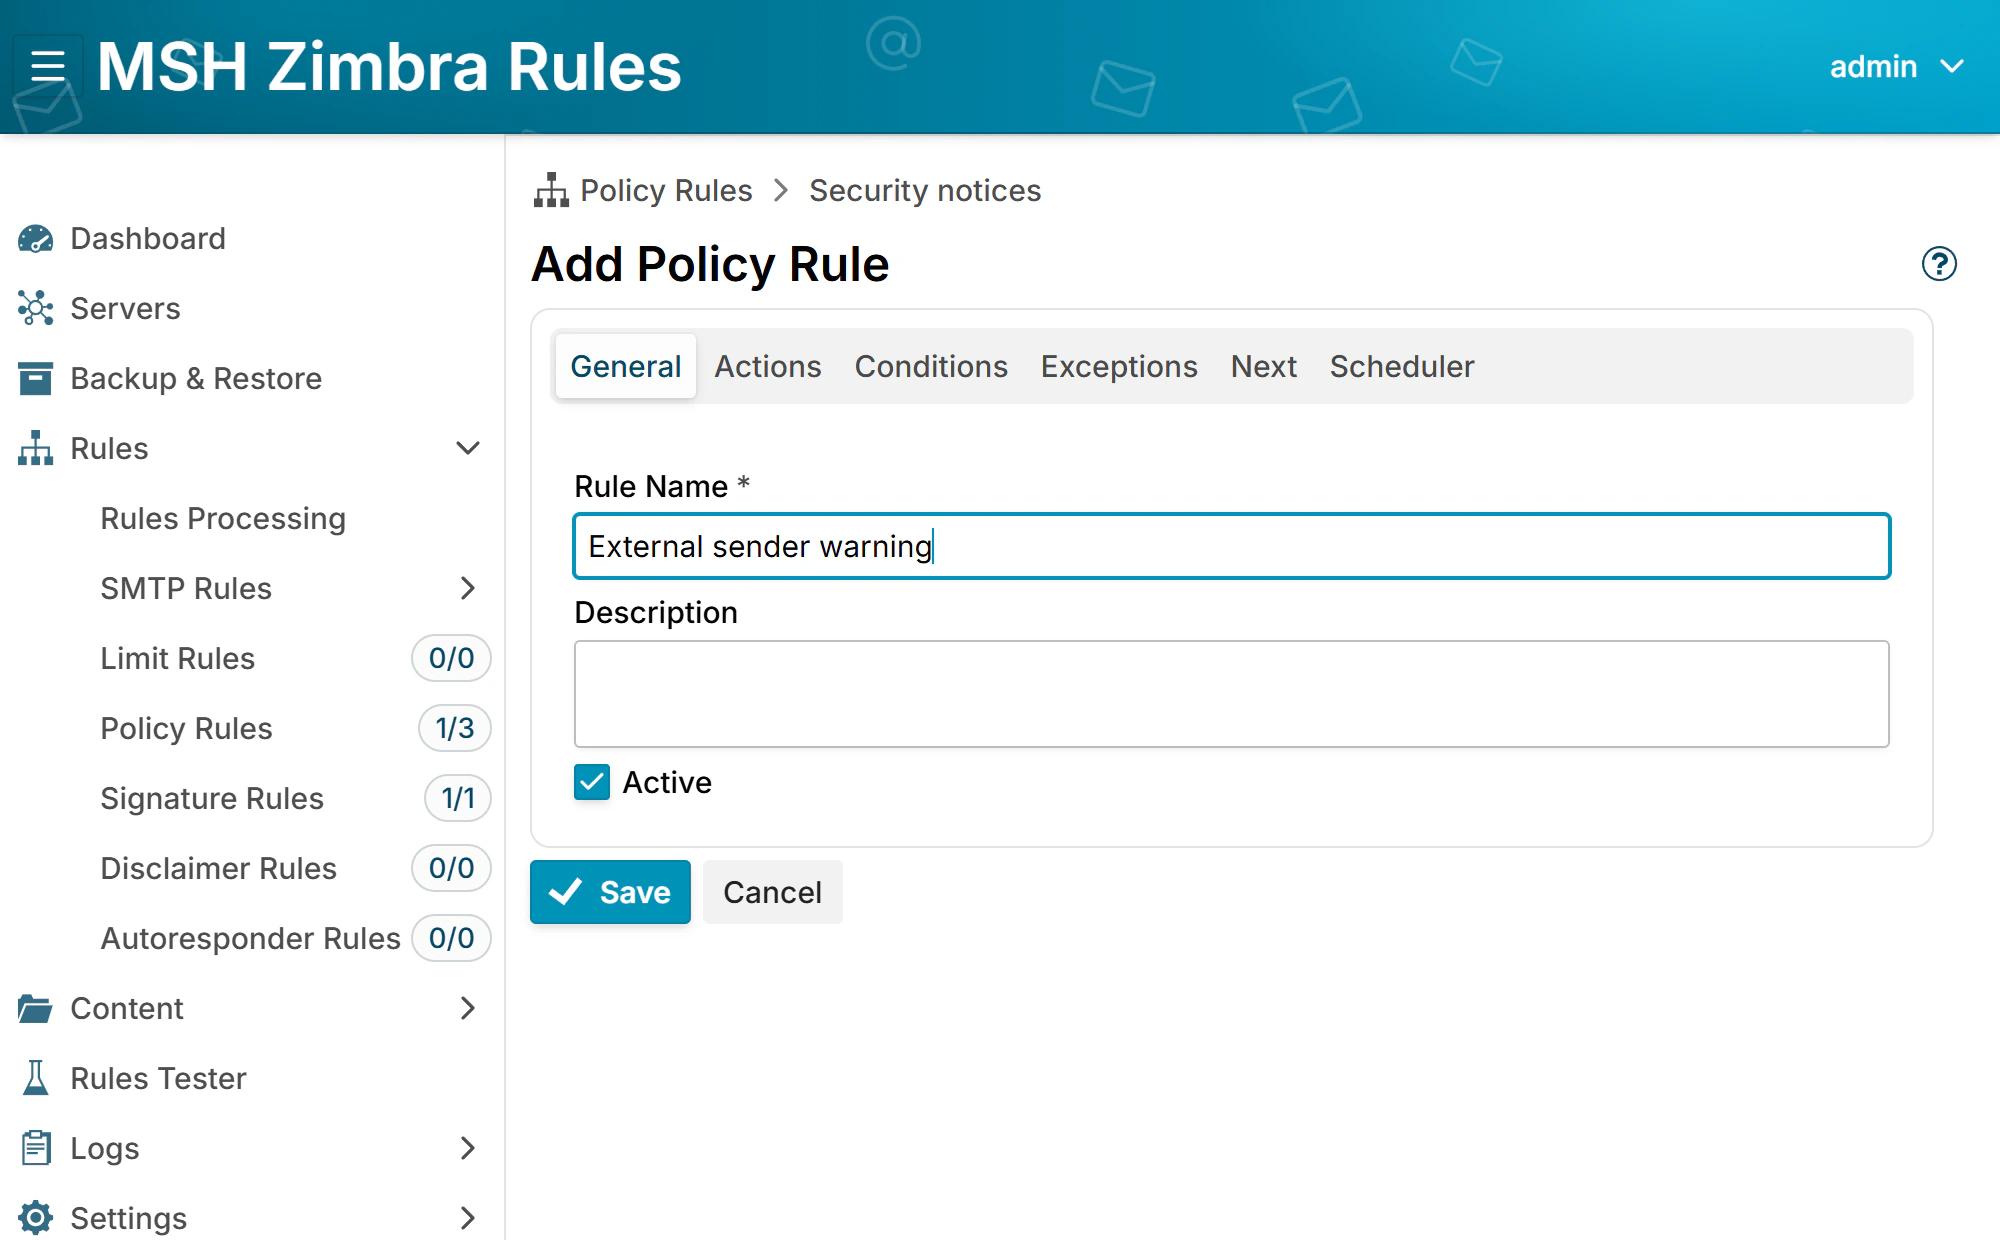
On the General tab, name the rule External sender warning.
Step 2 - Match everything but your own senders
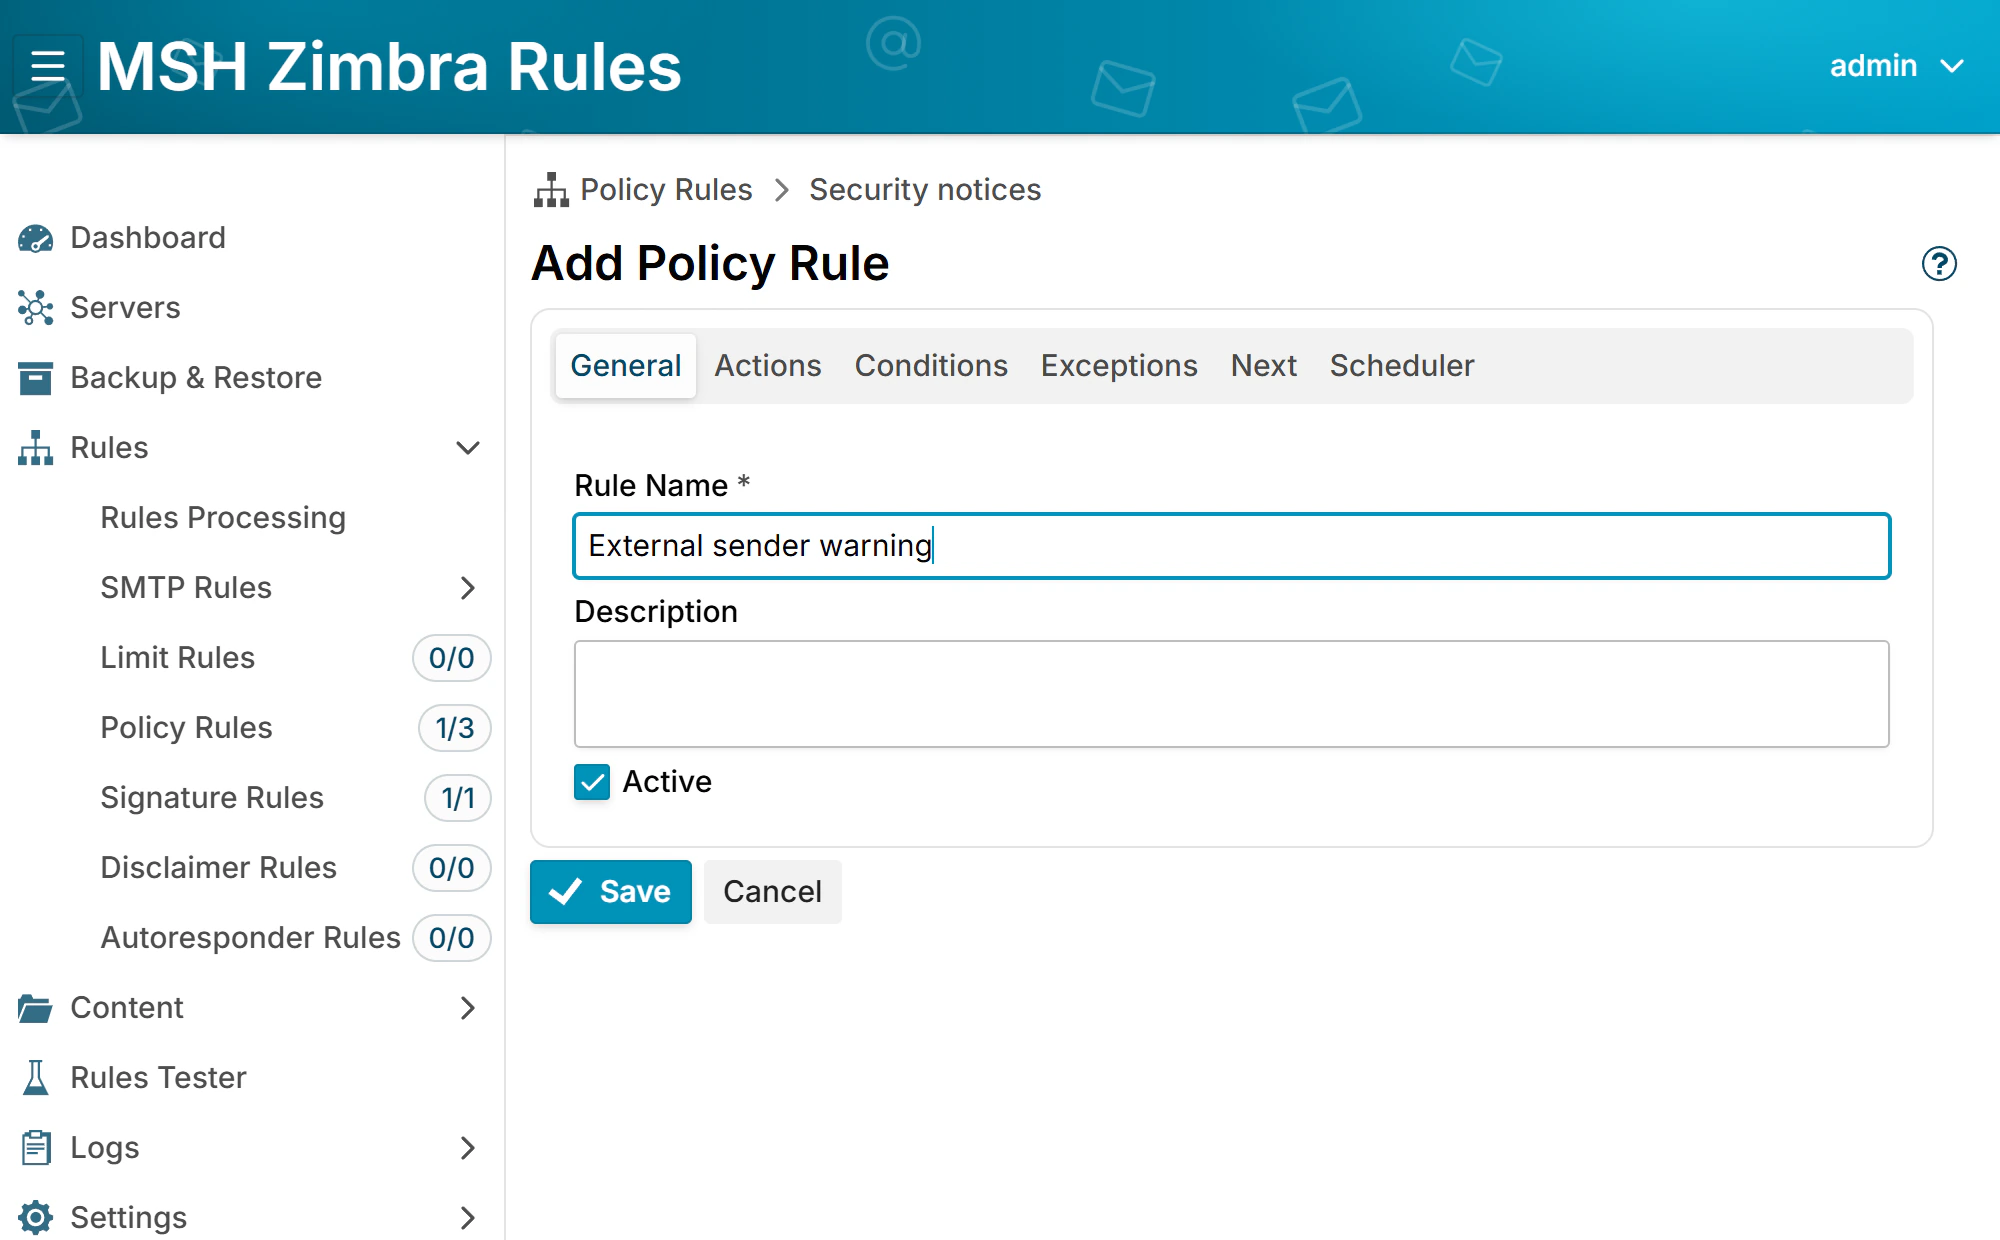
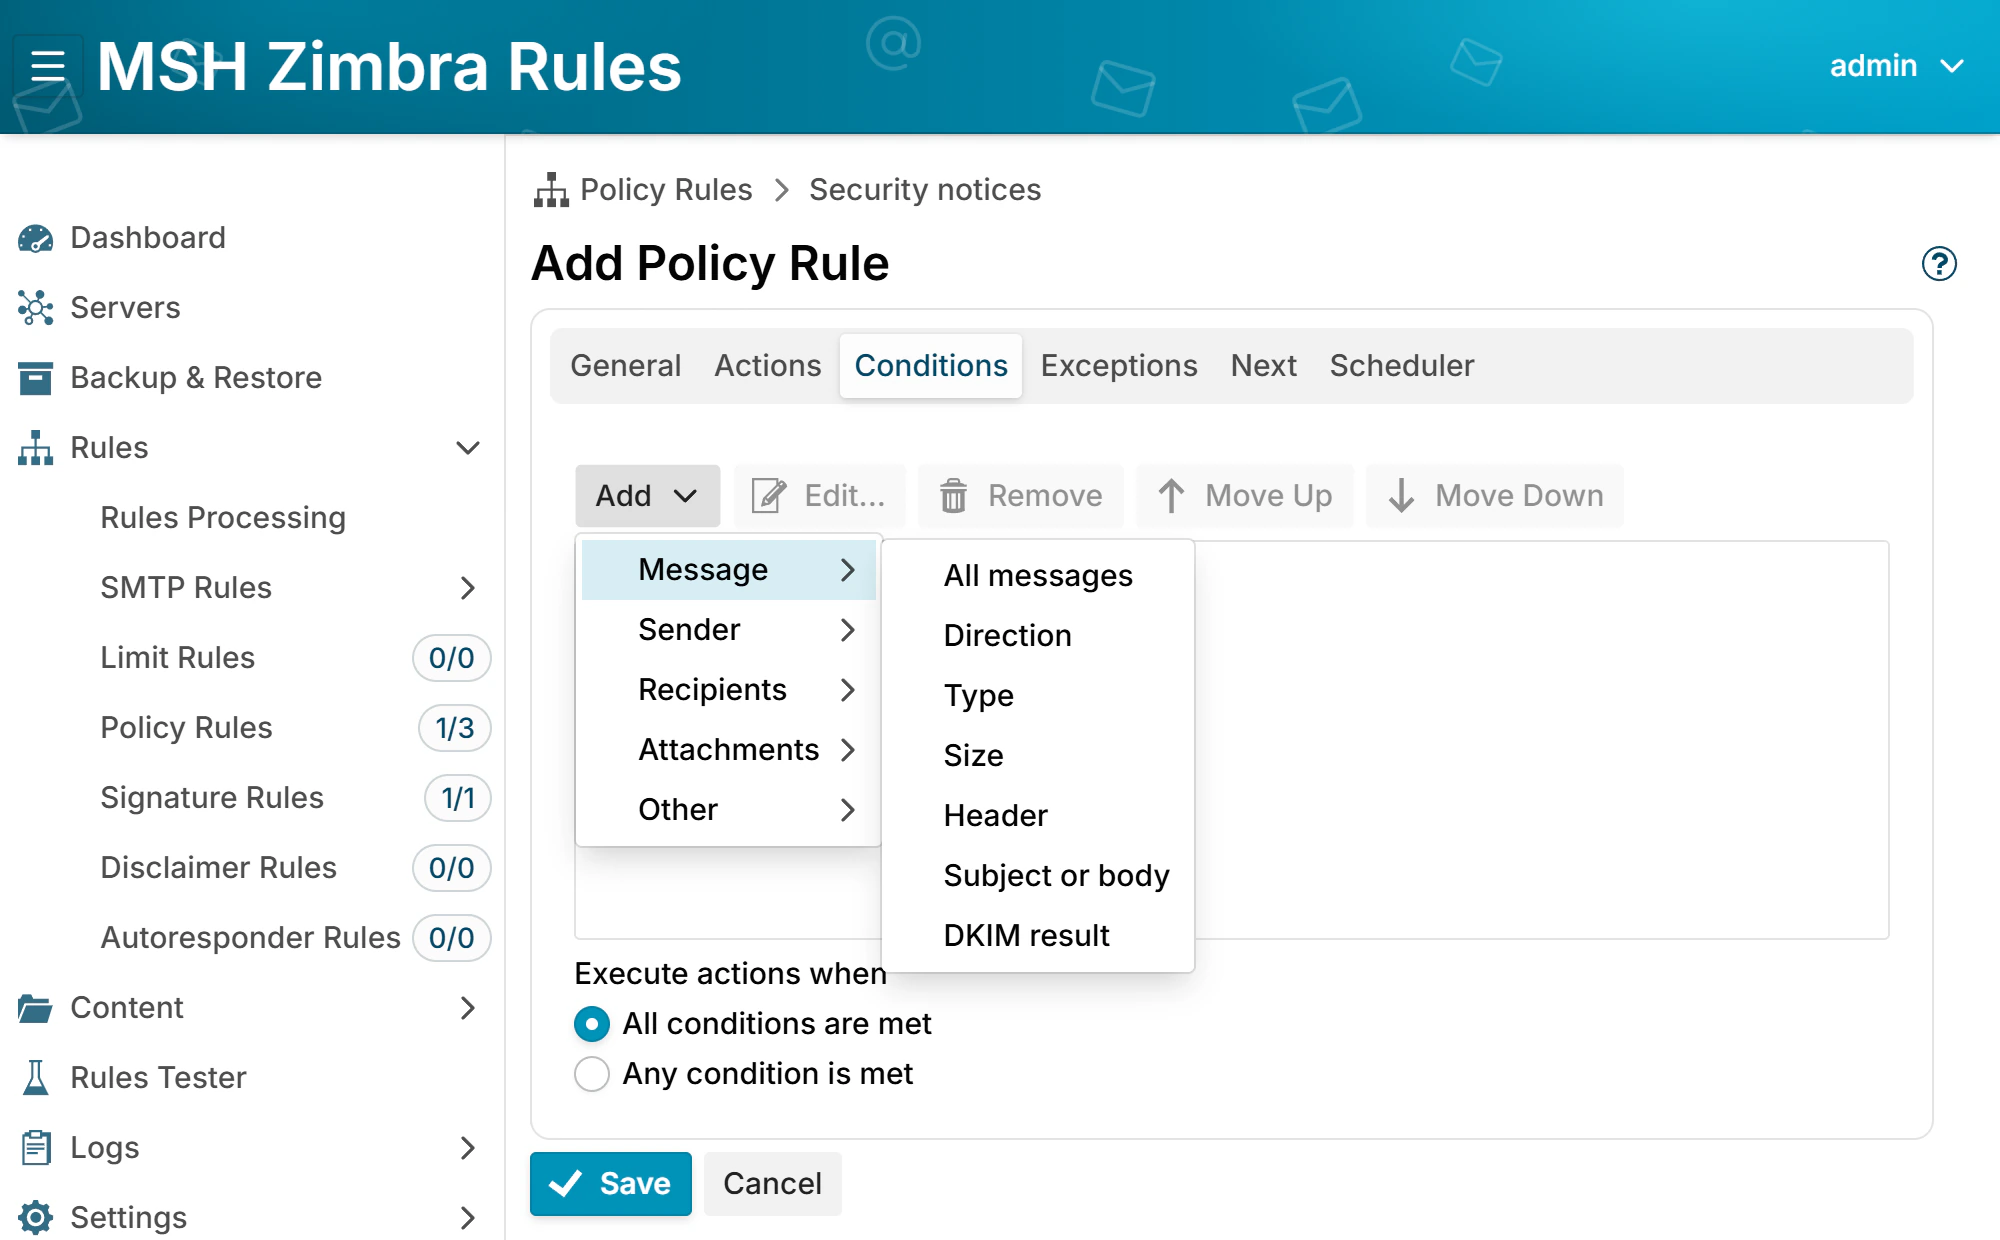
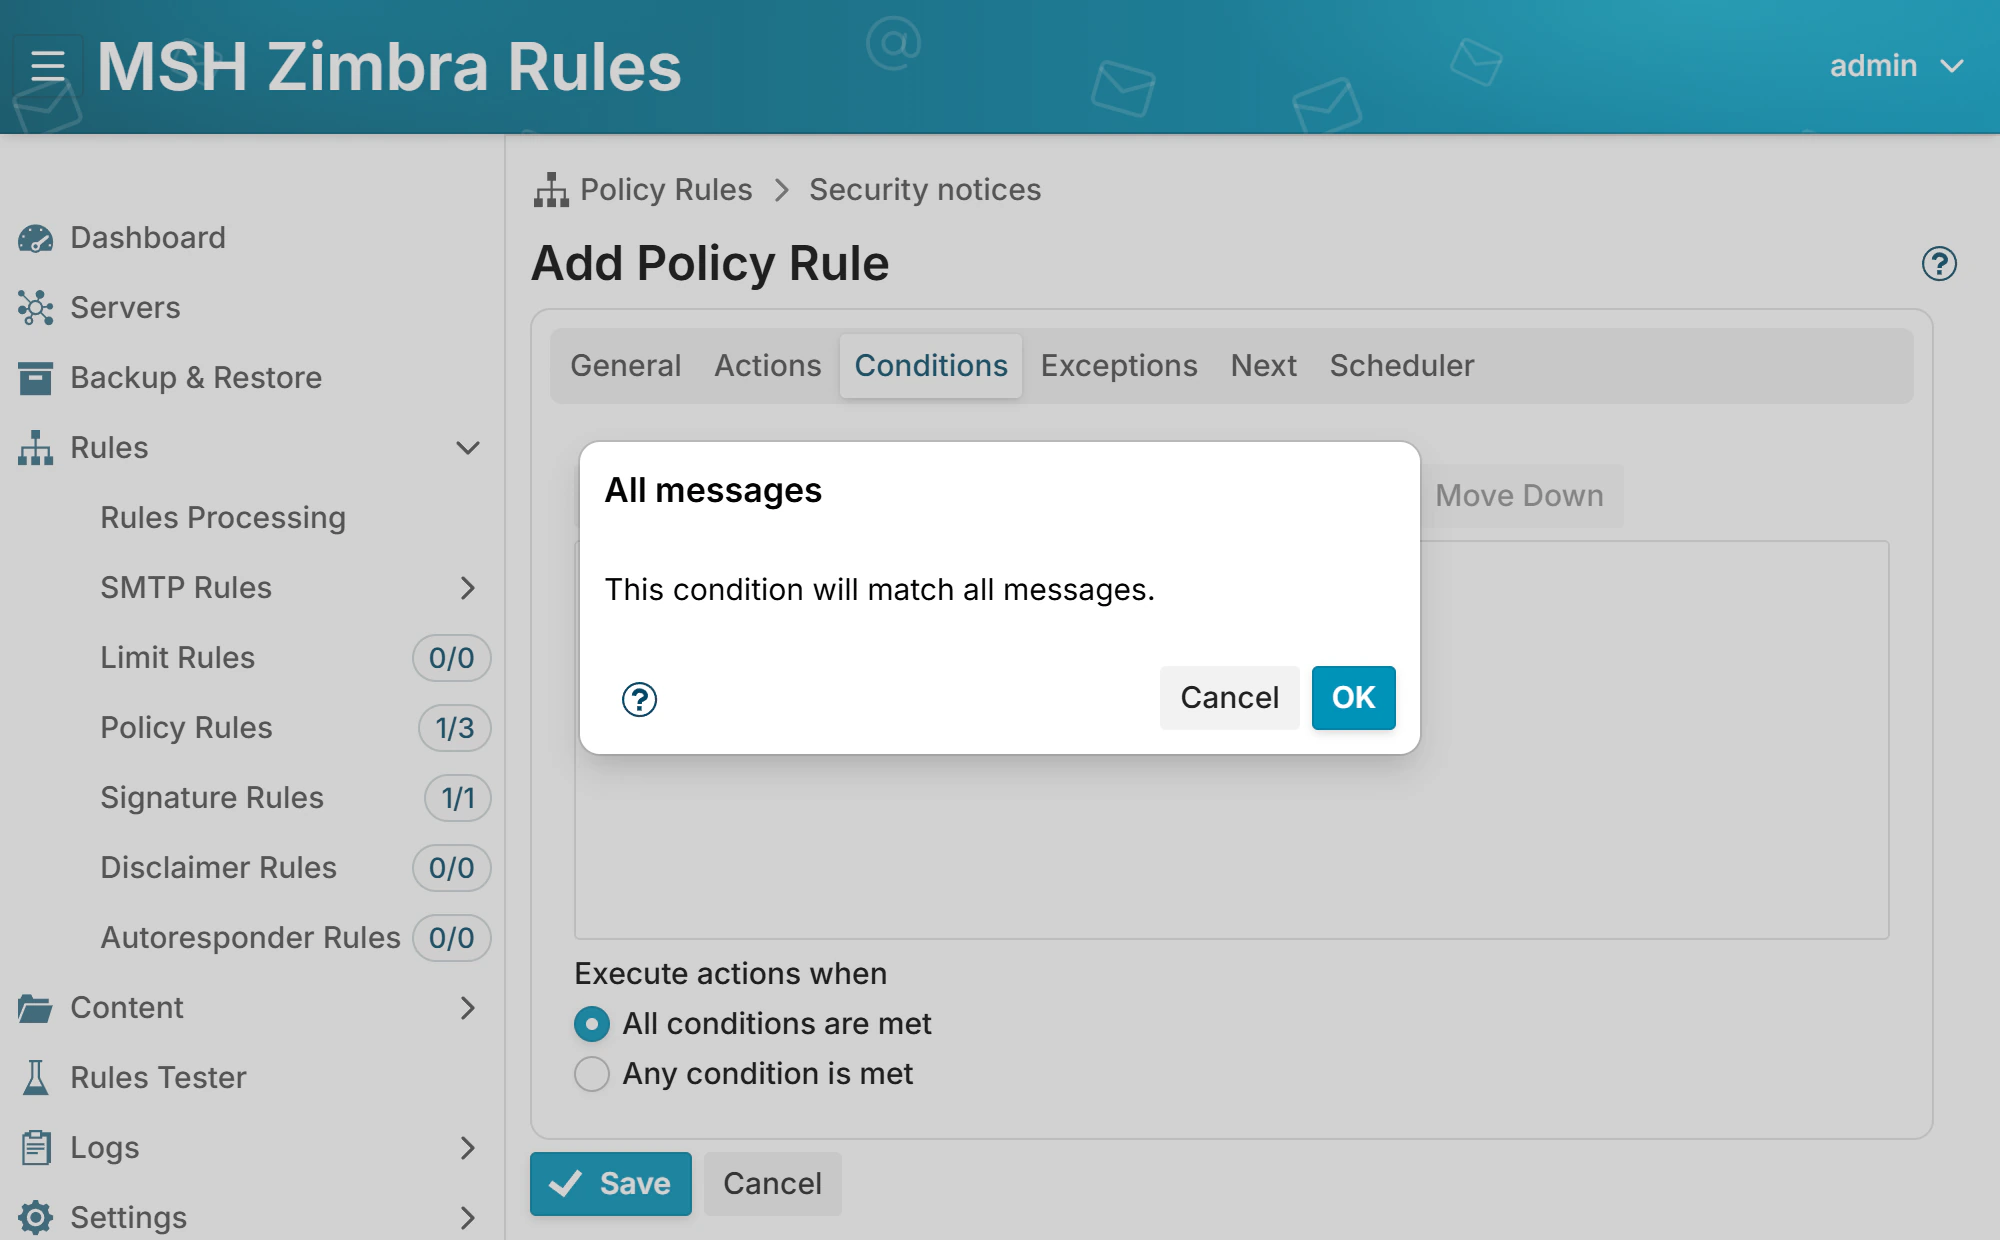
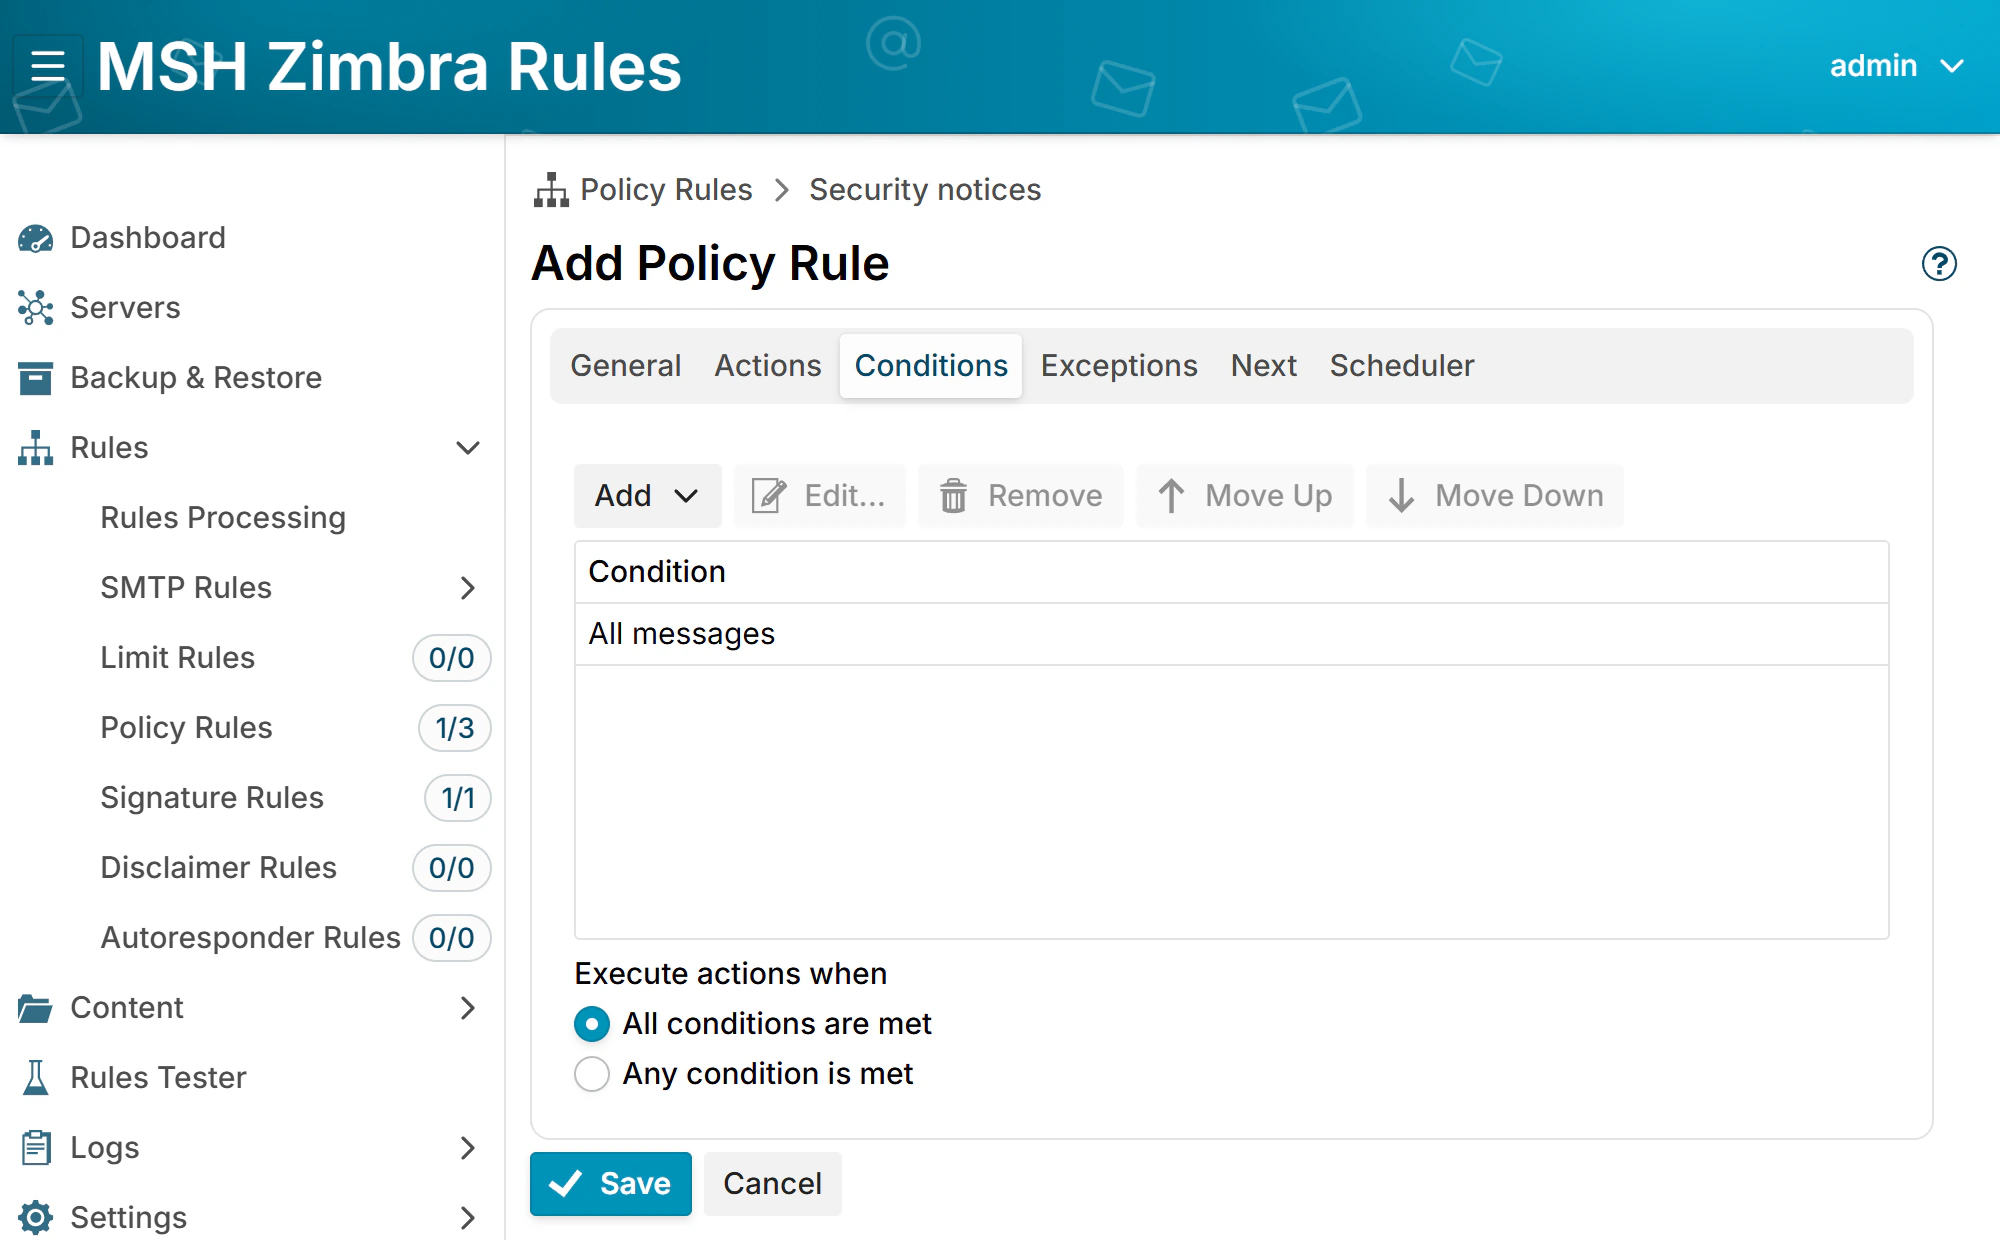
On the Conditions tab, click Add, choose Message > All messages and click OK.
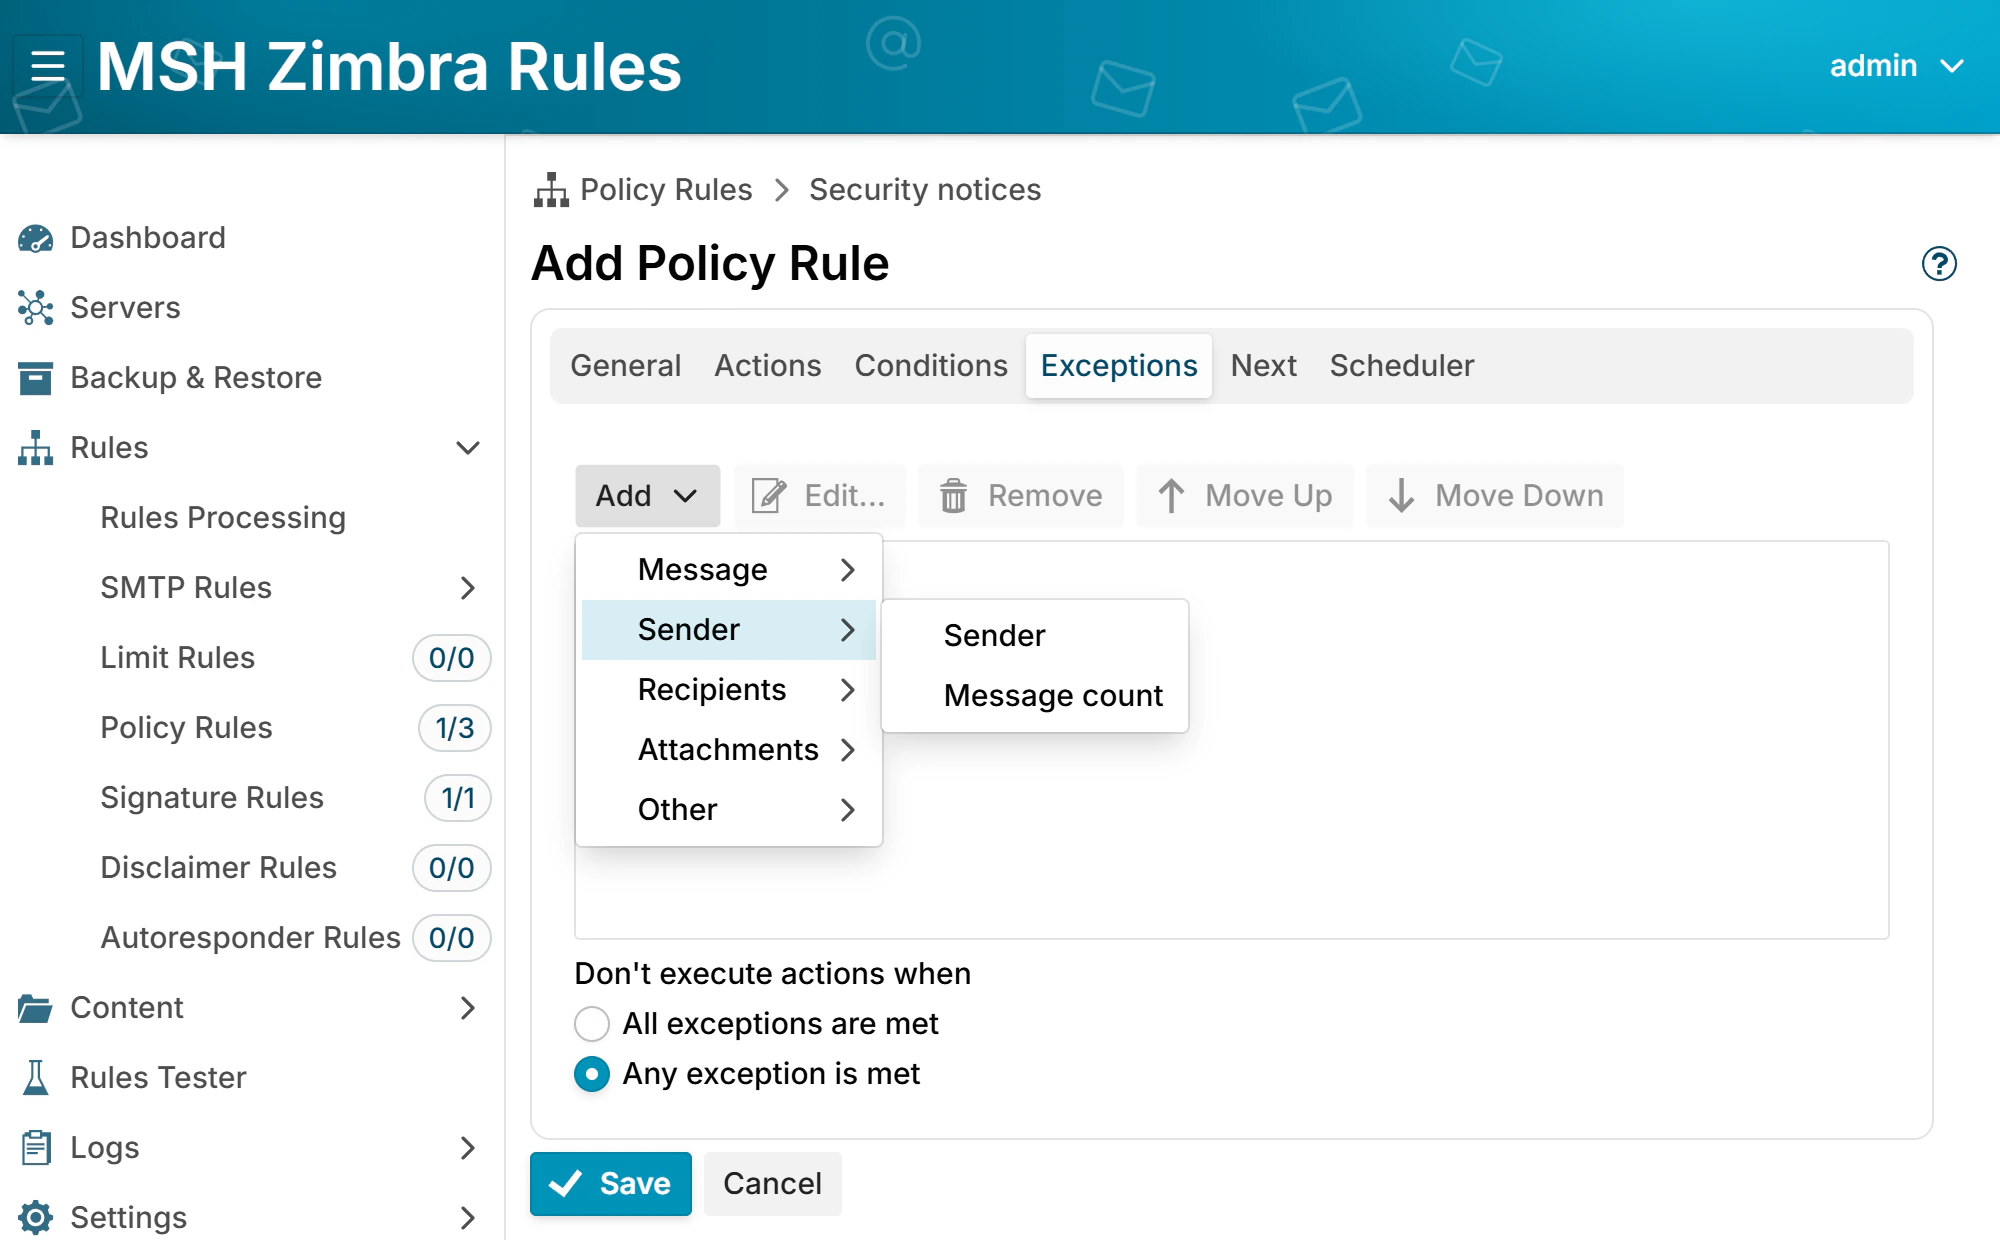
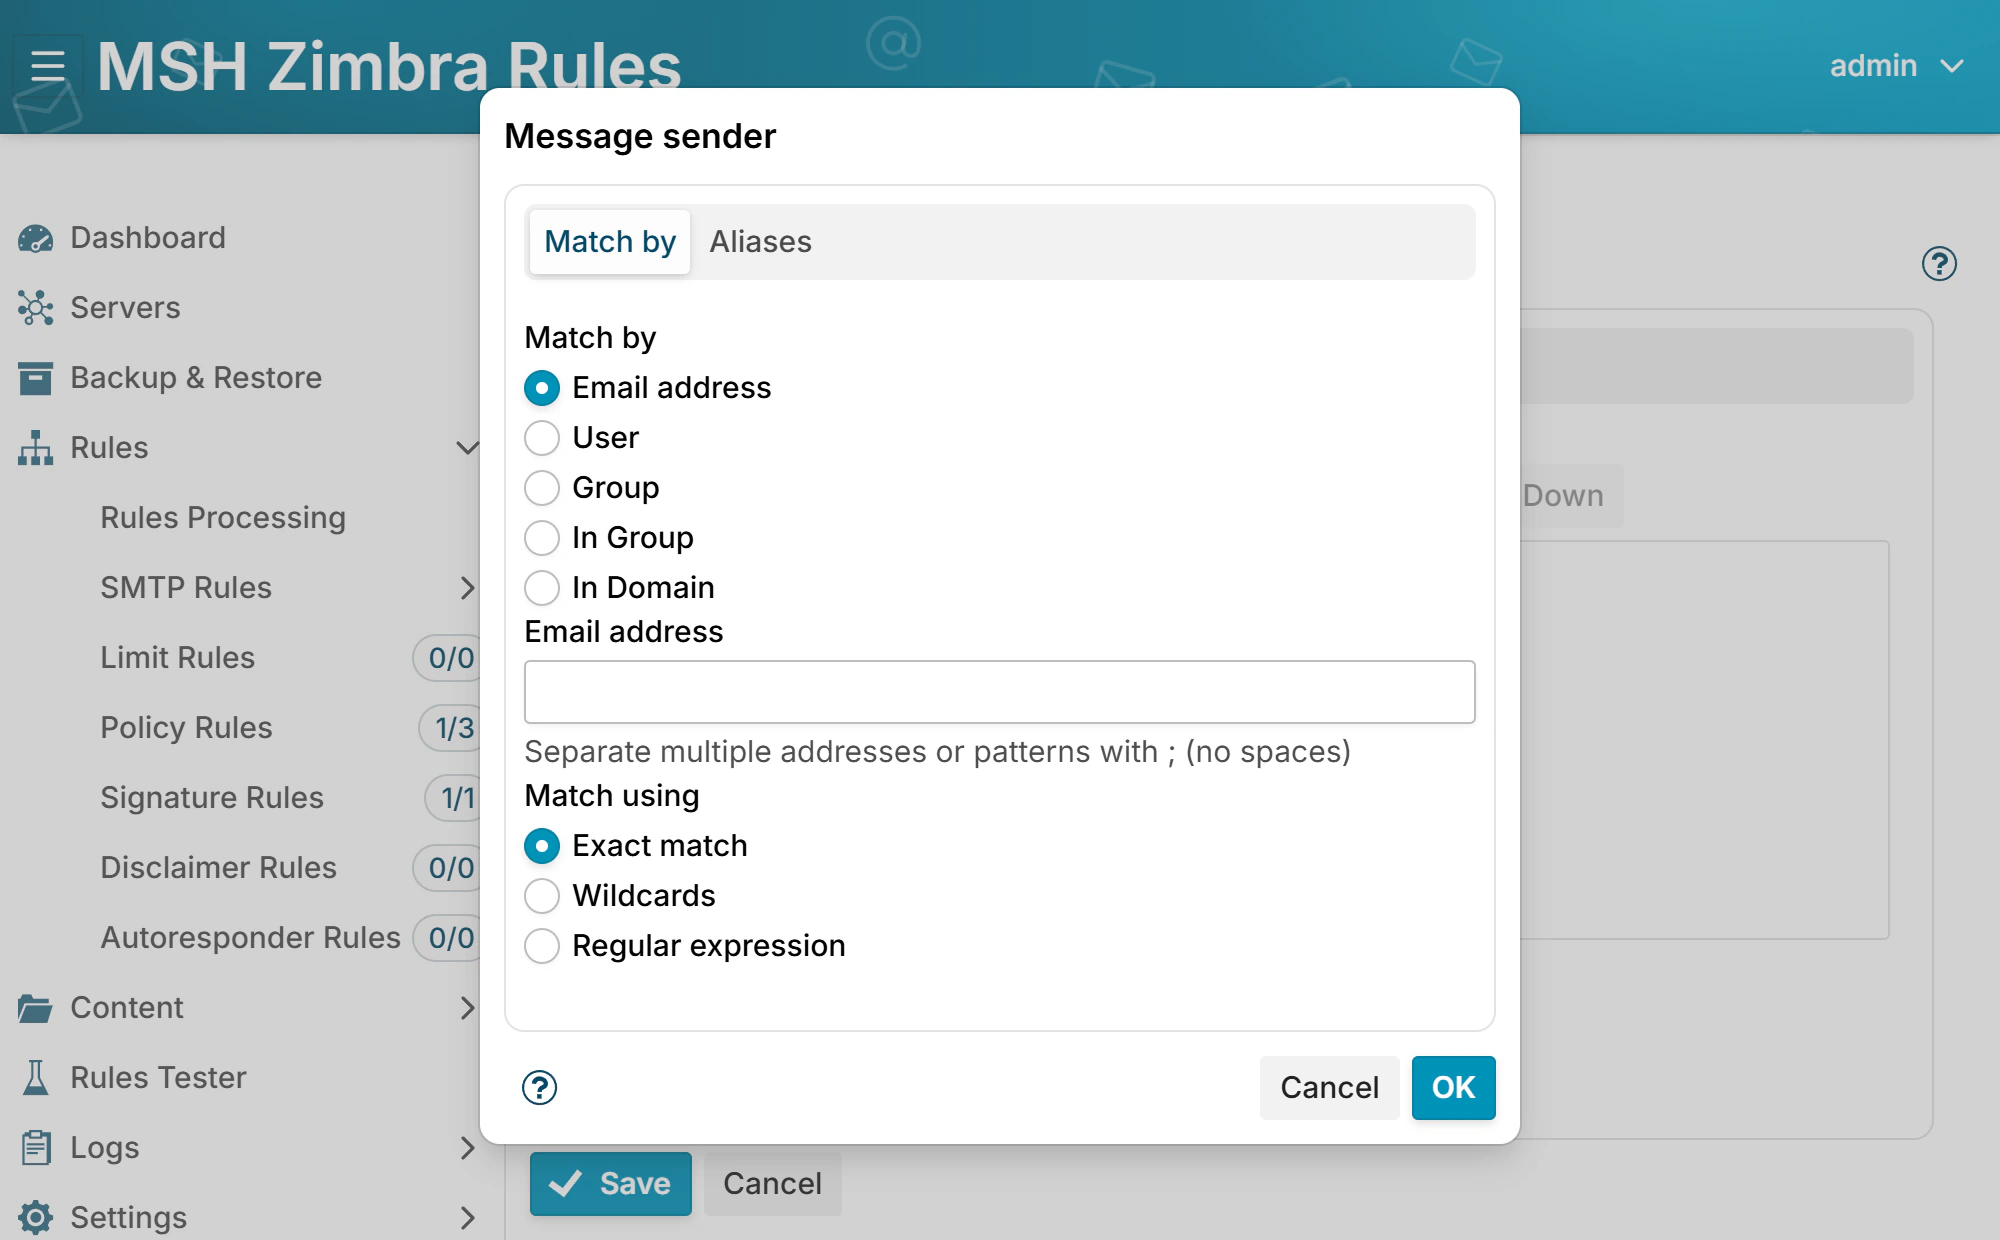
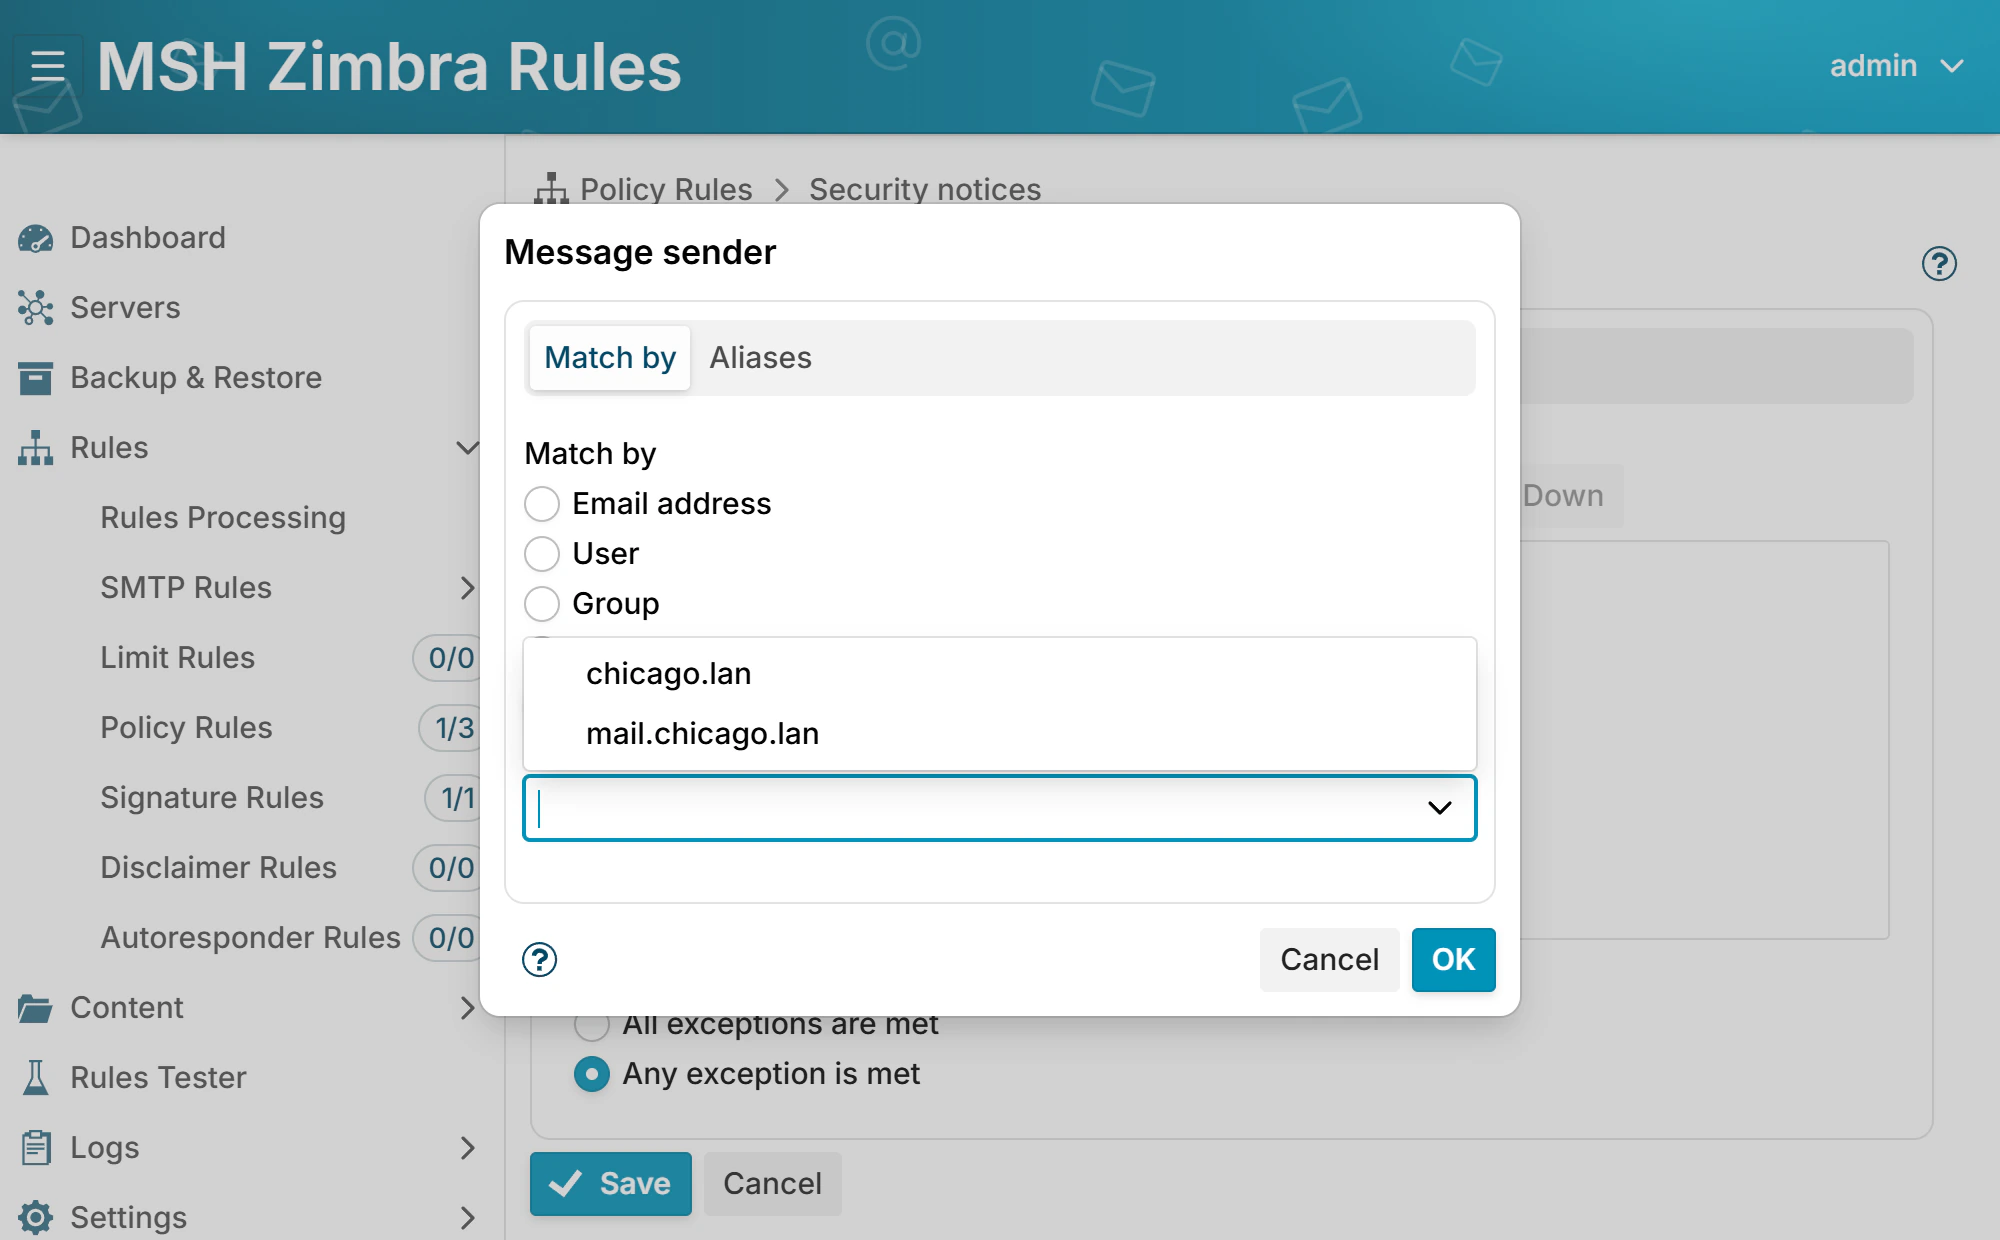
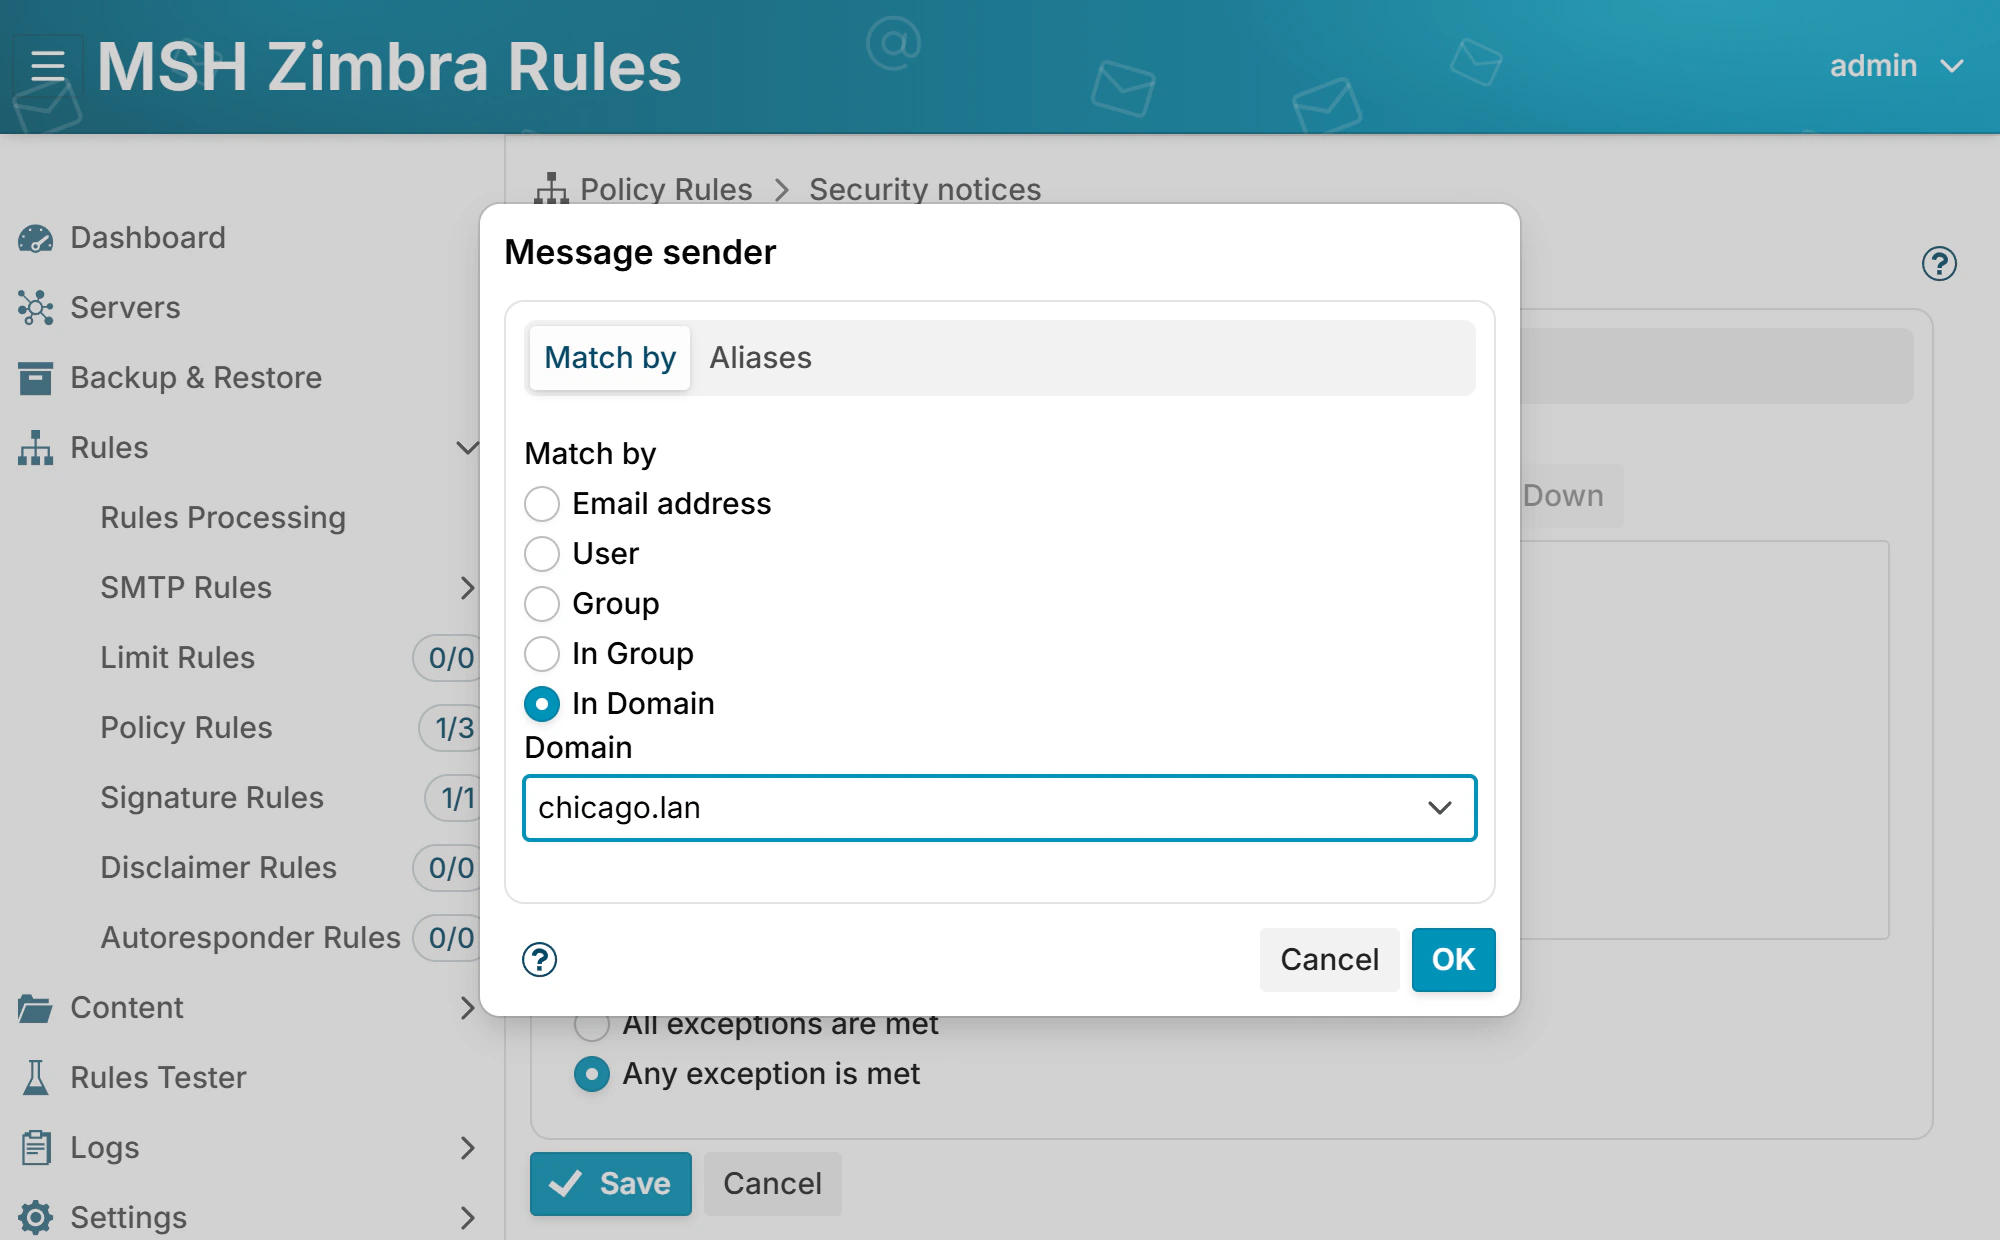
On the Exceptions tab, click Add and choose Sender > Sender. In the Message sender dialog choose In Domain, select your domain in Domain and click OK. Add one such exception for each of your domains. A message whose sender is in any of them is skipped, so mail between colleagues and the mail your users send out gets no banner, and the warning keeps its meaning.
A domain you forget is a domain whose mail gets the banner, and users will report it as a bug. The test in step 5 catches it.
The Message direction condition looks like the obvious choice, but Incoming needs every To and Cc recipient to be in your organization. An external message that also copies the sender's colleague, or that reaches your user through a mailing list or as Bcc, is not incoming, and would get no banner. The exception above has no such gap.
Step 3 - Add the banner
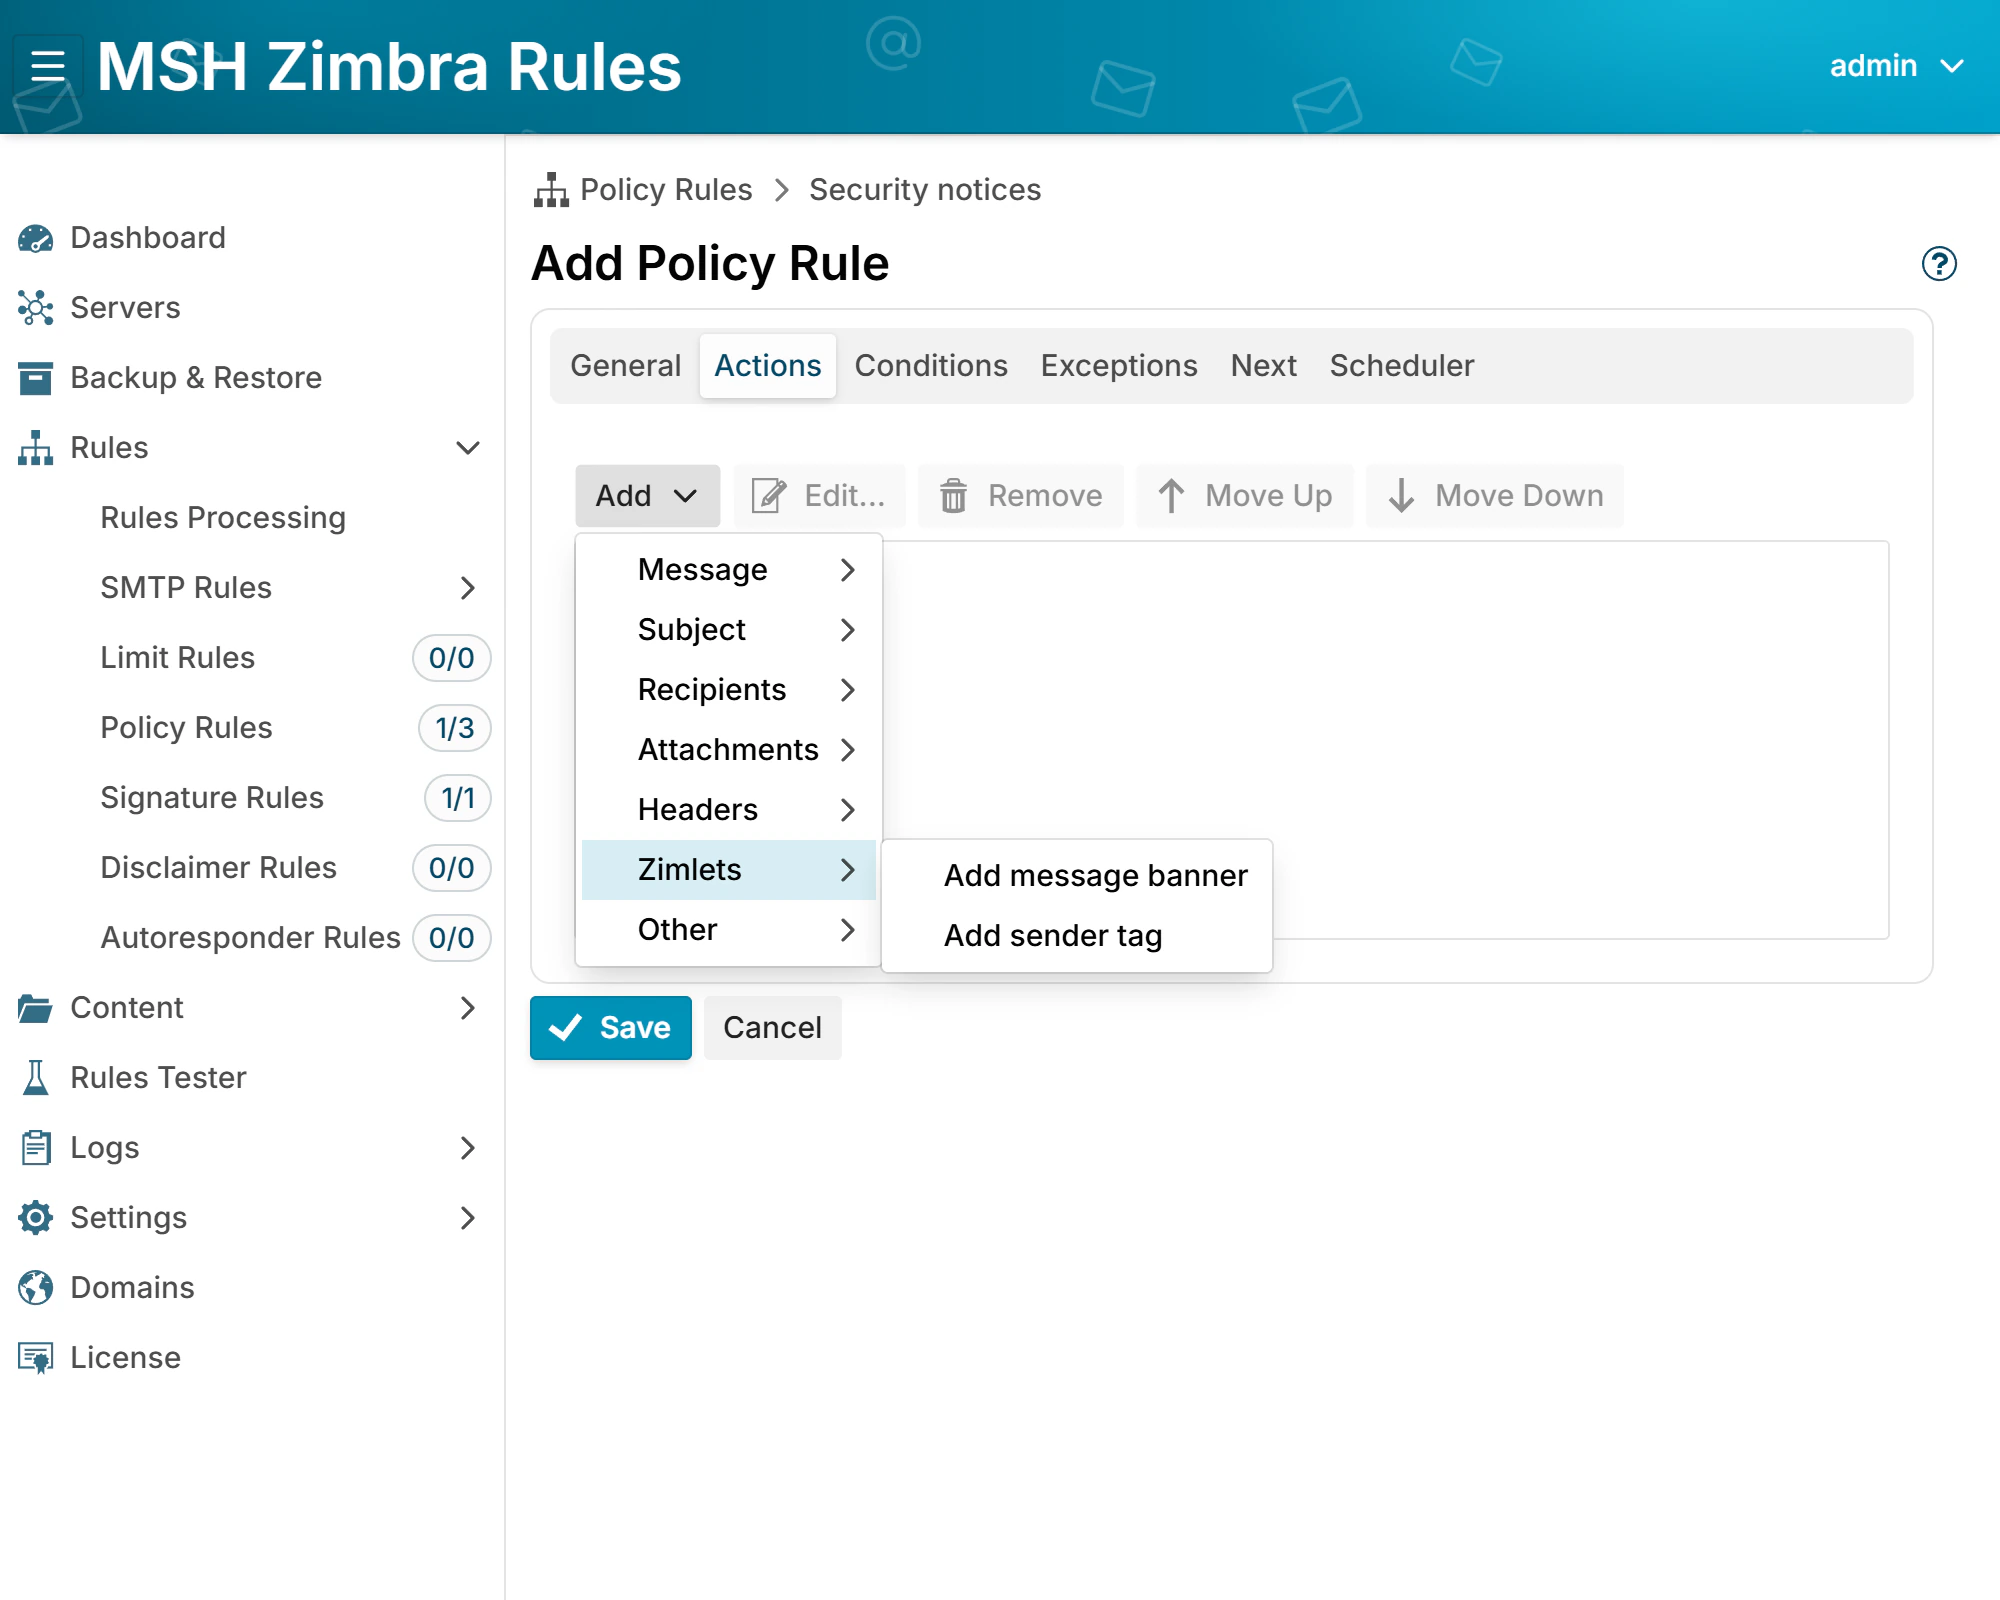
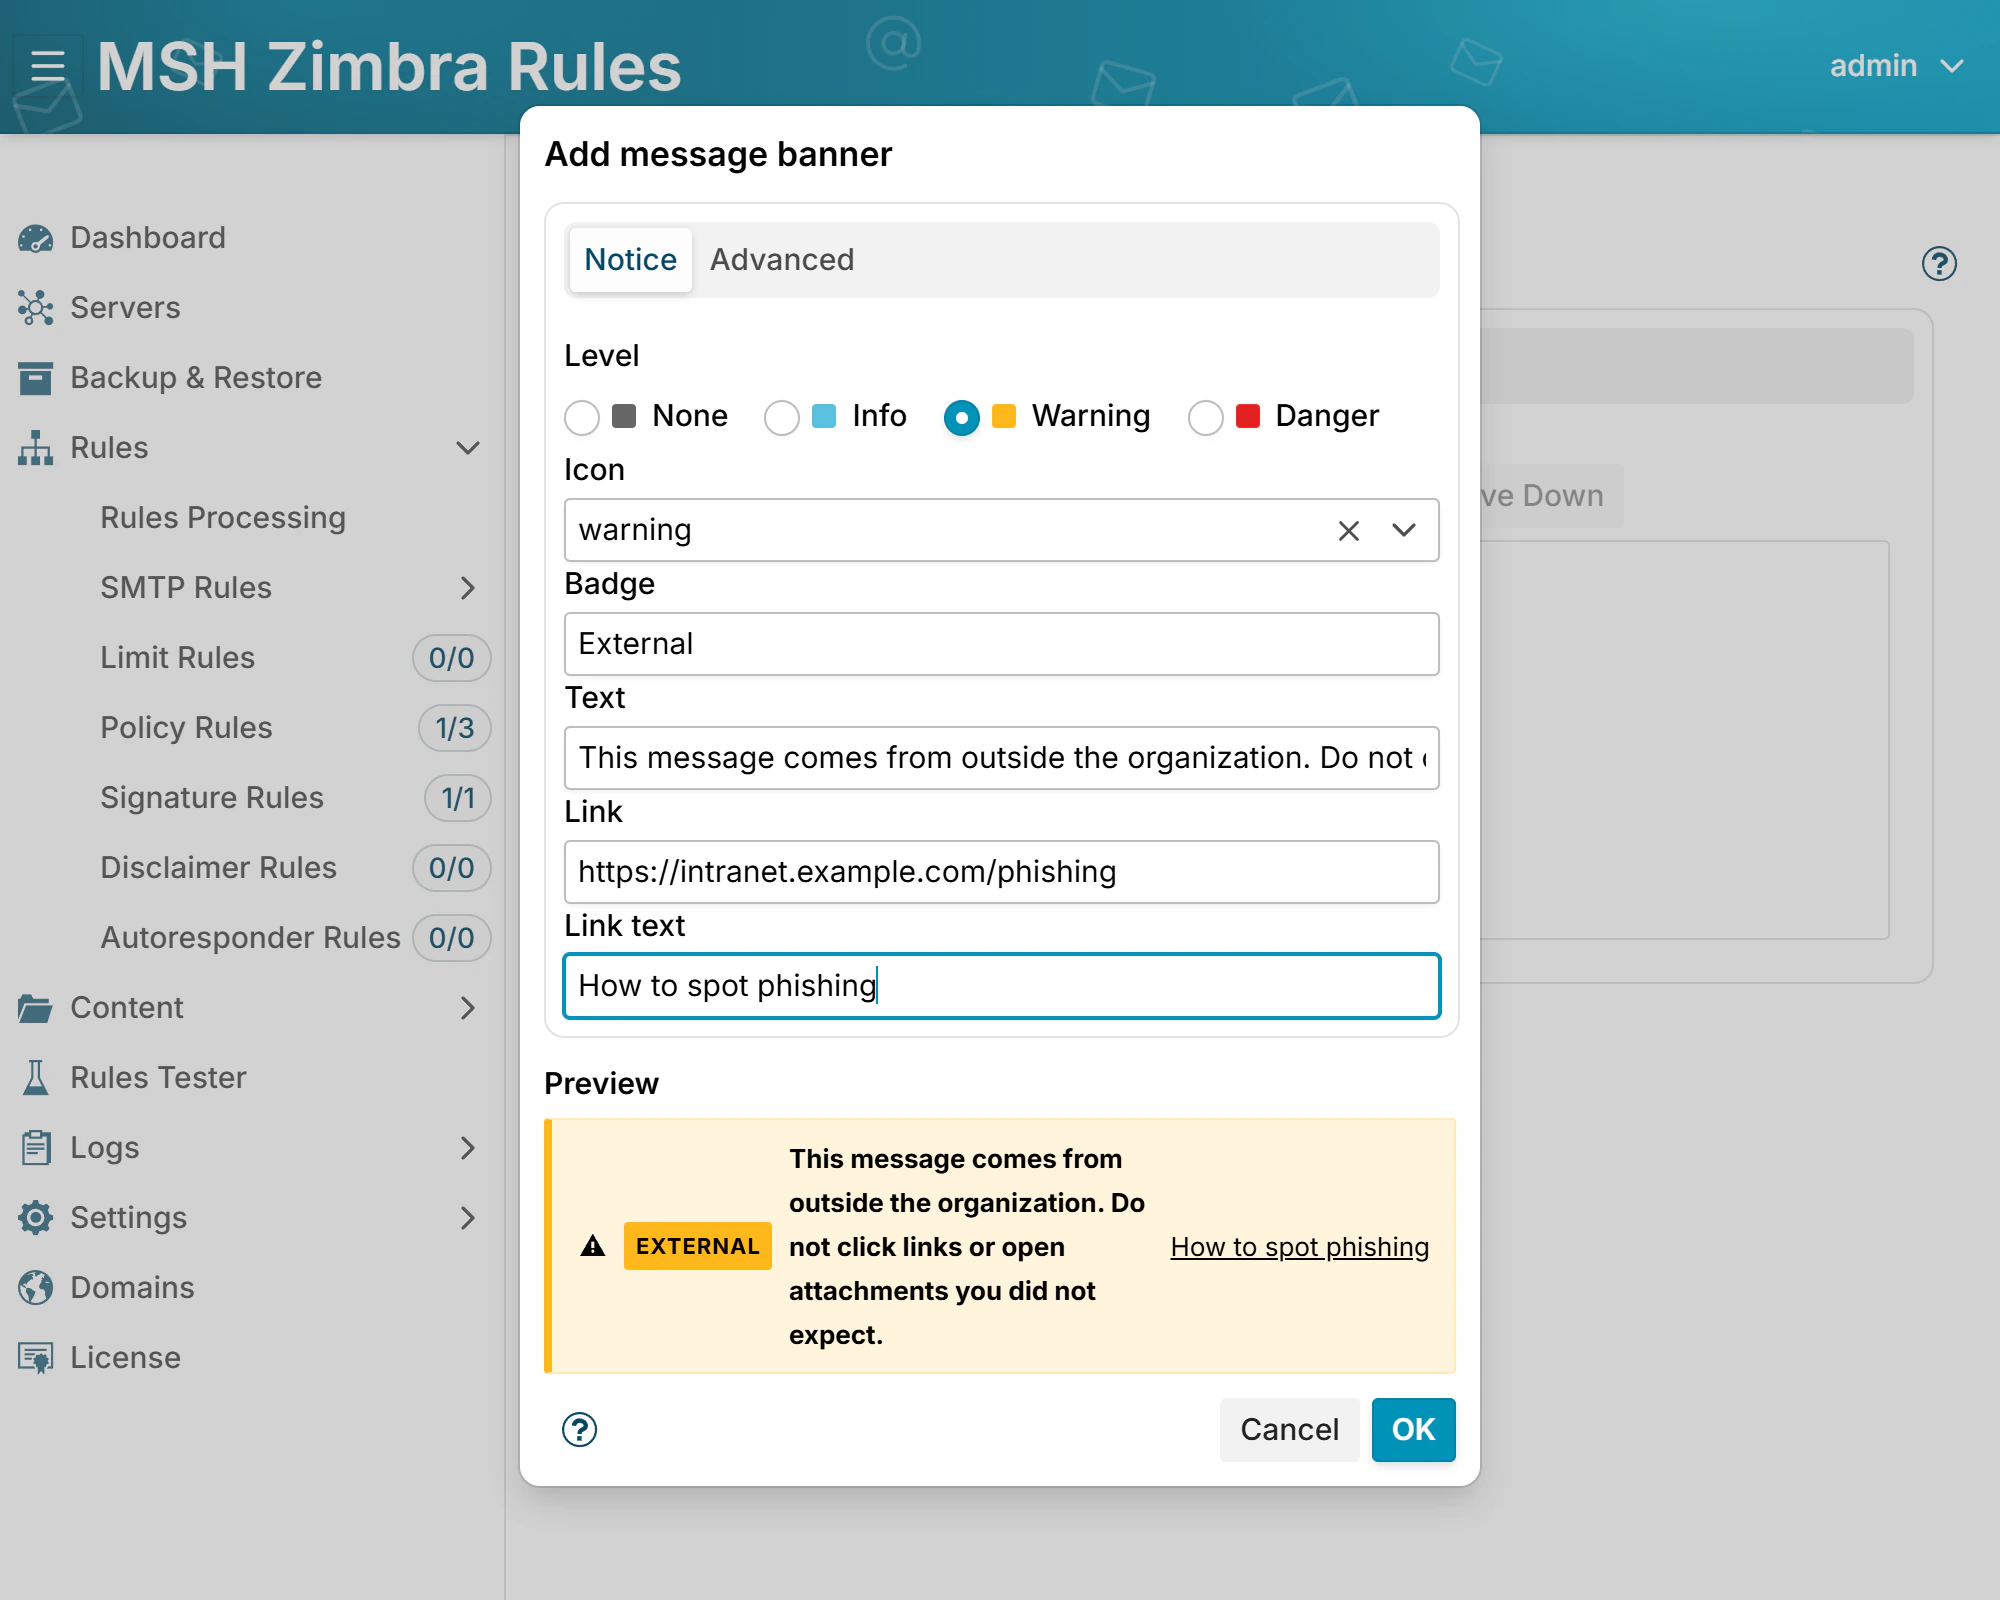
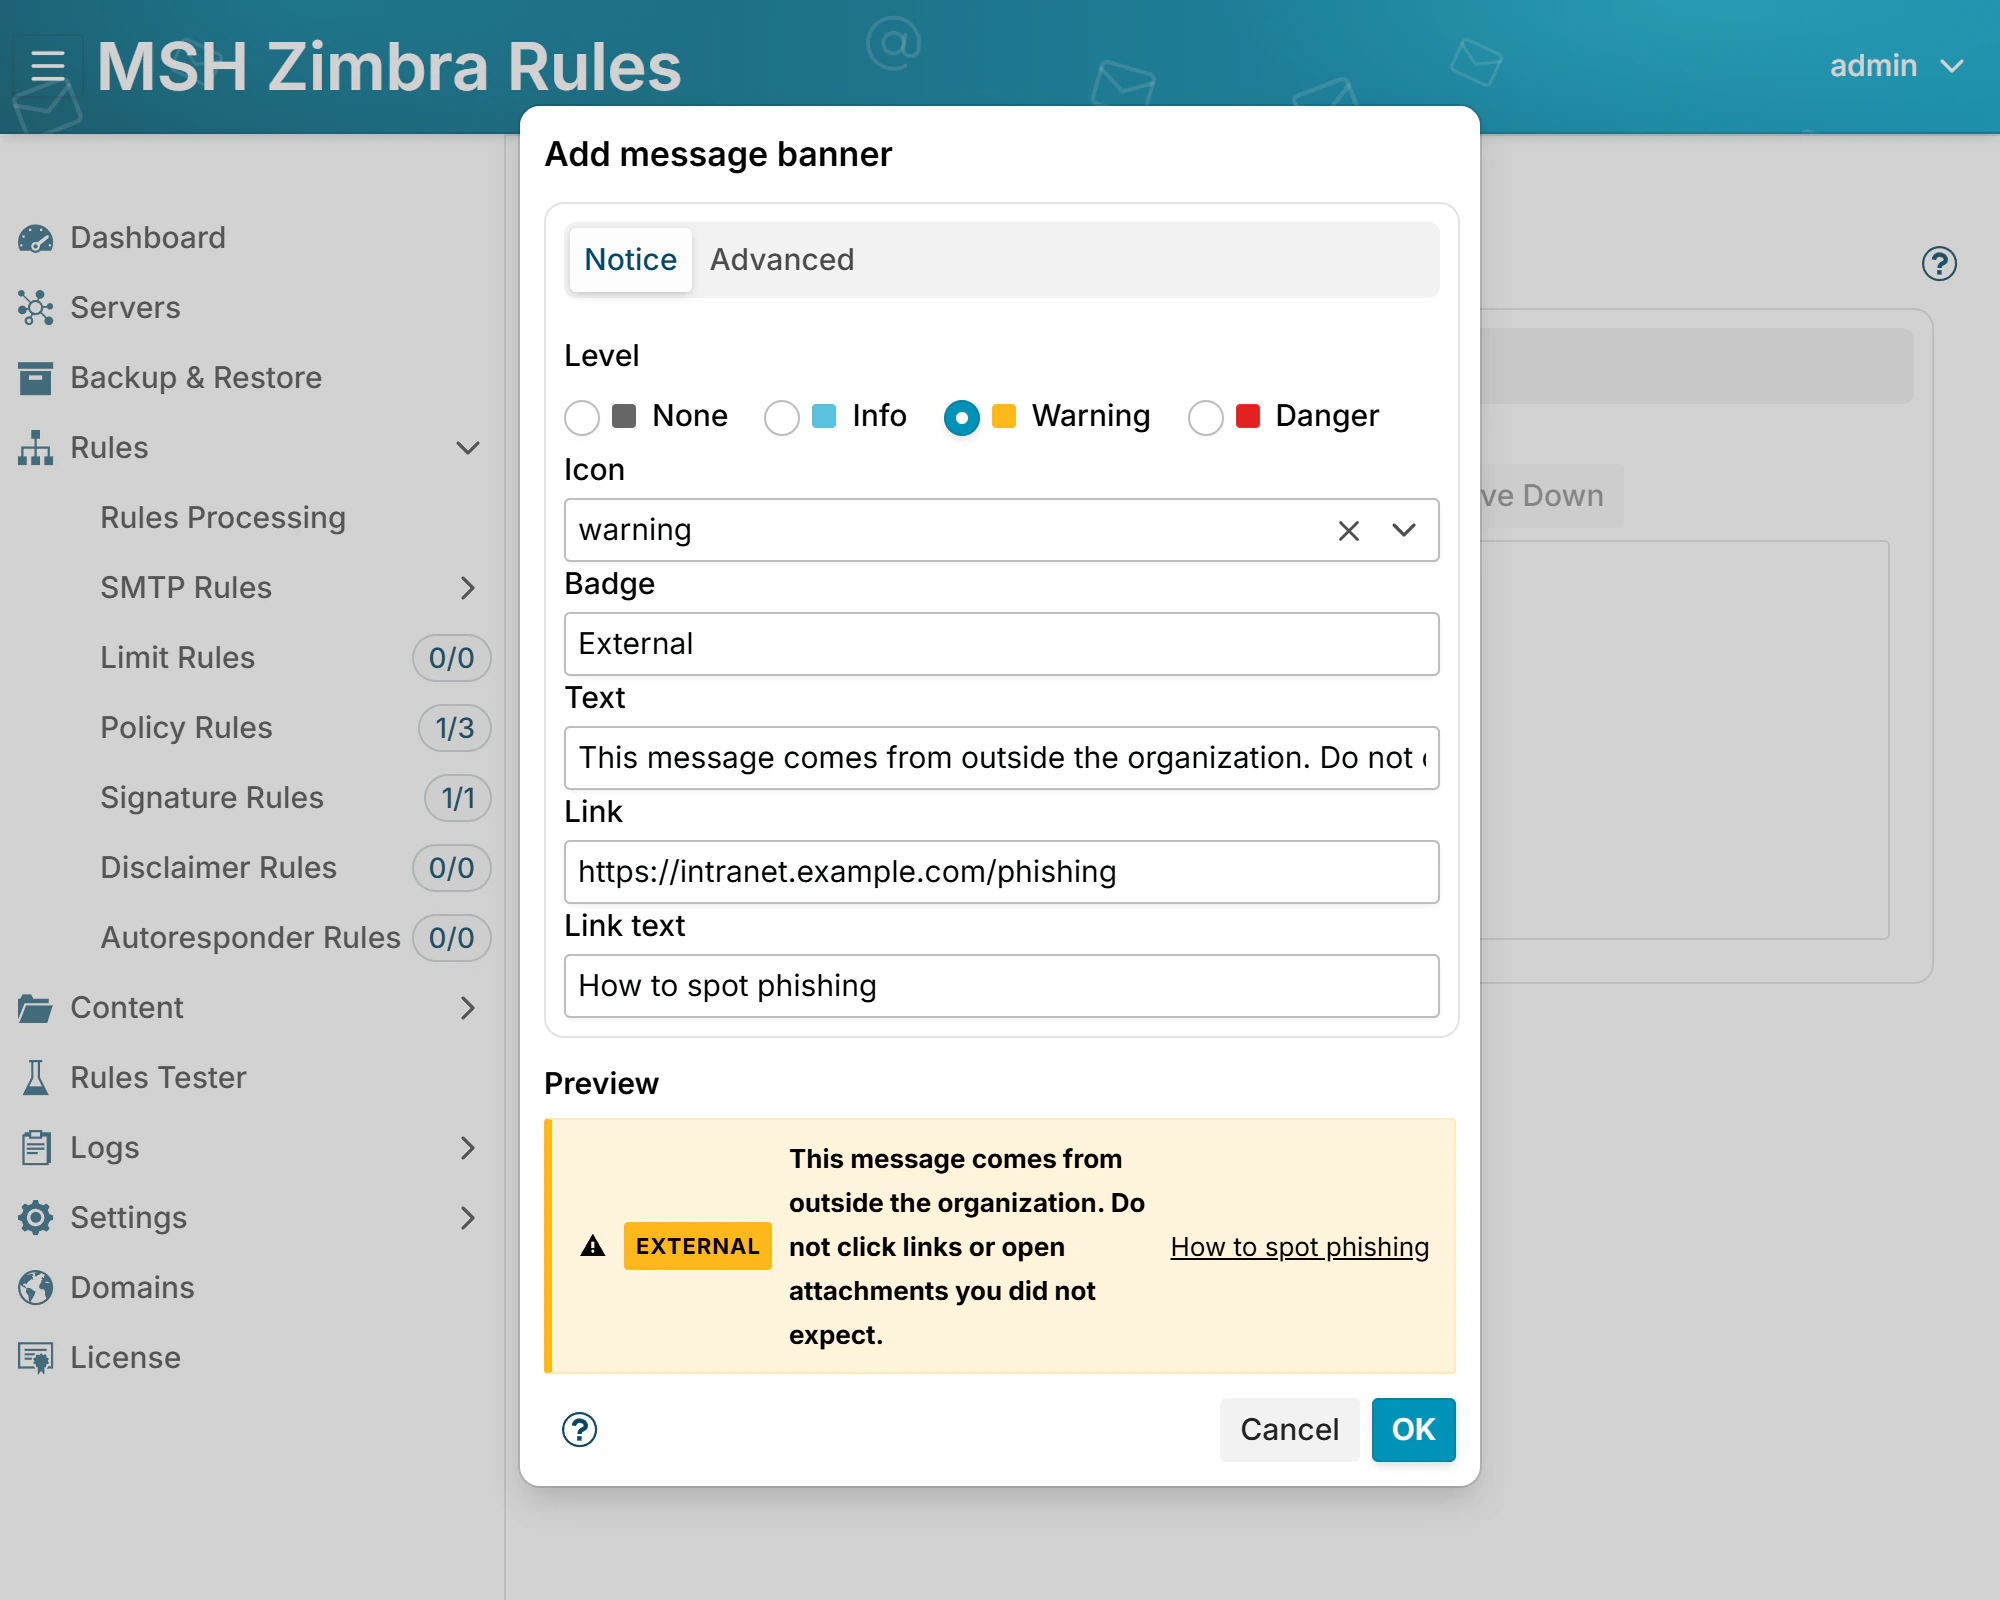
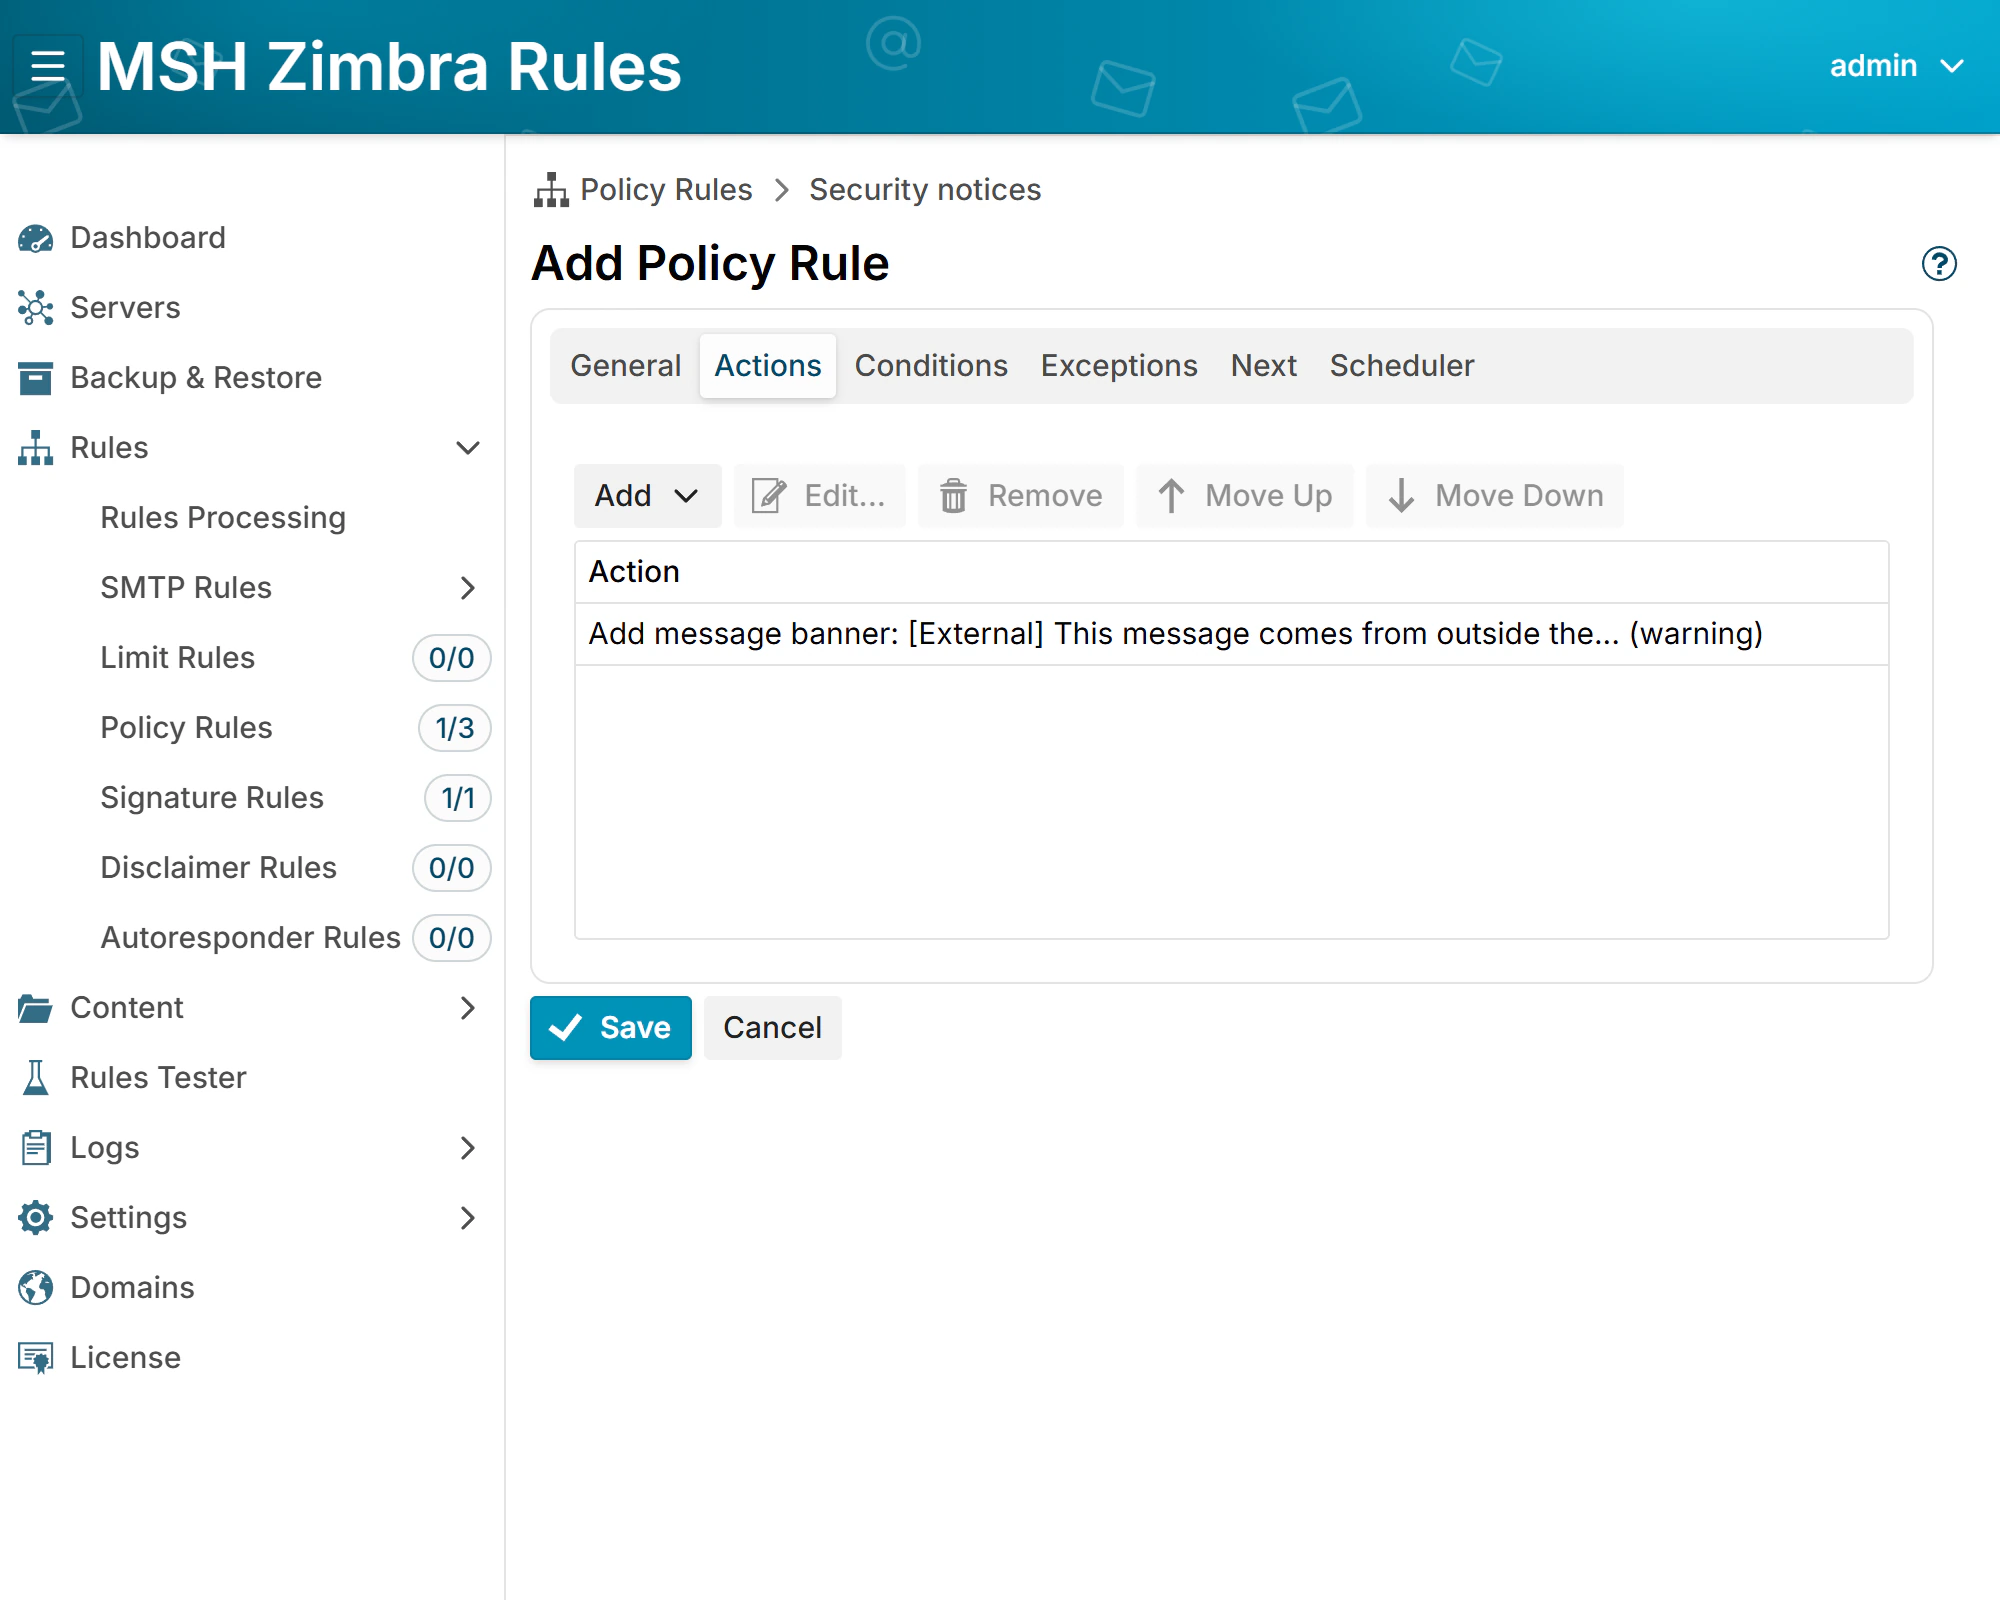
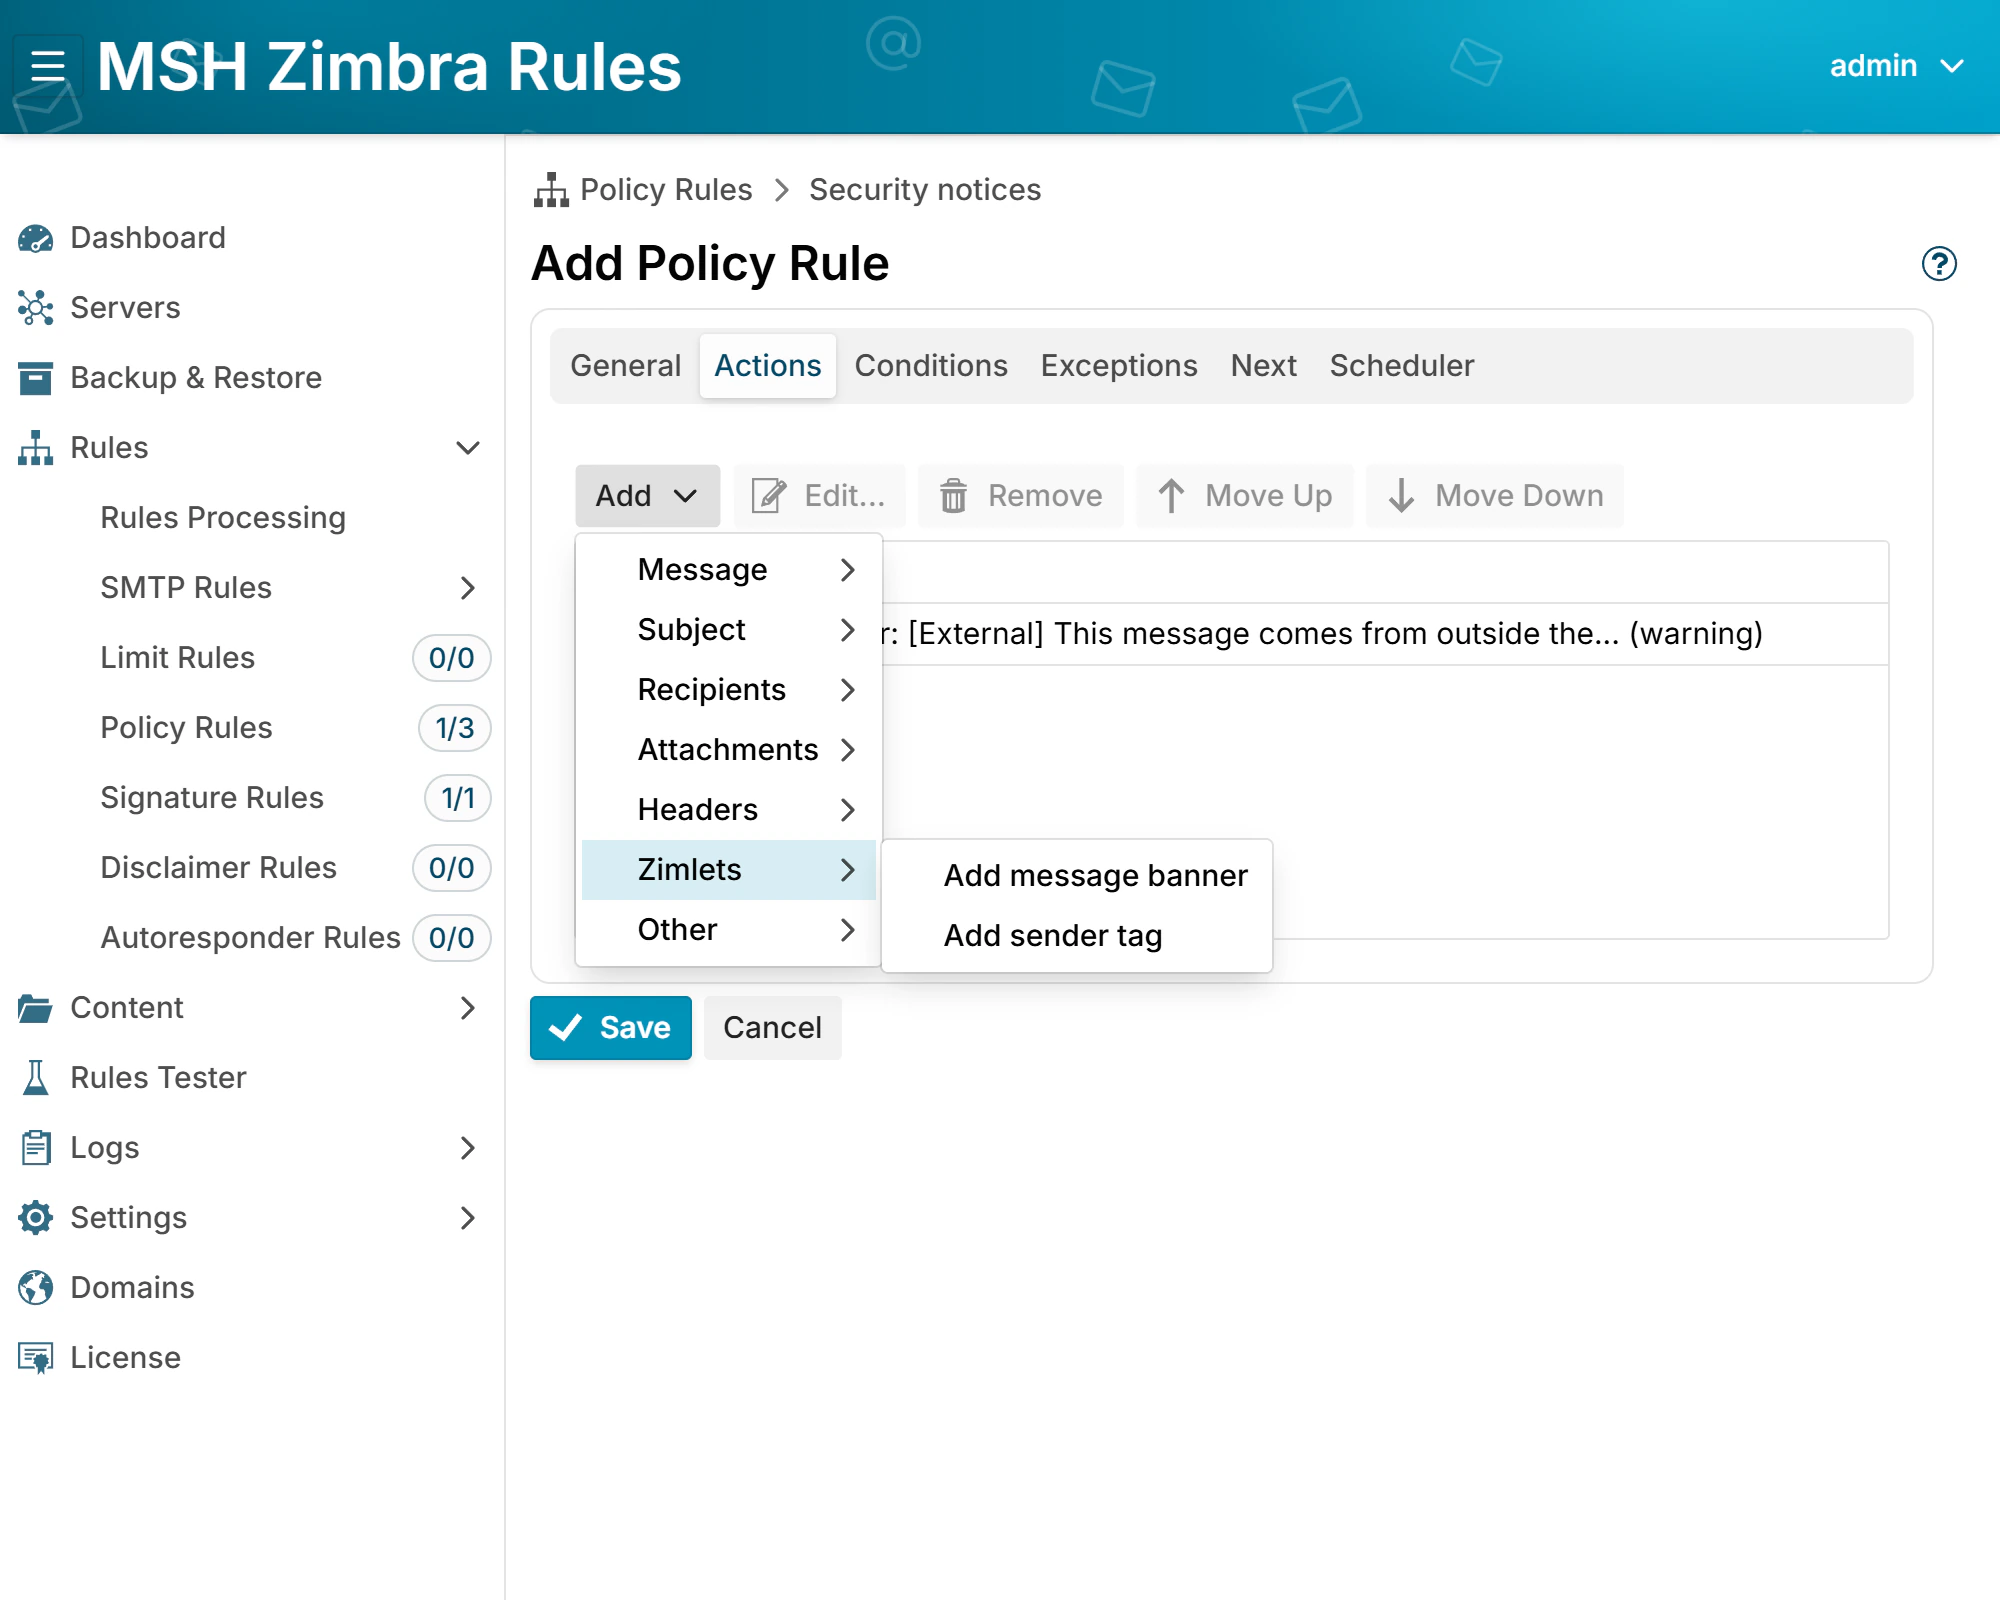
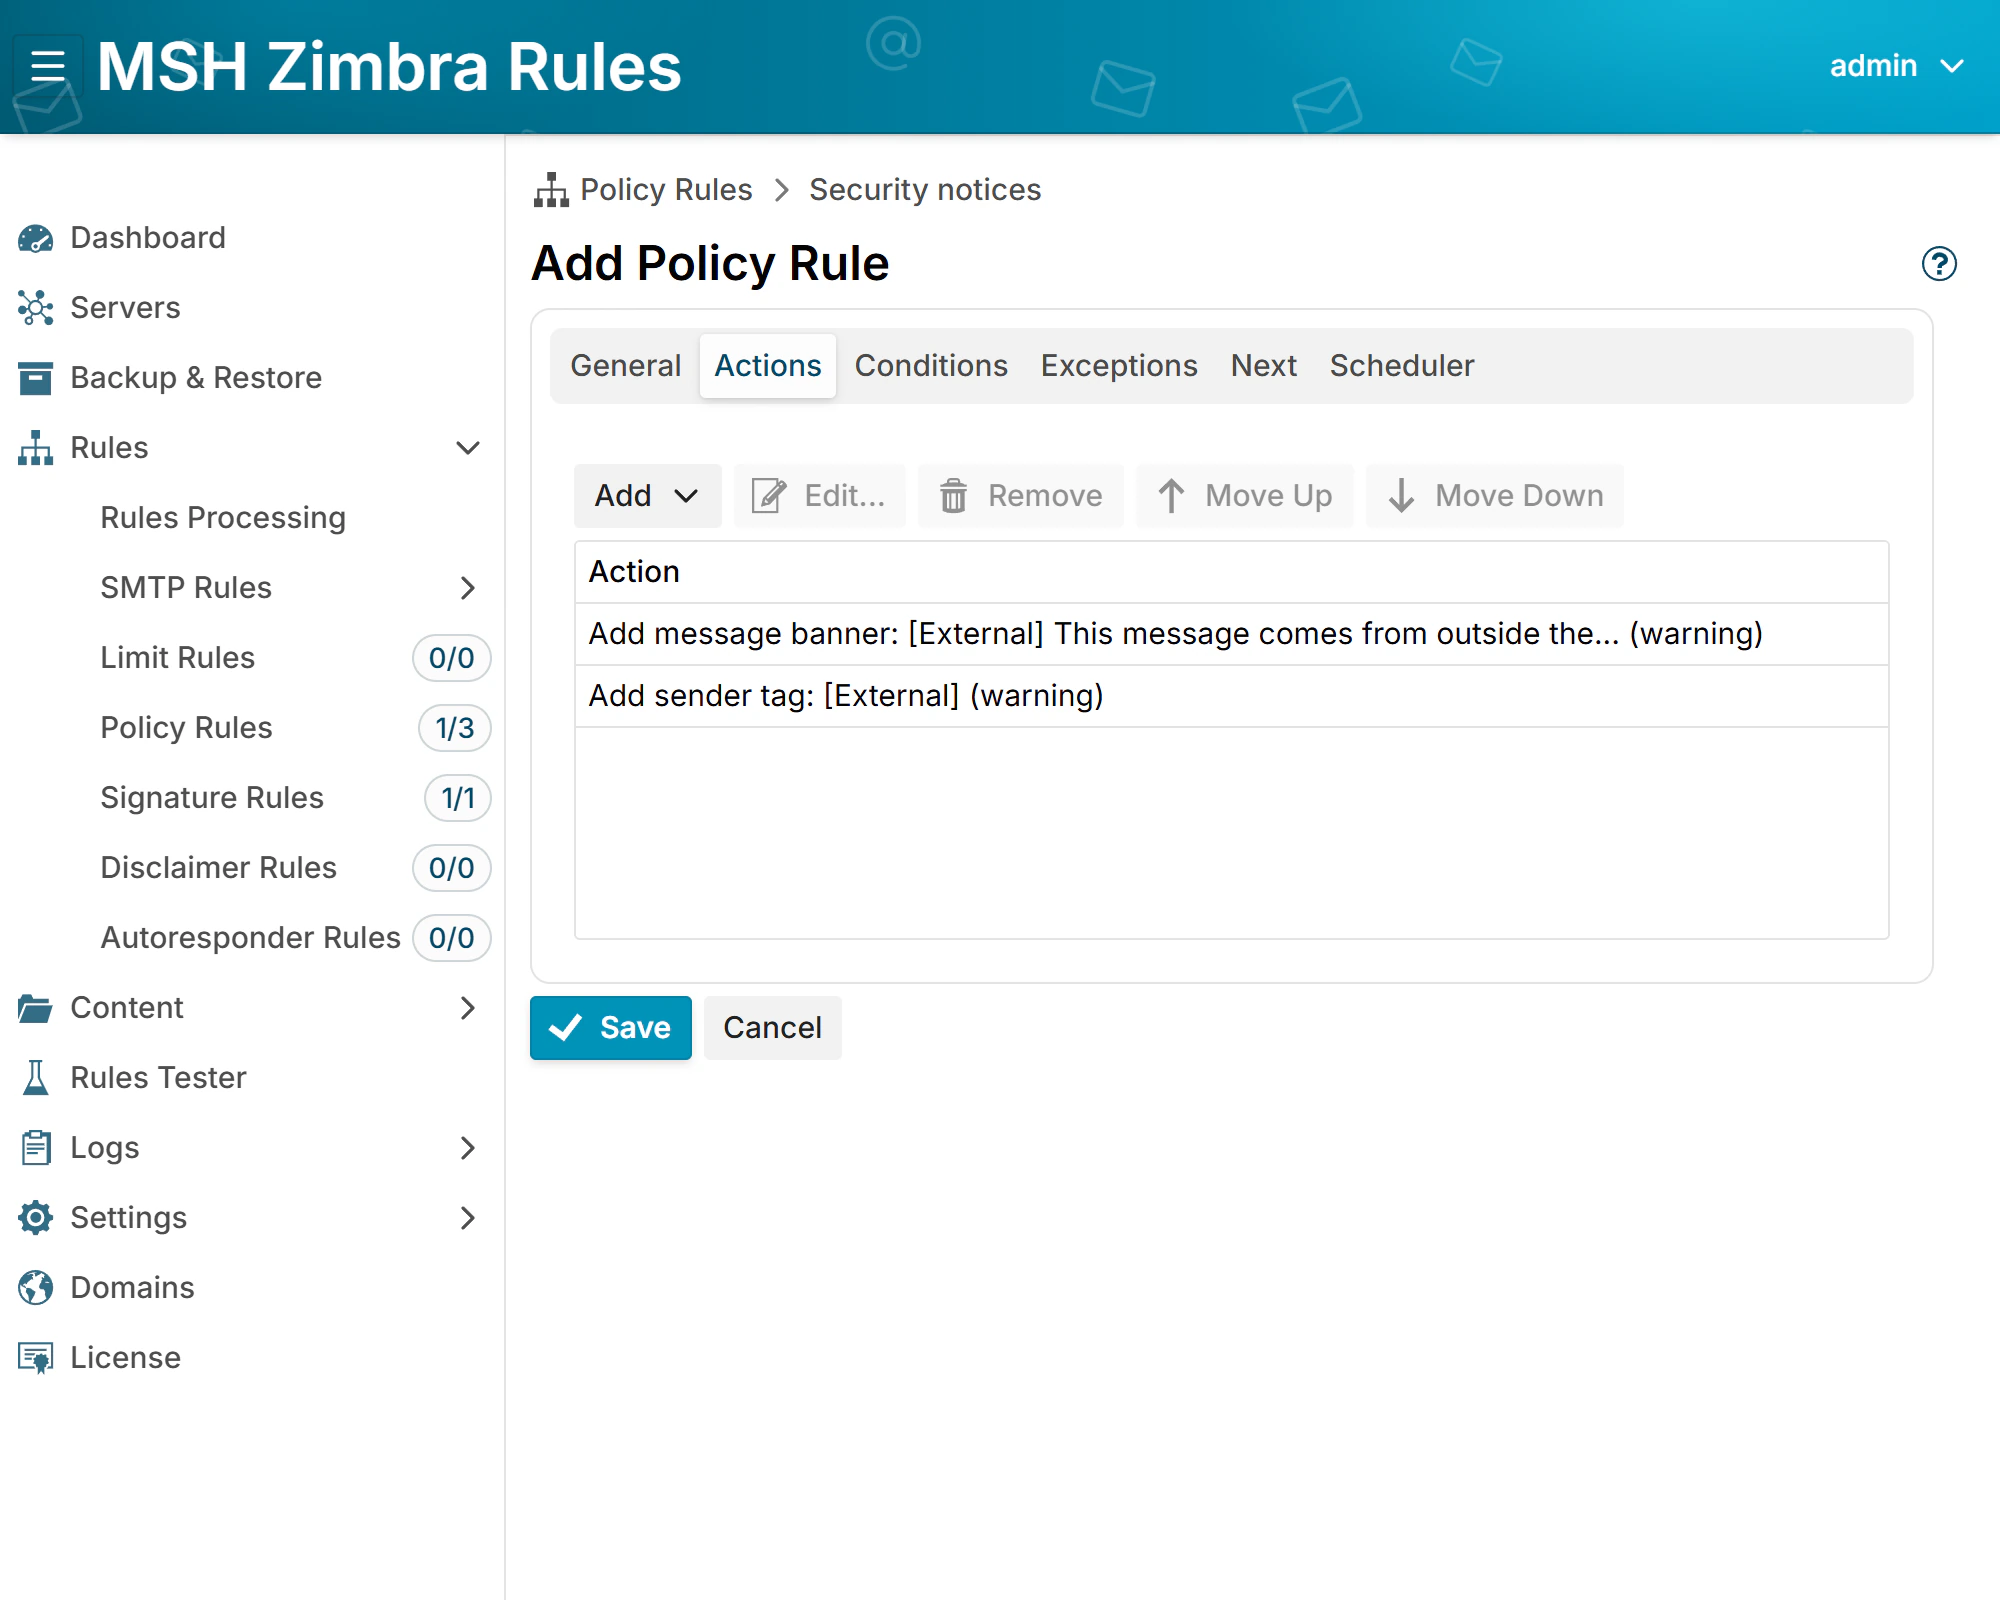
On the Actions tab, open the Add menu and choose Add message banner in the Zimlets group.
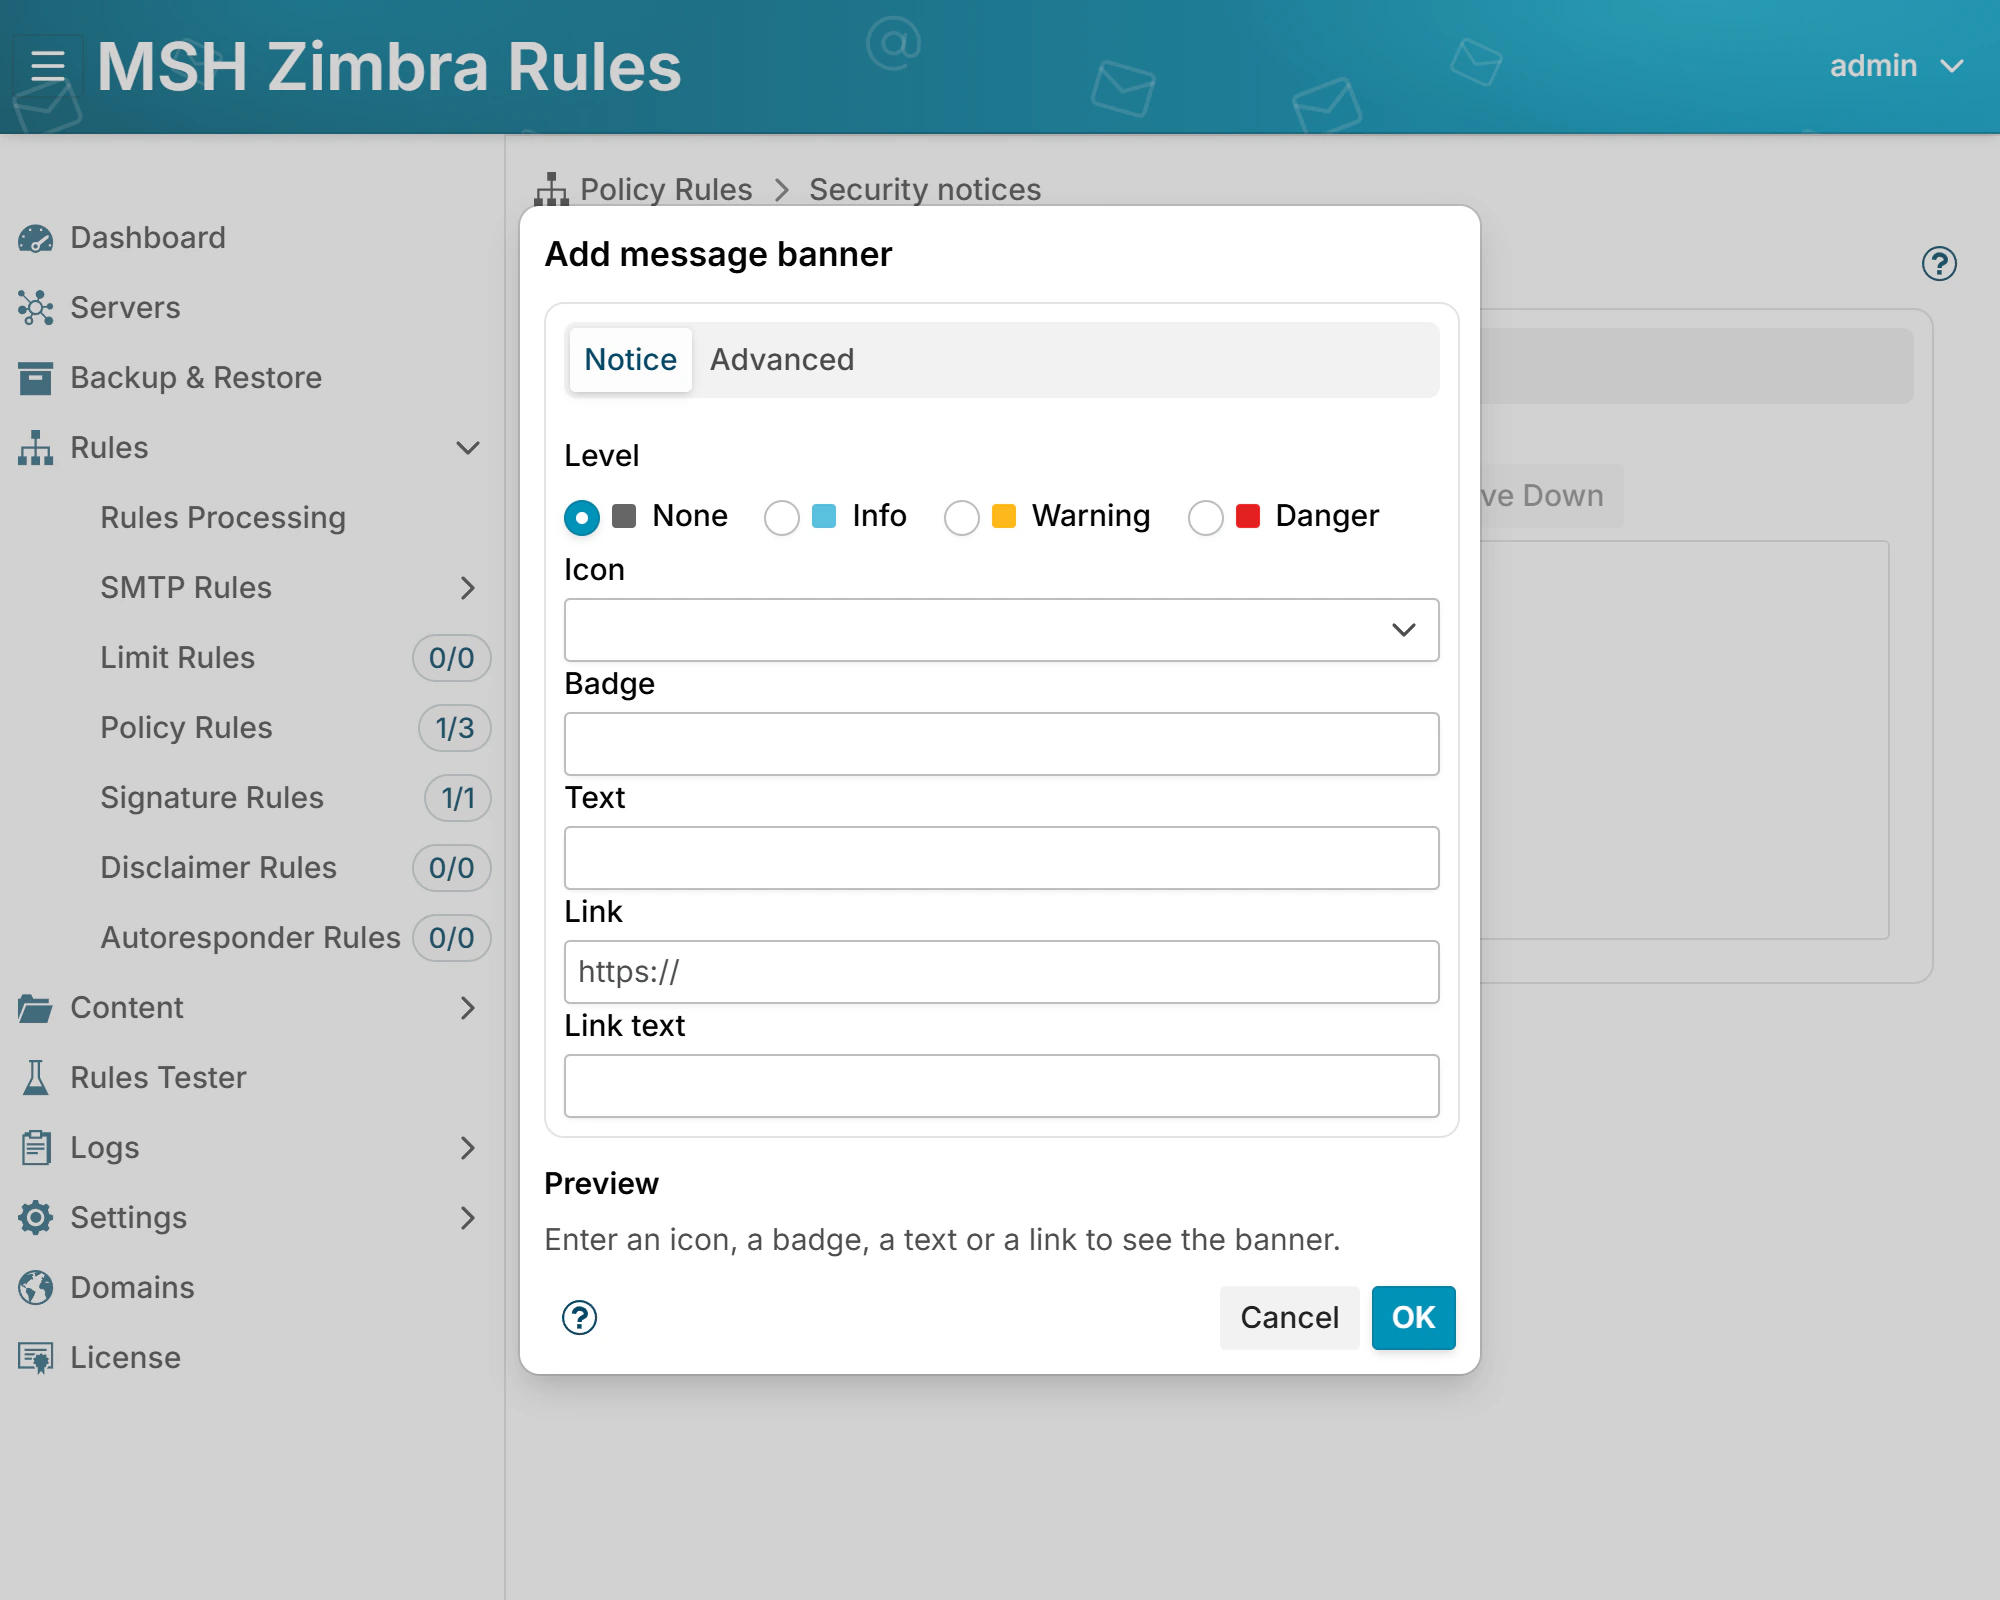
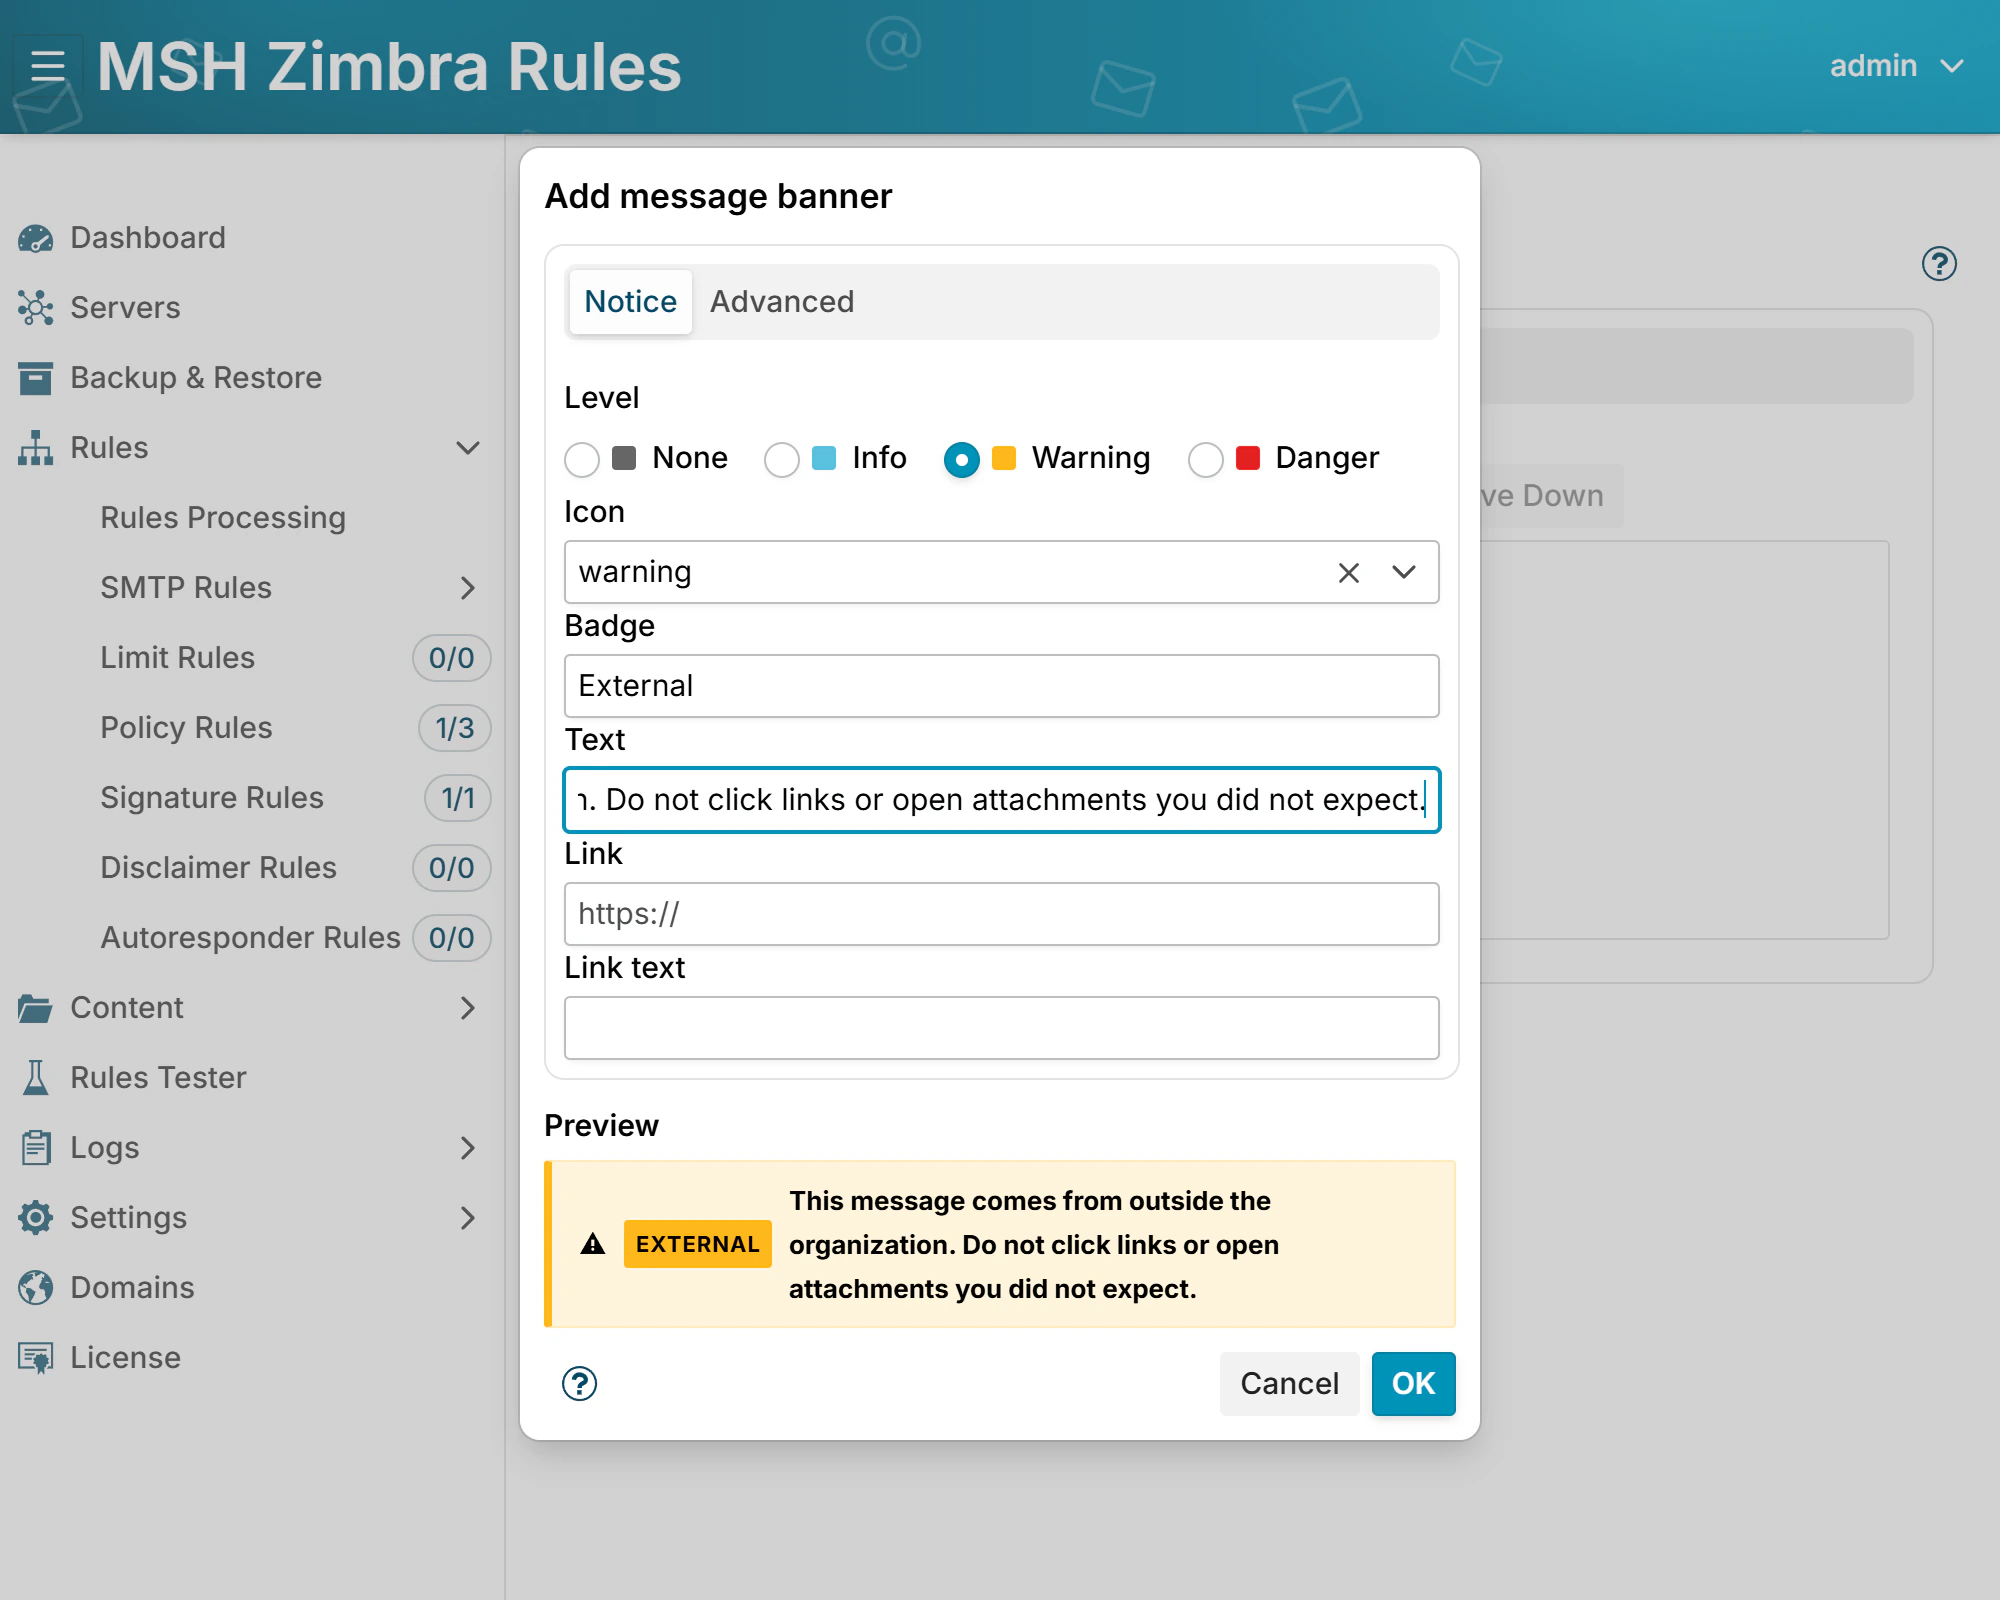
| Field | Value |
|---|---|
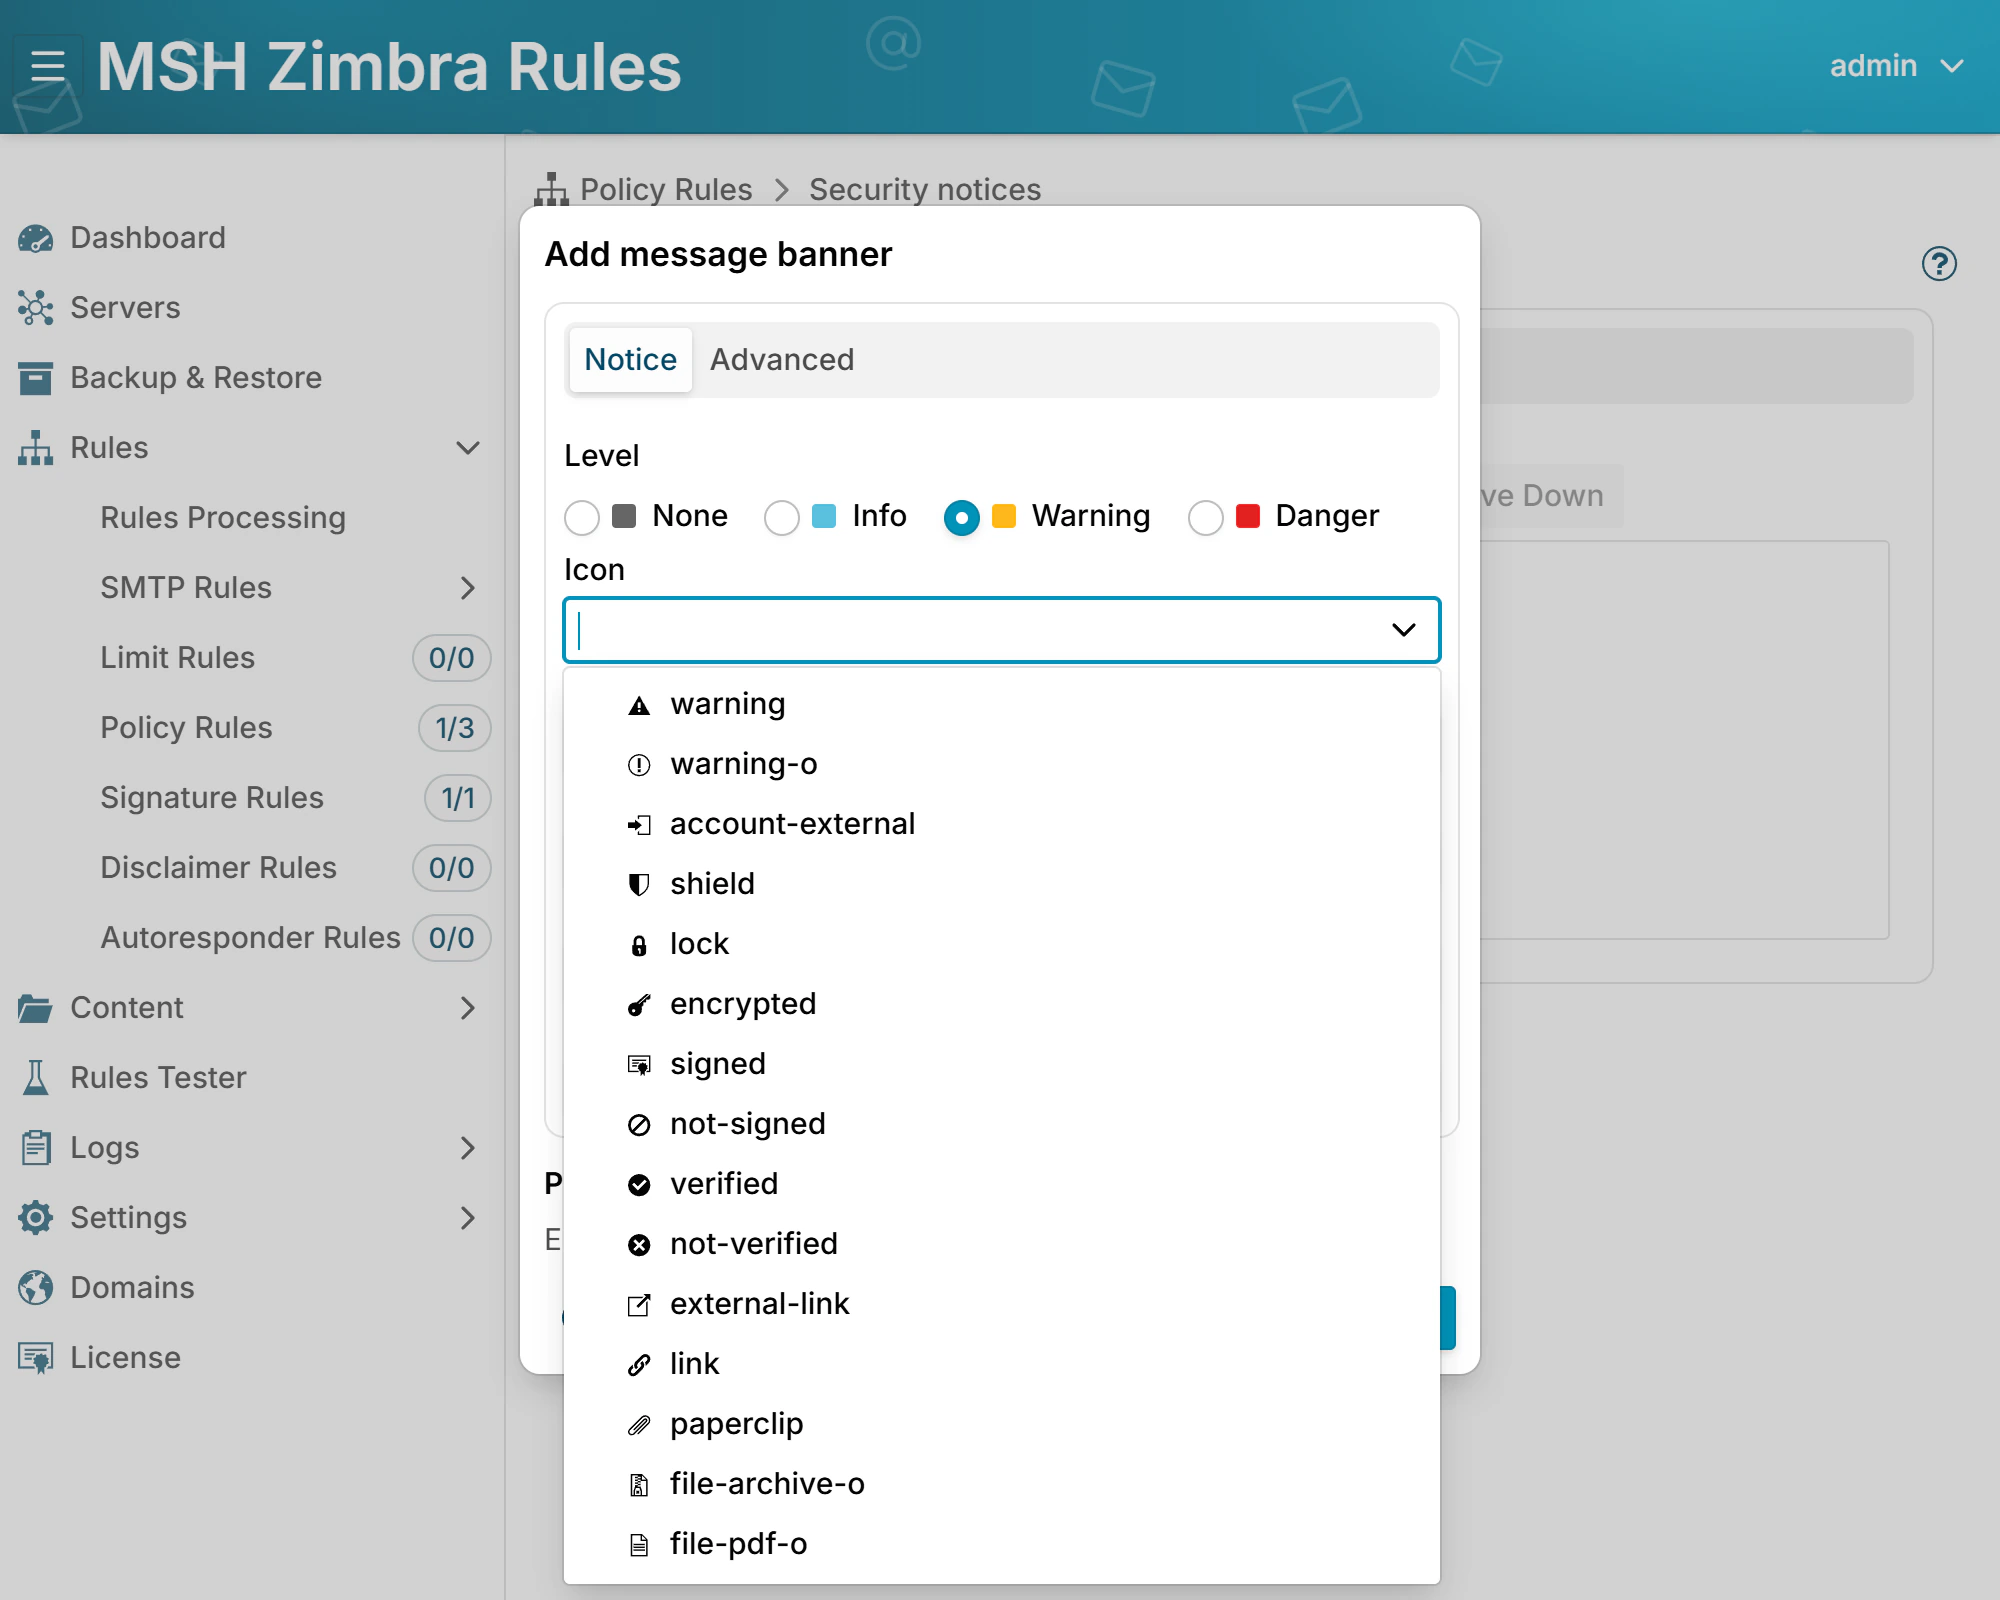
| Level | Warning |
| Icon | warning |
| Badge | External |
| Text | This message comes from outside the organization. Do not click links or open attachments you did not expect. |
| Link | Your security guidelines, for example https://intranet.example.com/phishing |
| Link text | How to spot phishing |
The Preview under the fields shows the banner as the Modern web client will, while you type. Keep the text to one line: a banner people have to read twice is a banner they stop reading.
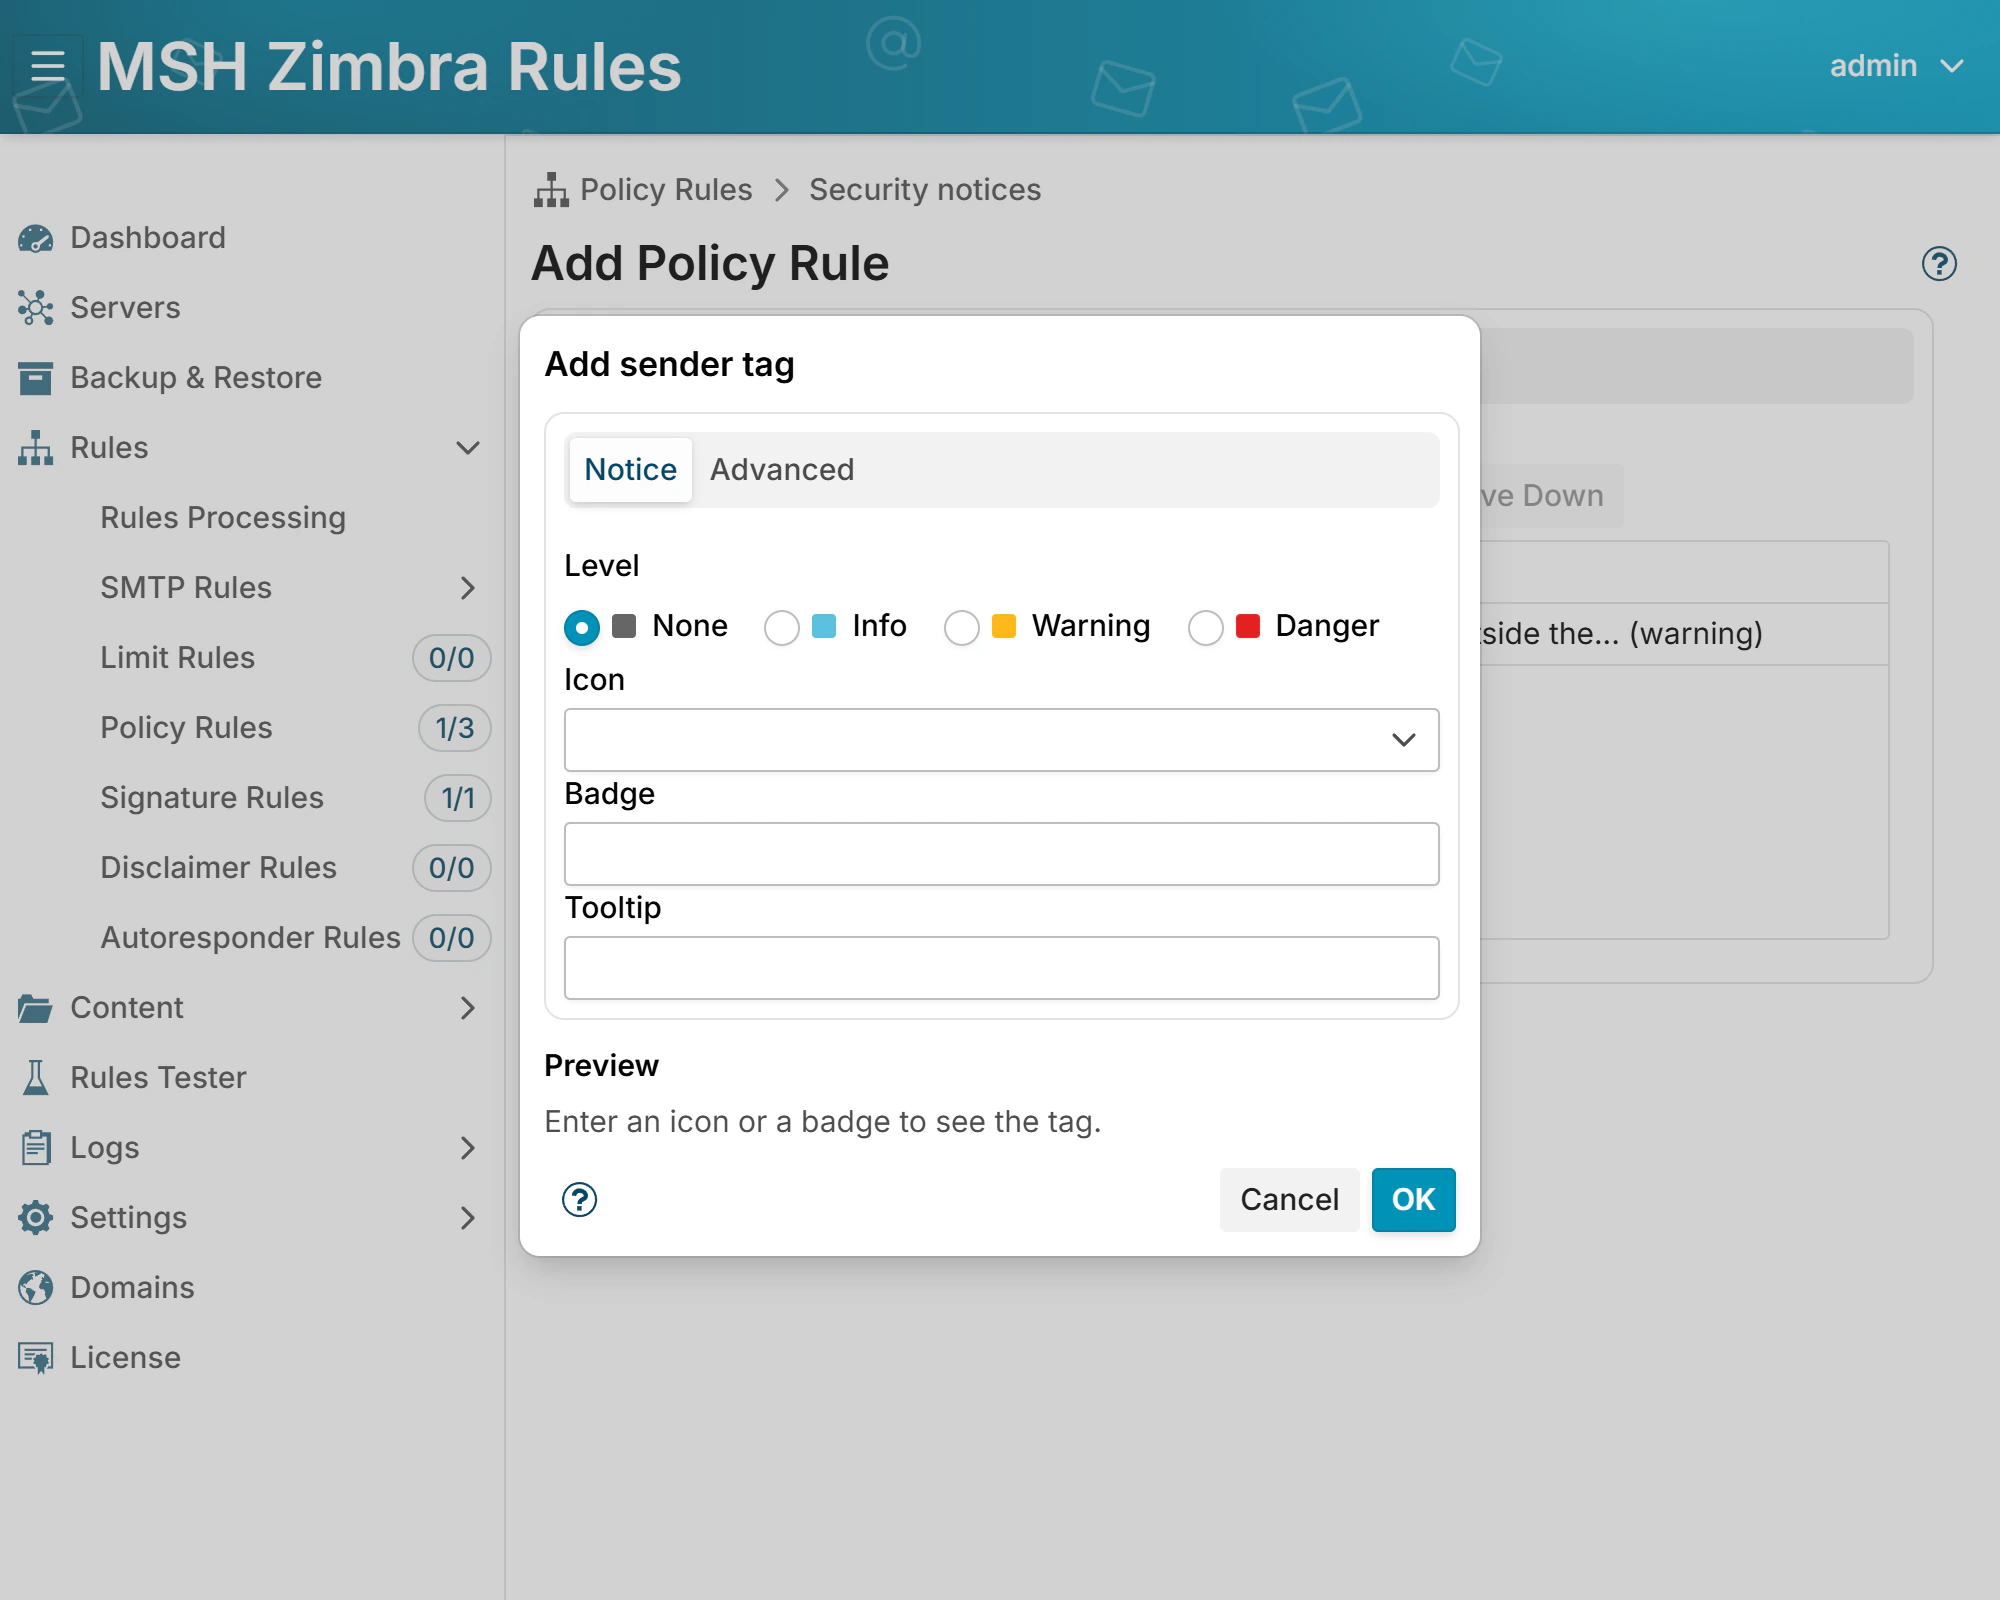
Step 4 - Add the sender tag
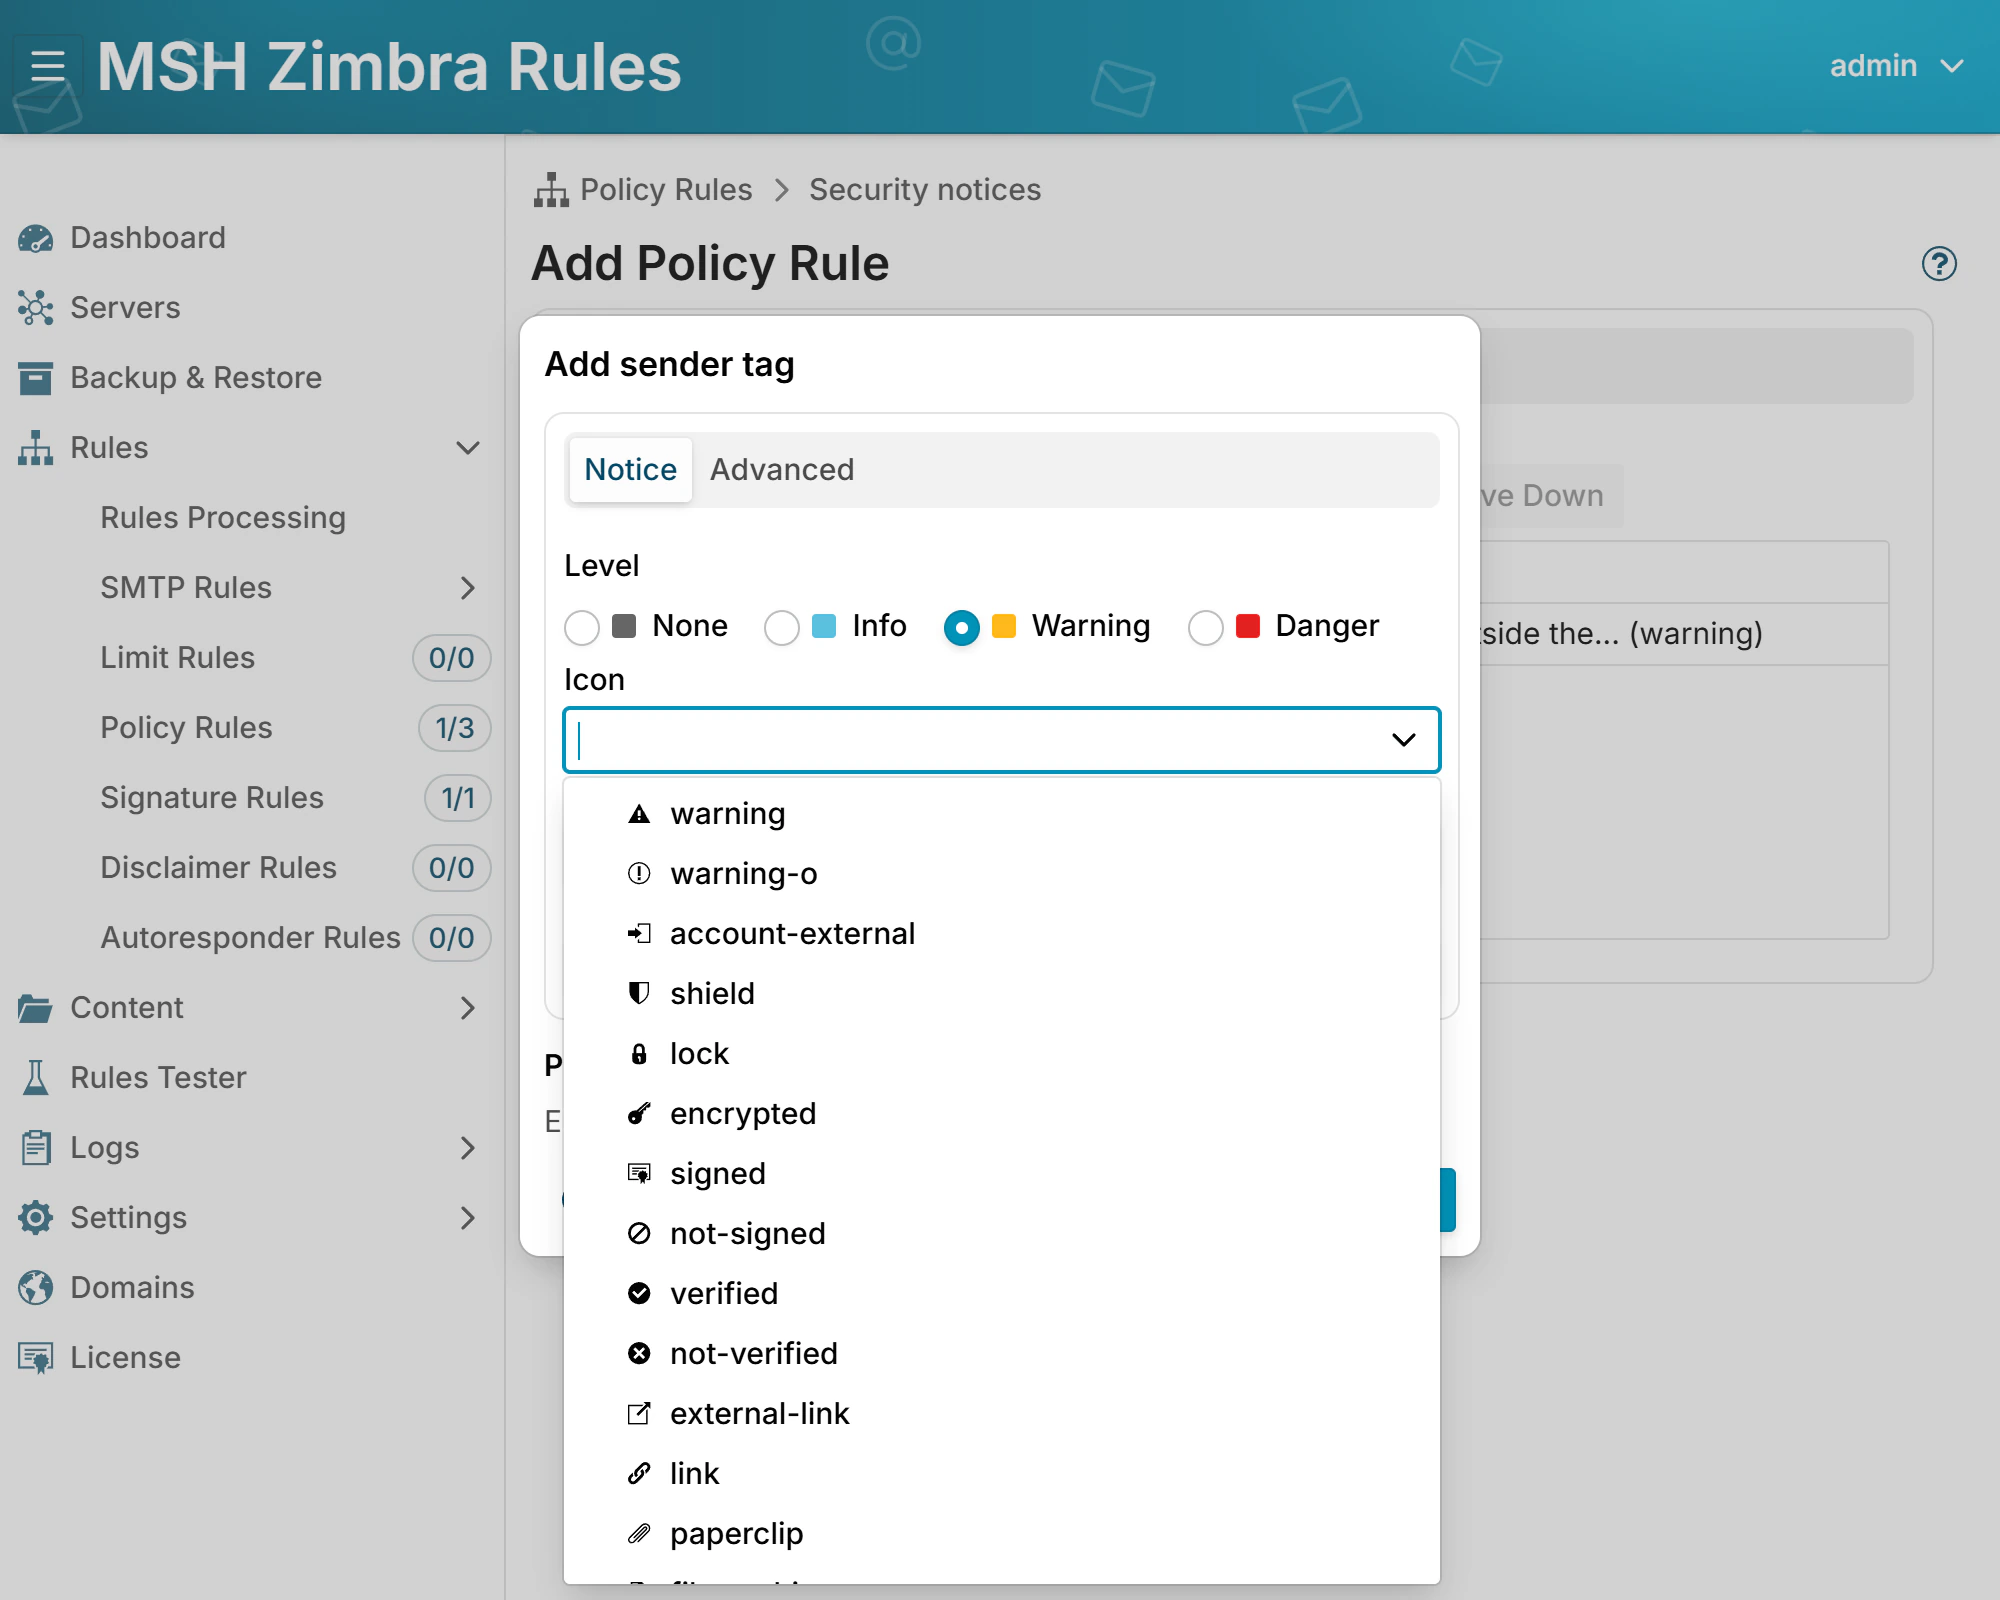
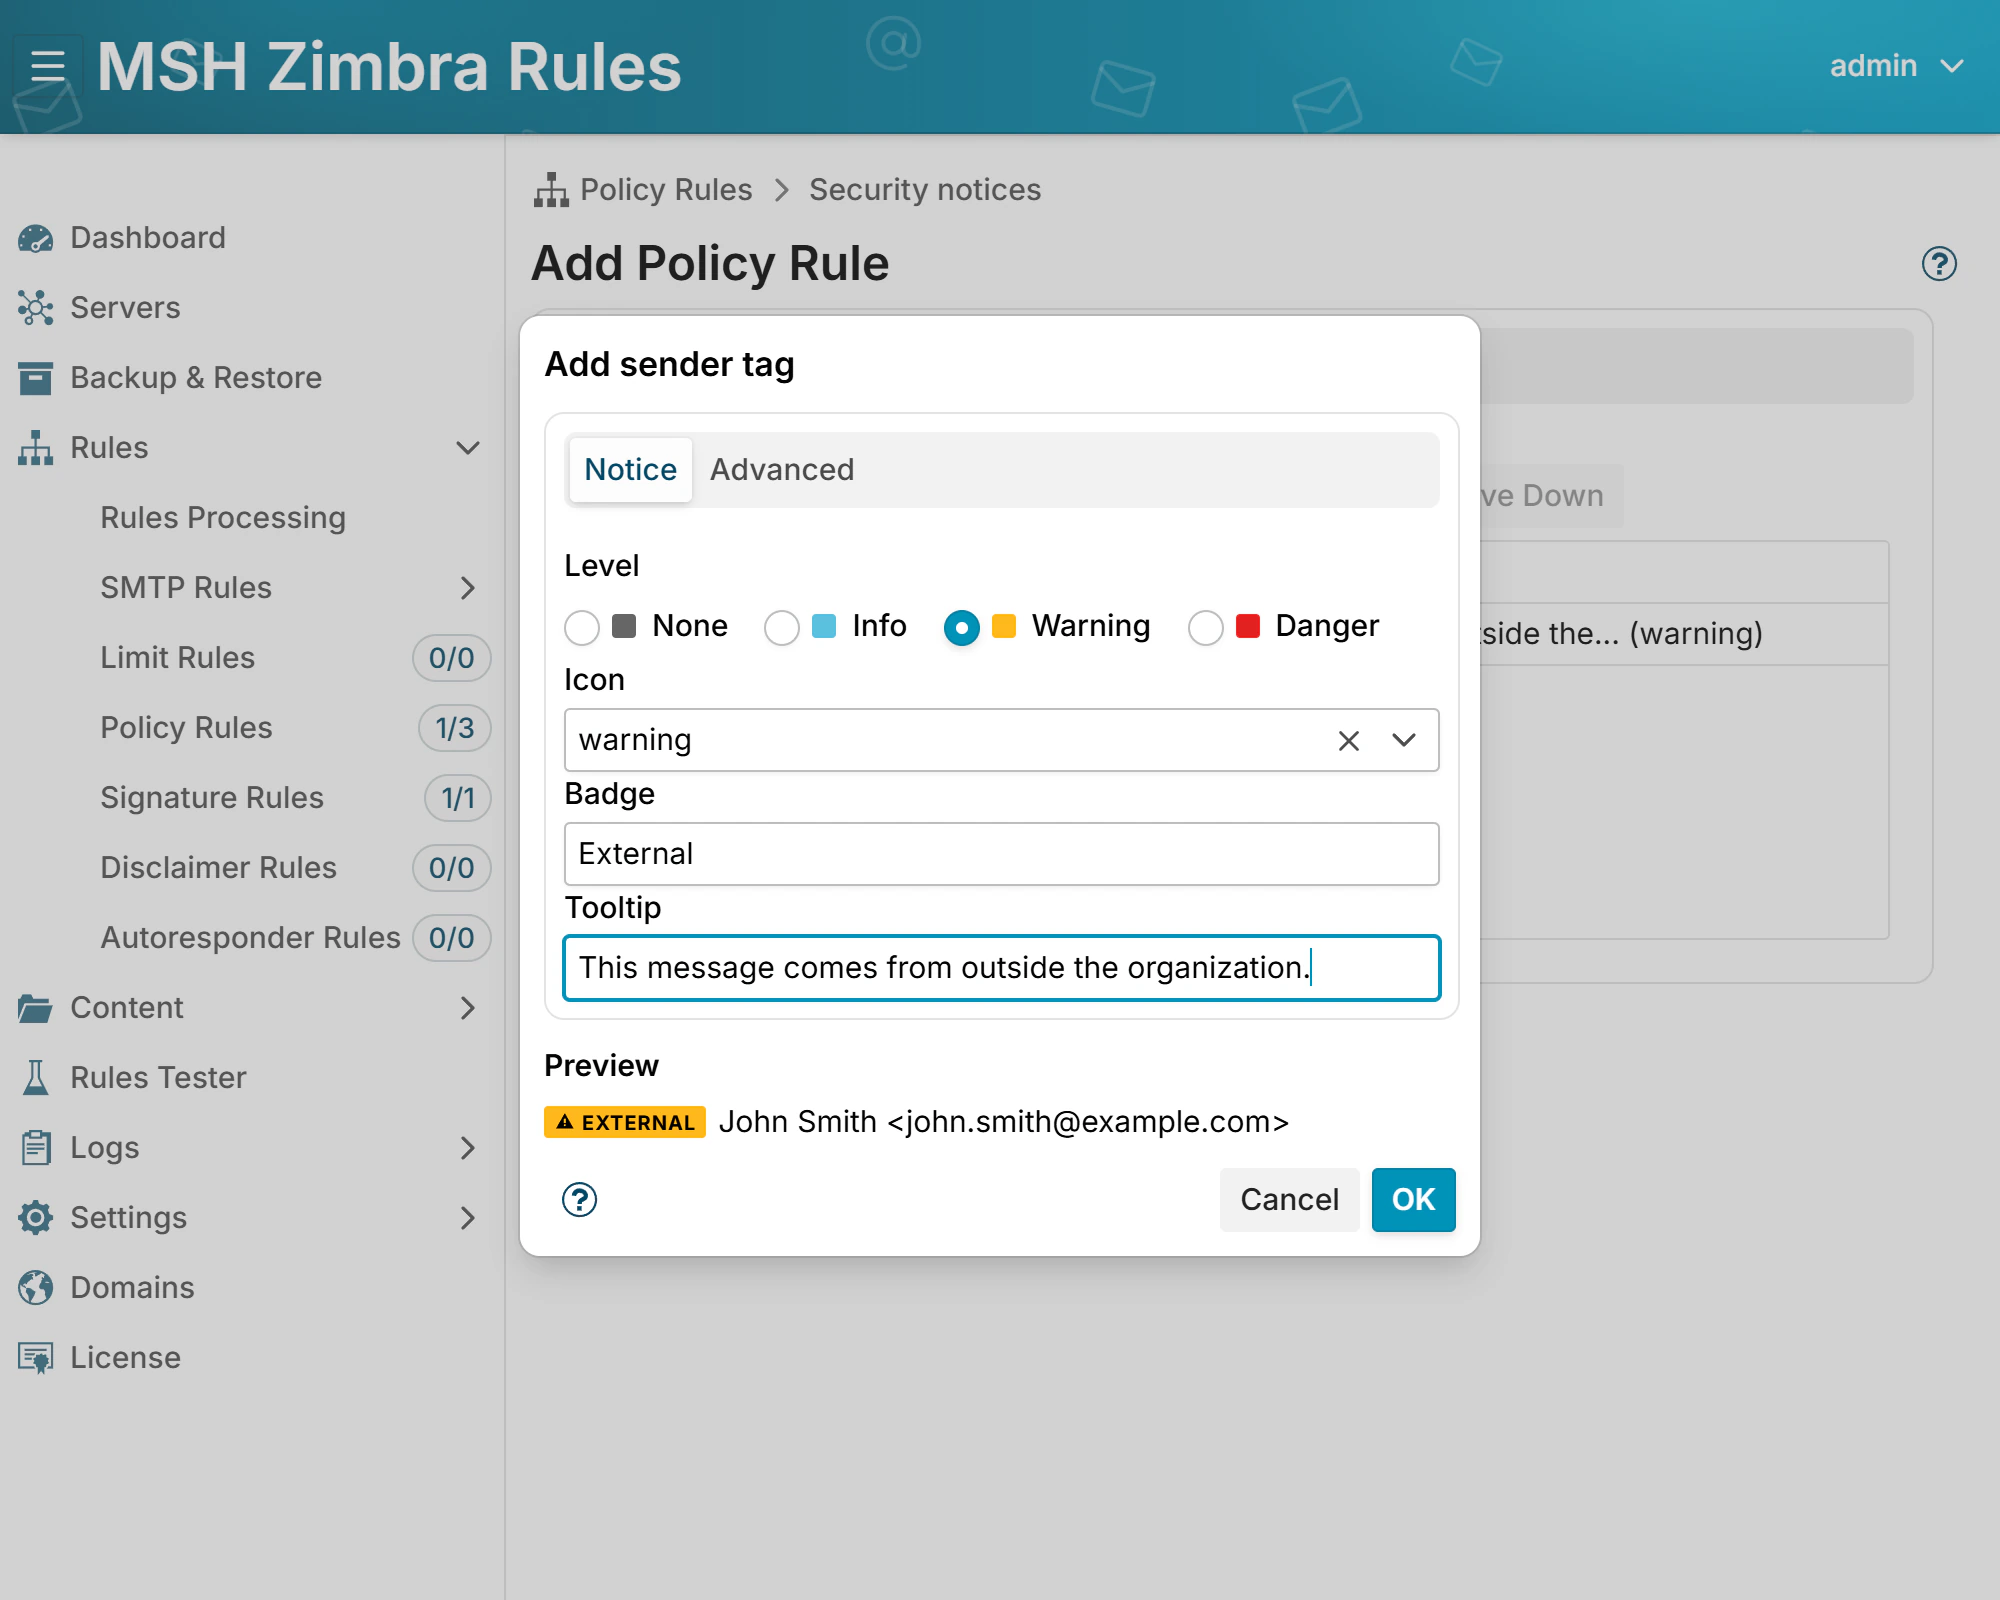
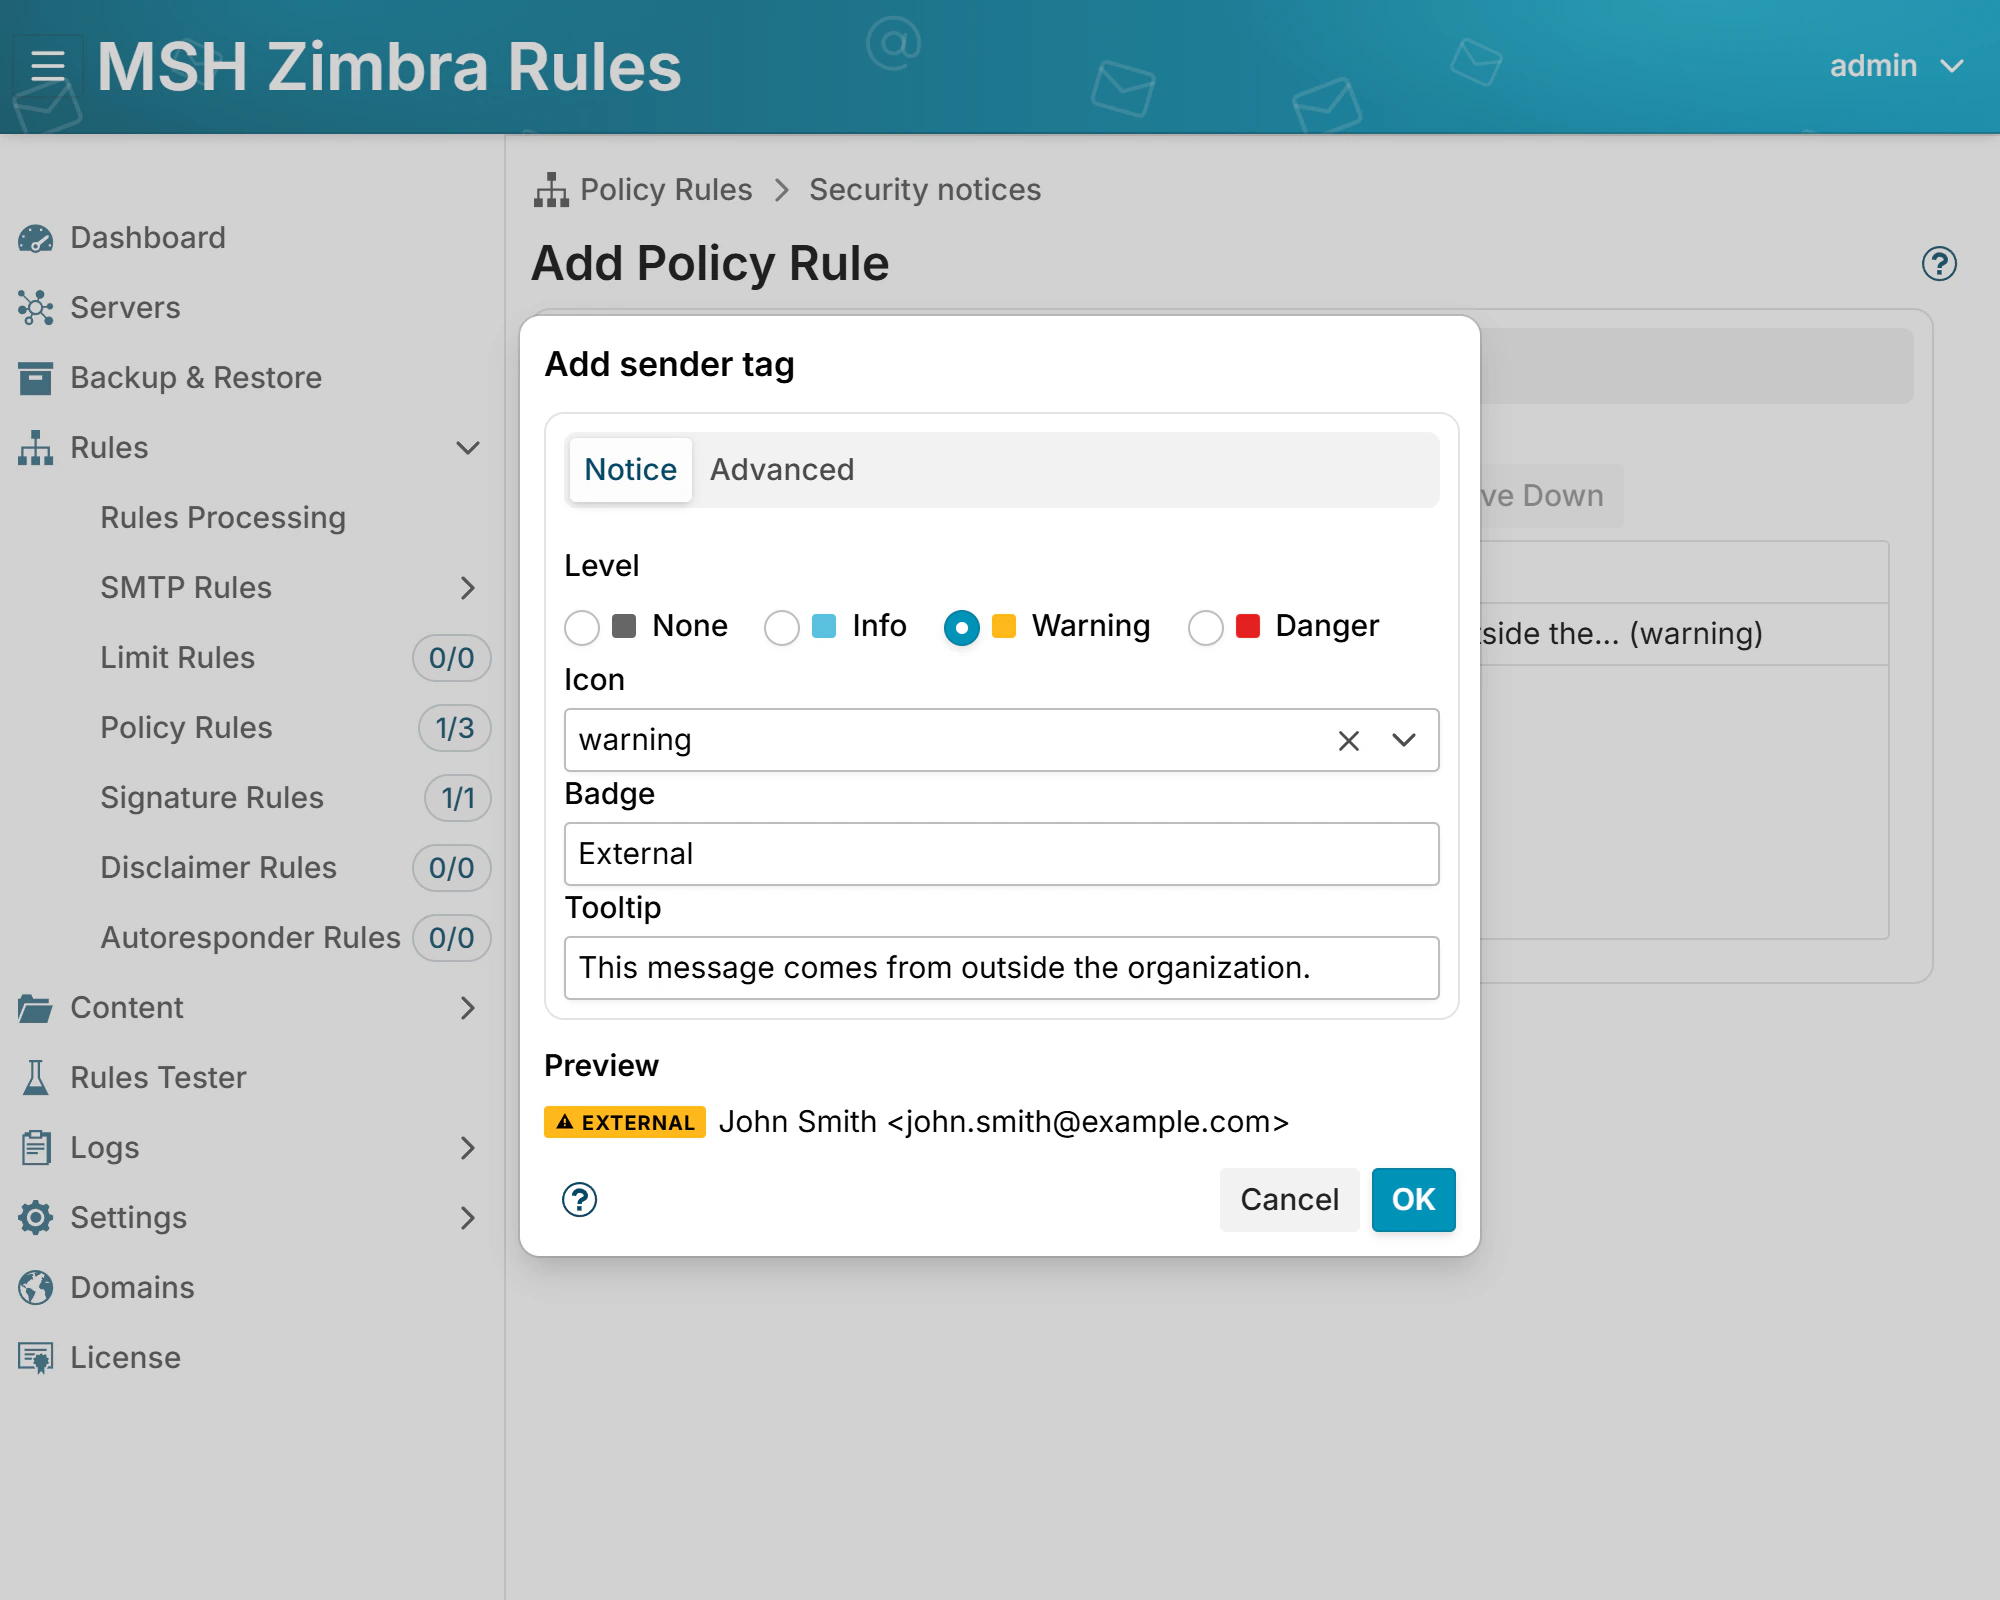
Still on the Actions tab, add Add sender tag from the same Zimlets group:
| Field | Value |
|---|---|
| Level | Warning |
| Icon | warning |
| Badge | External |
| Tooltip | This message comes from outside the organization. |
The tag is what users see while scrolling the message list, so it does the work before the banner does. Leave the badge empty for a small icon-only tag if the list feels crowded.
Save the rule, and check that the rule and its group are both Active.
Step 5 - Test it
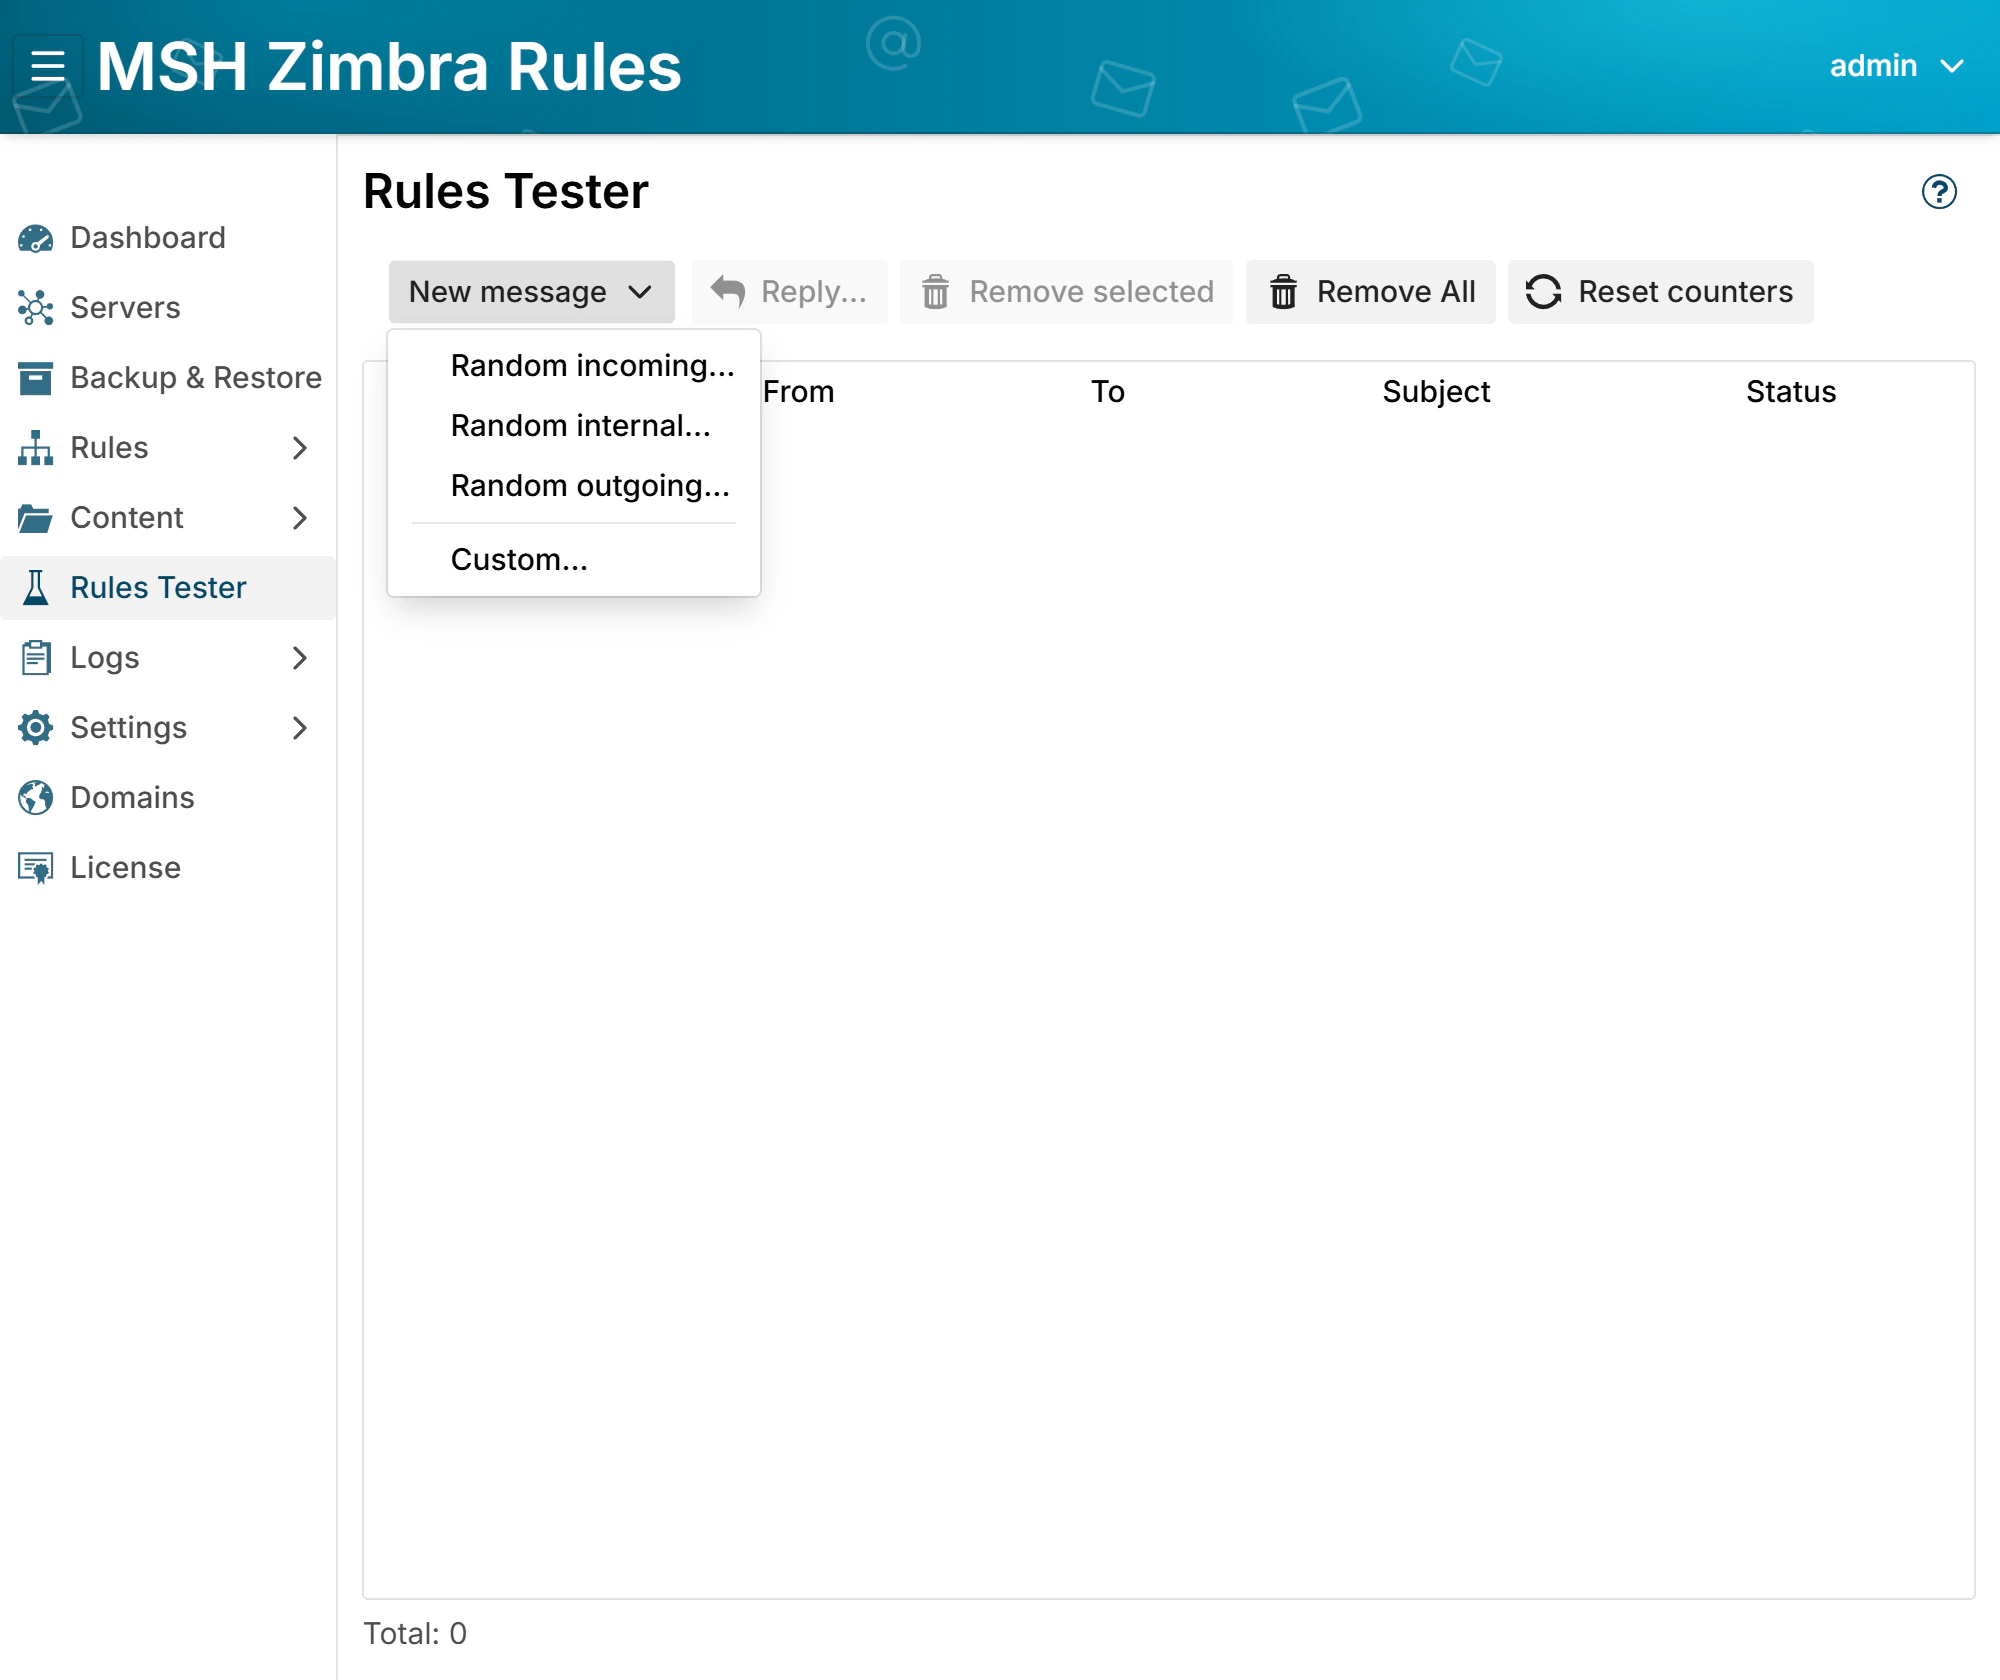
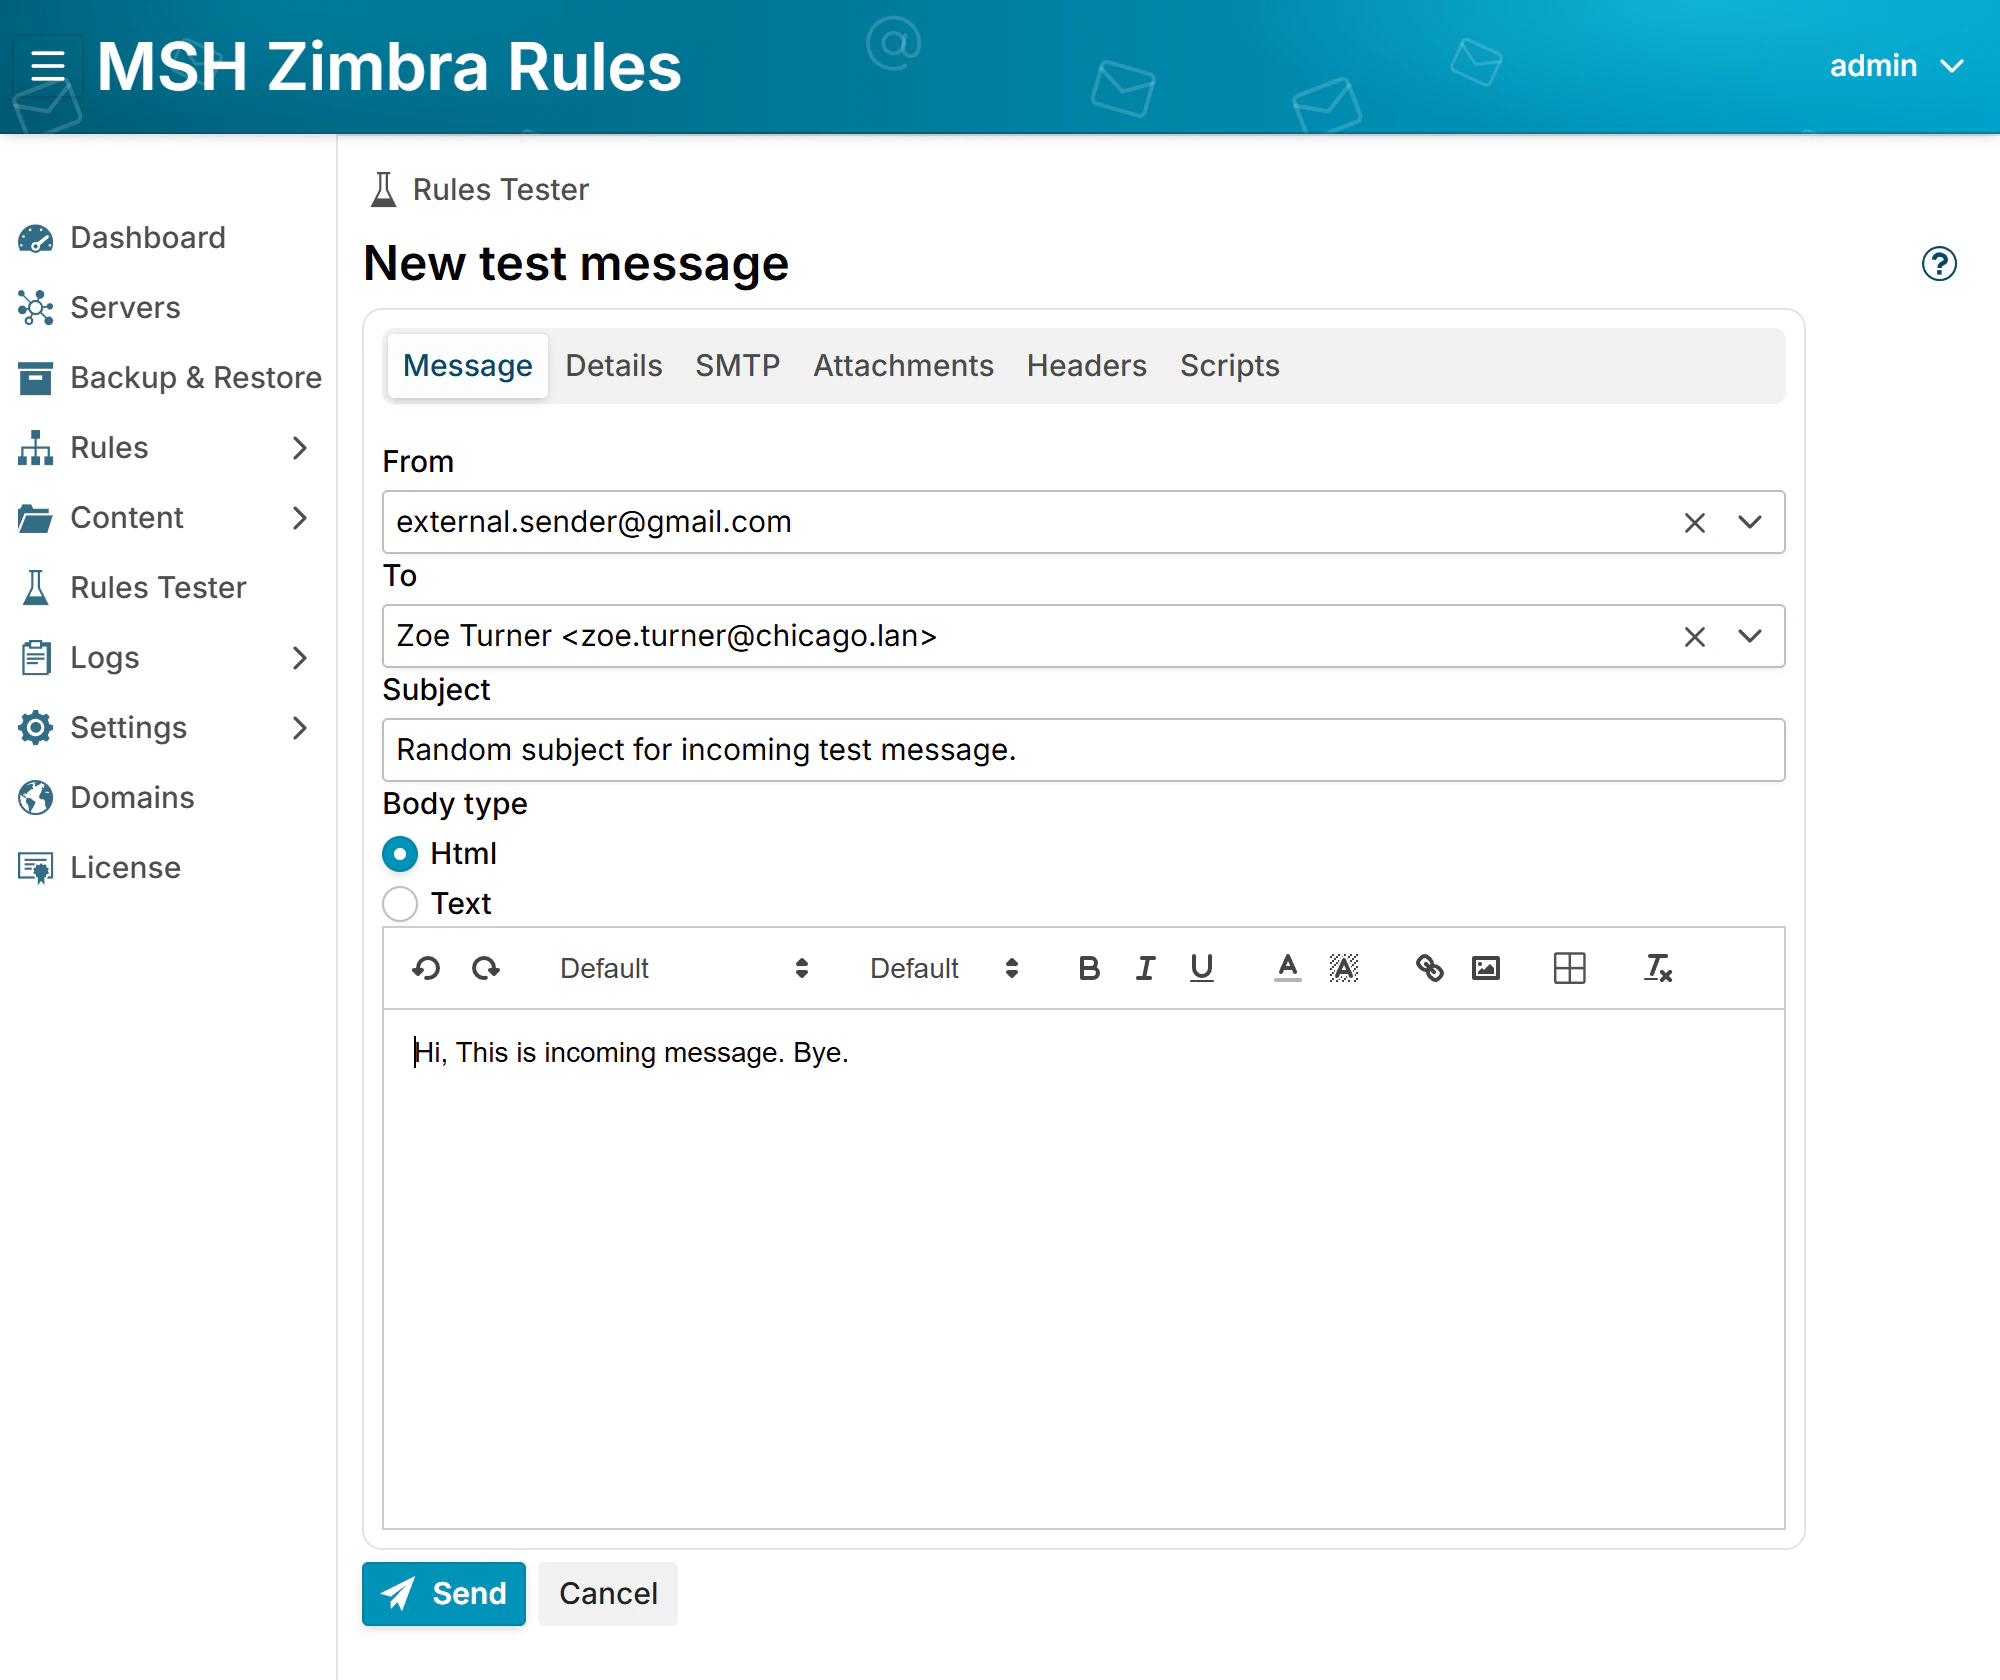
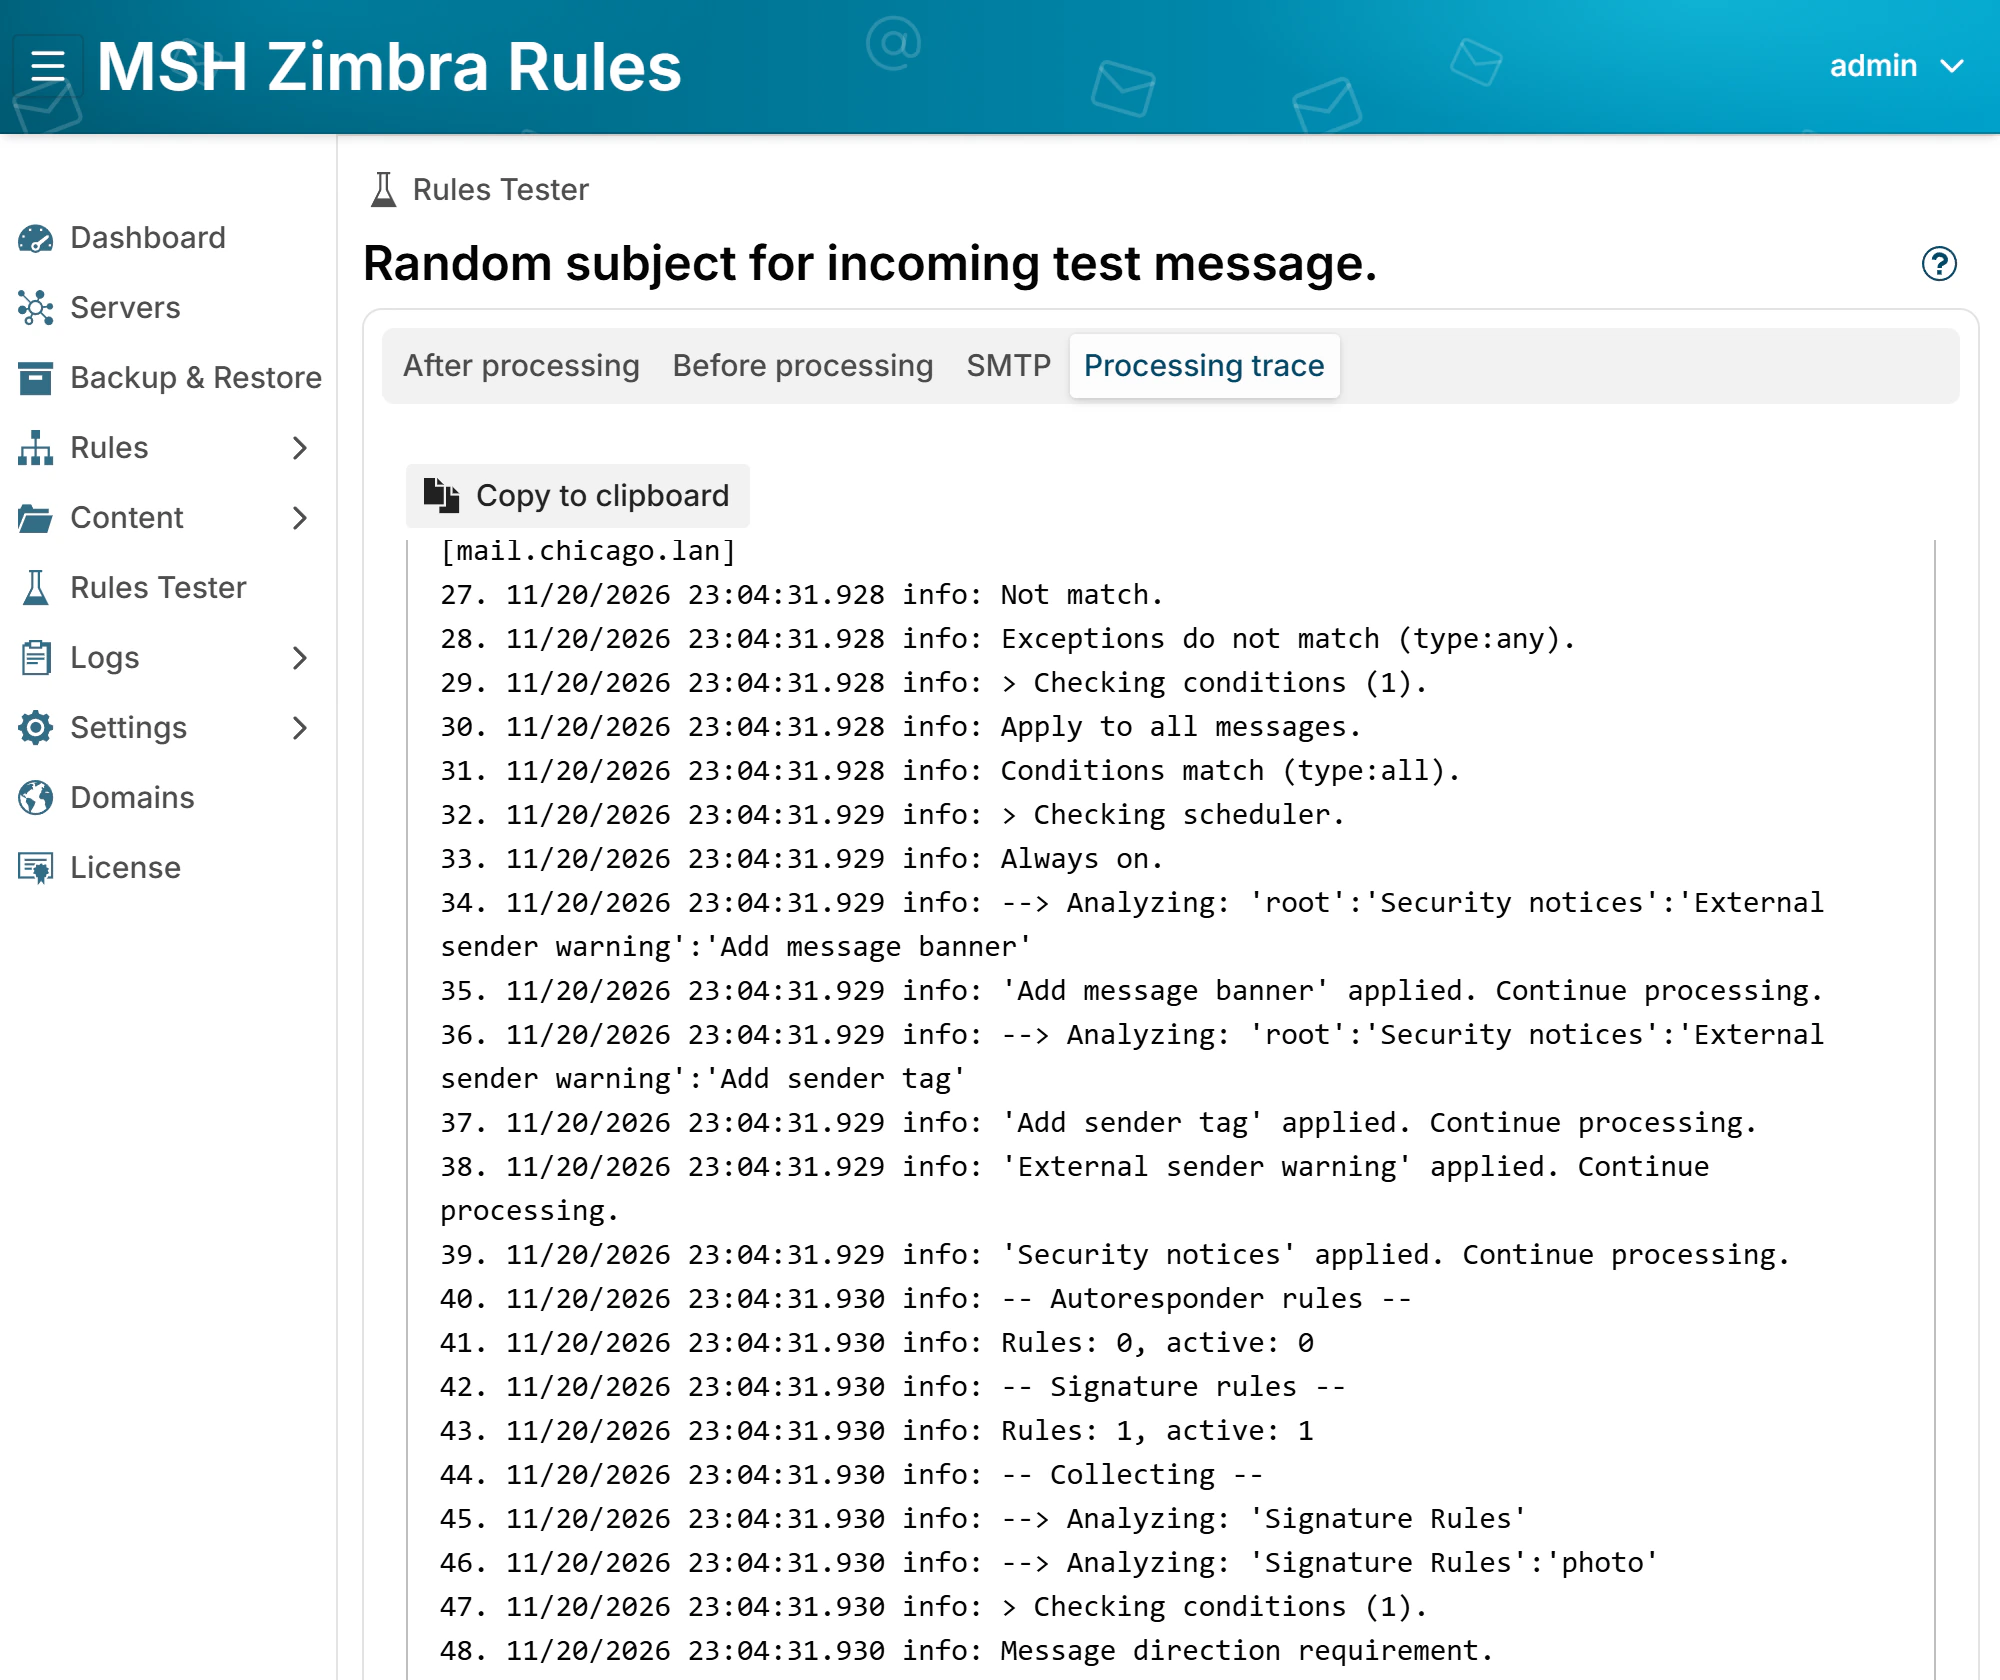
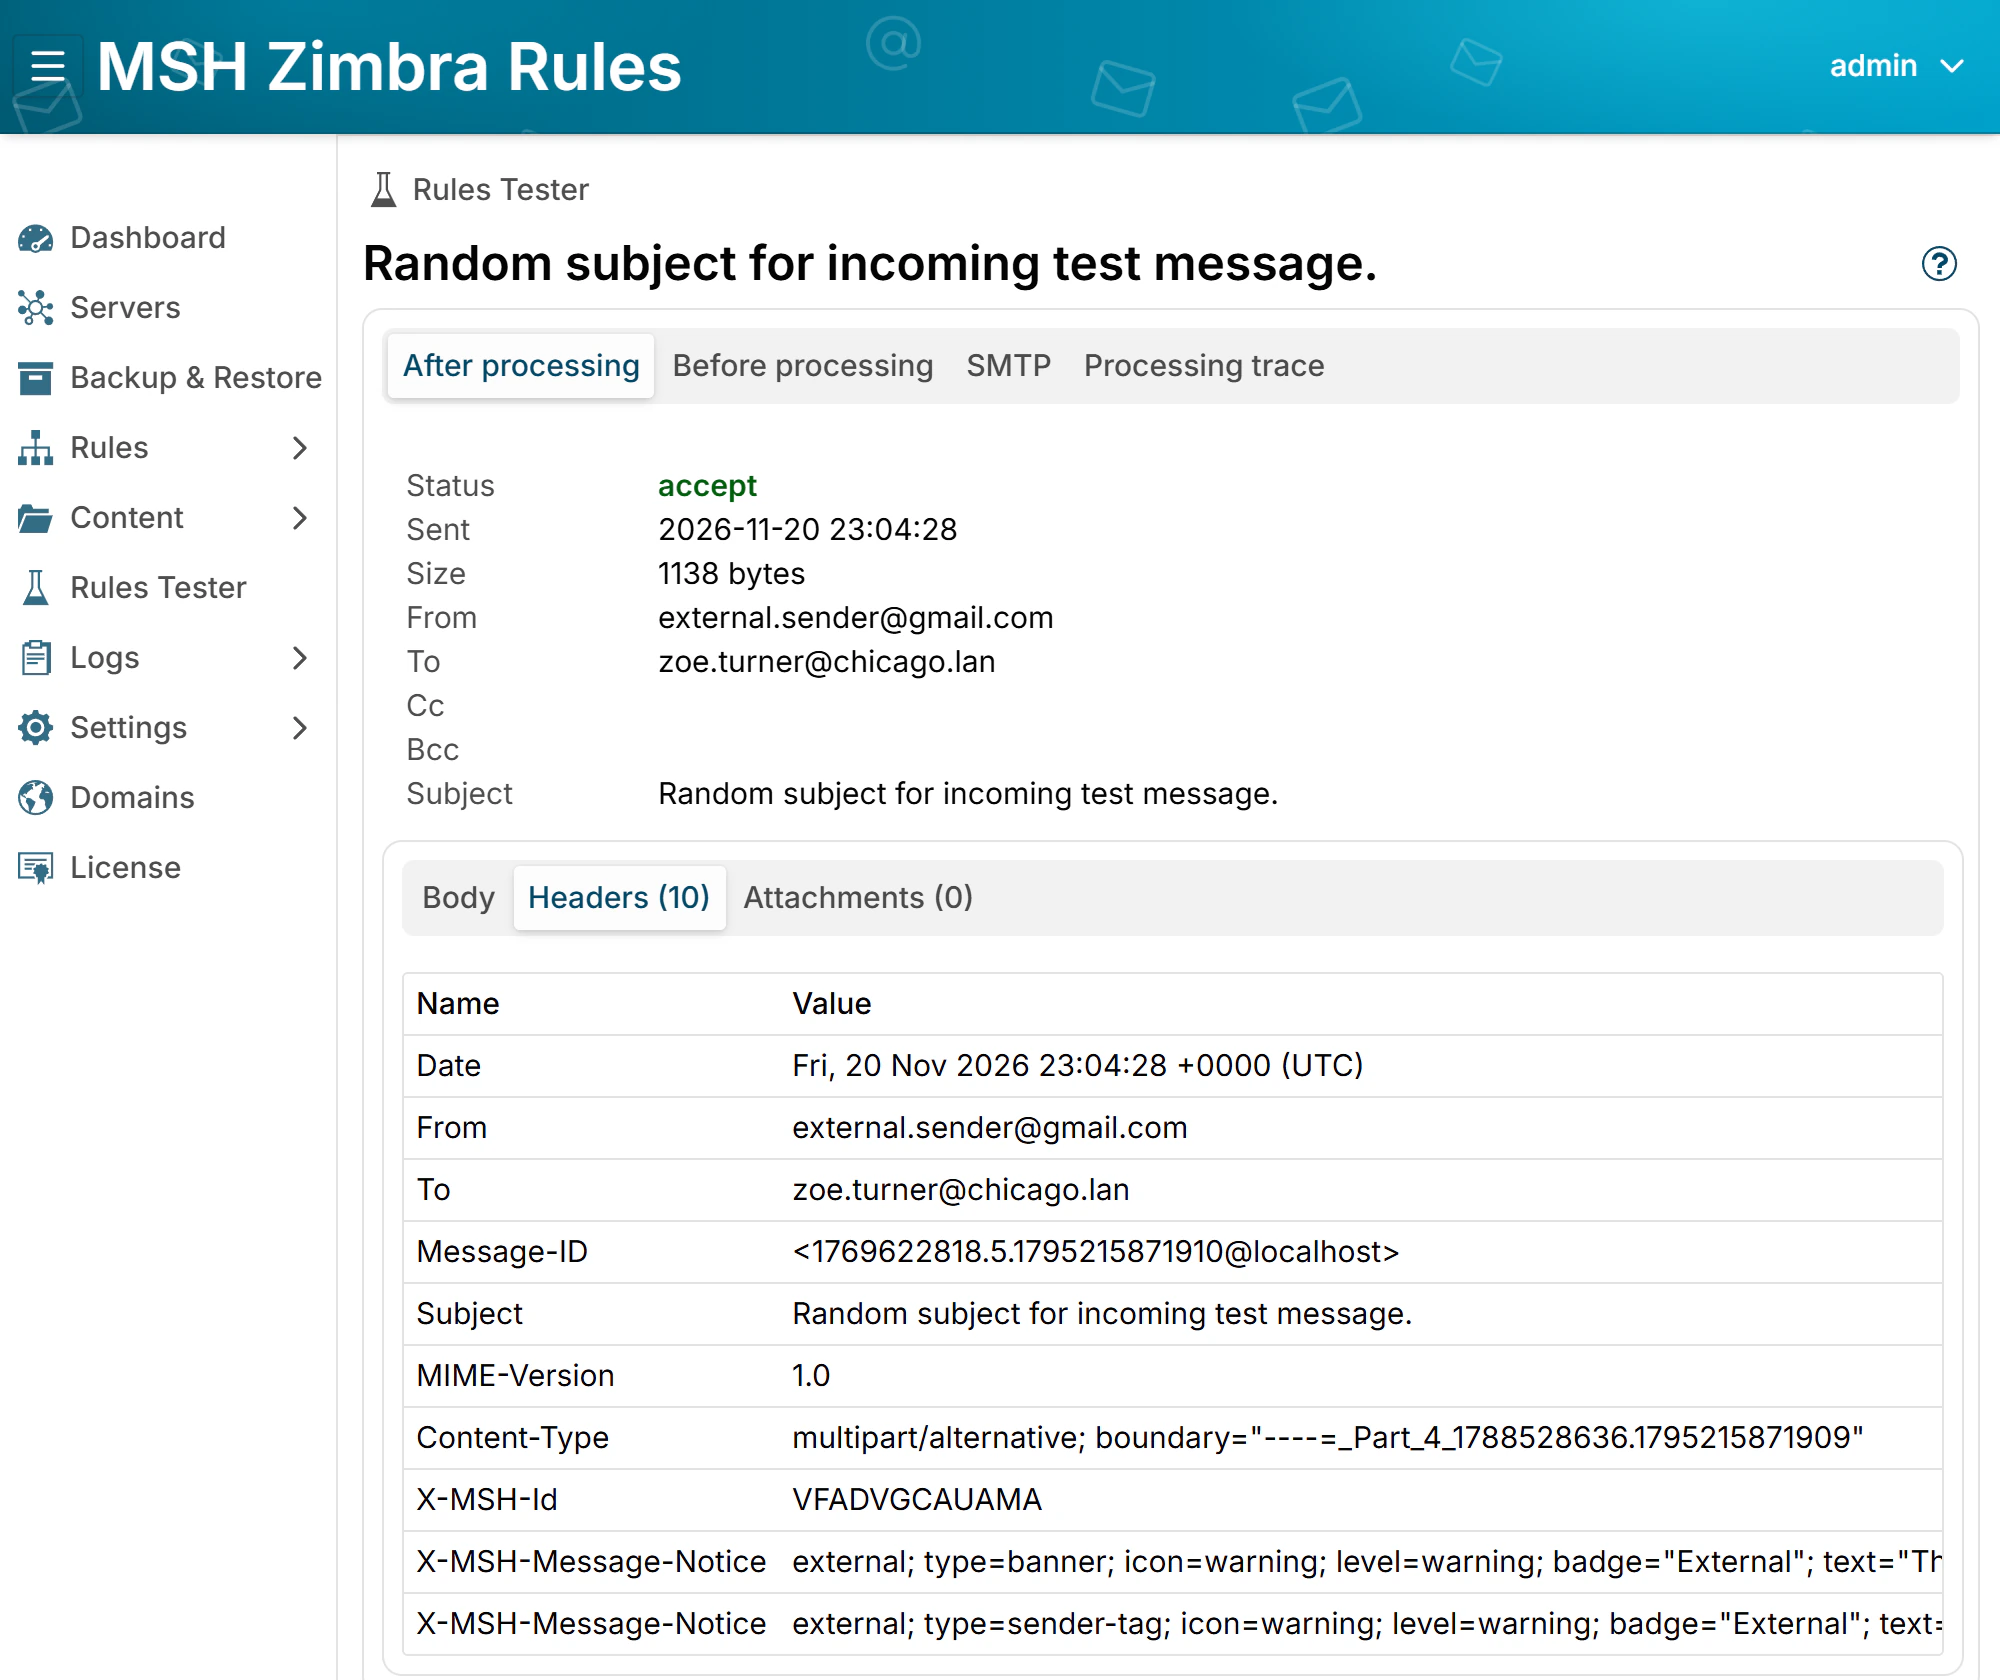
Open Rules Tester, click New message and choose Random incoming...: a test
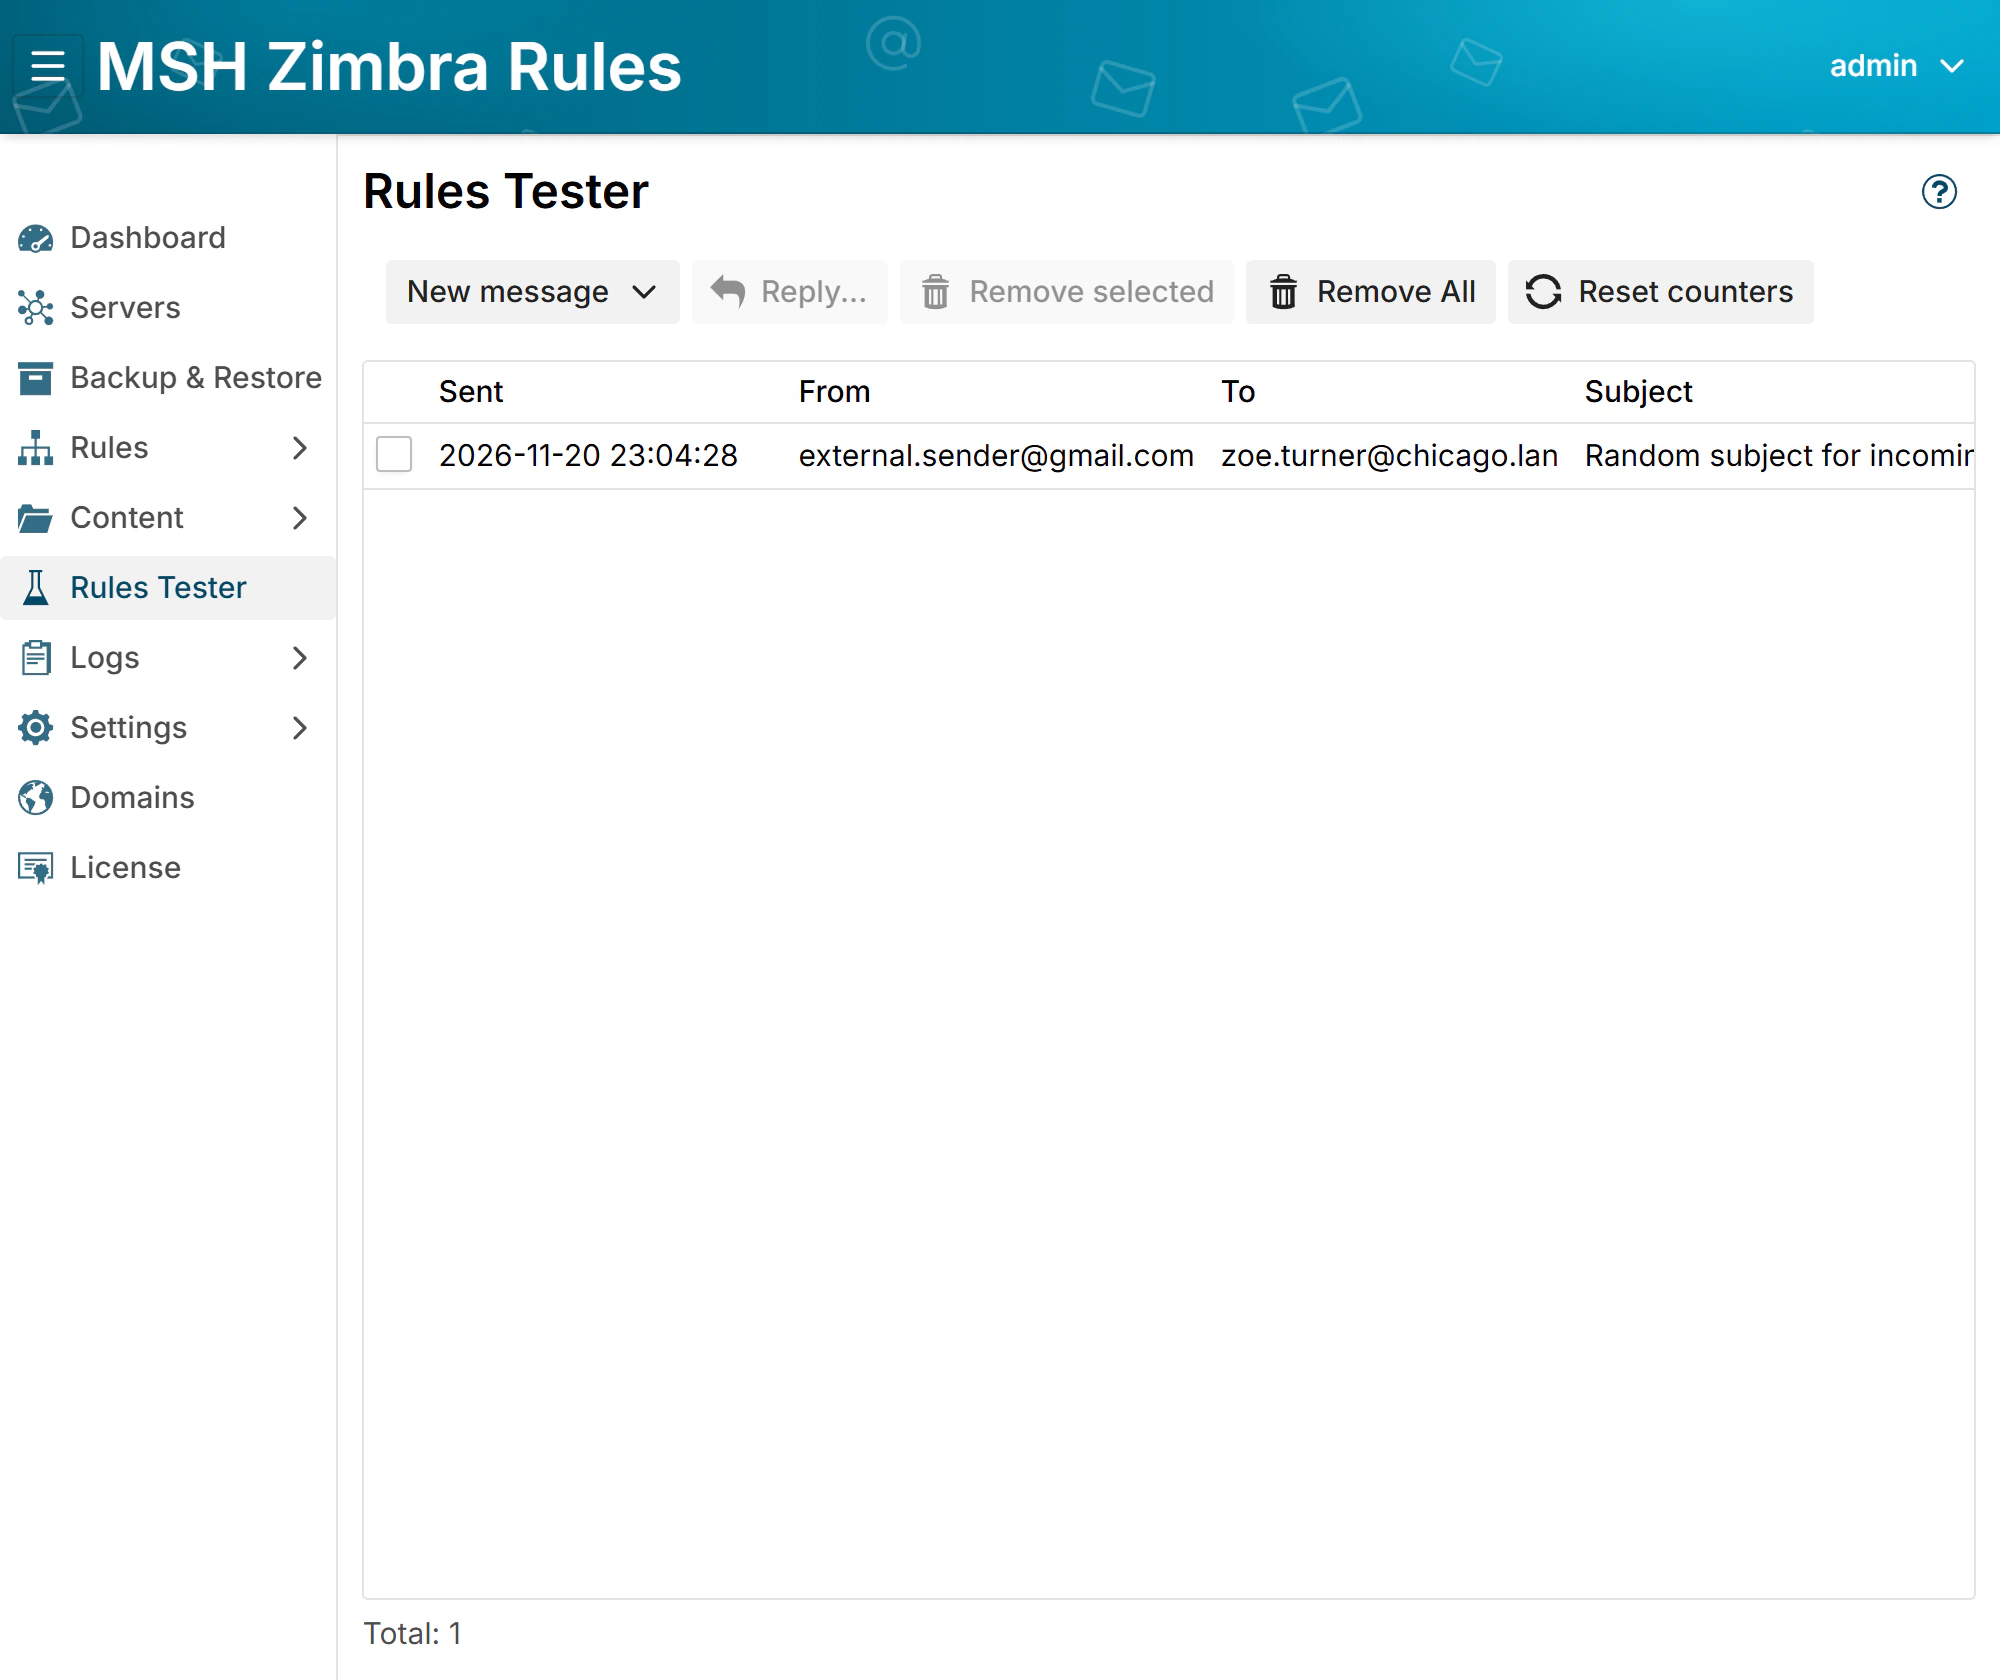
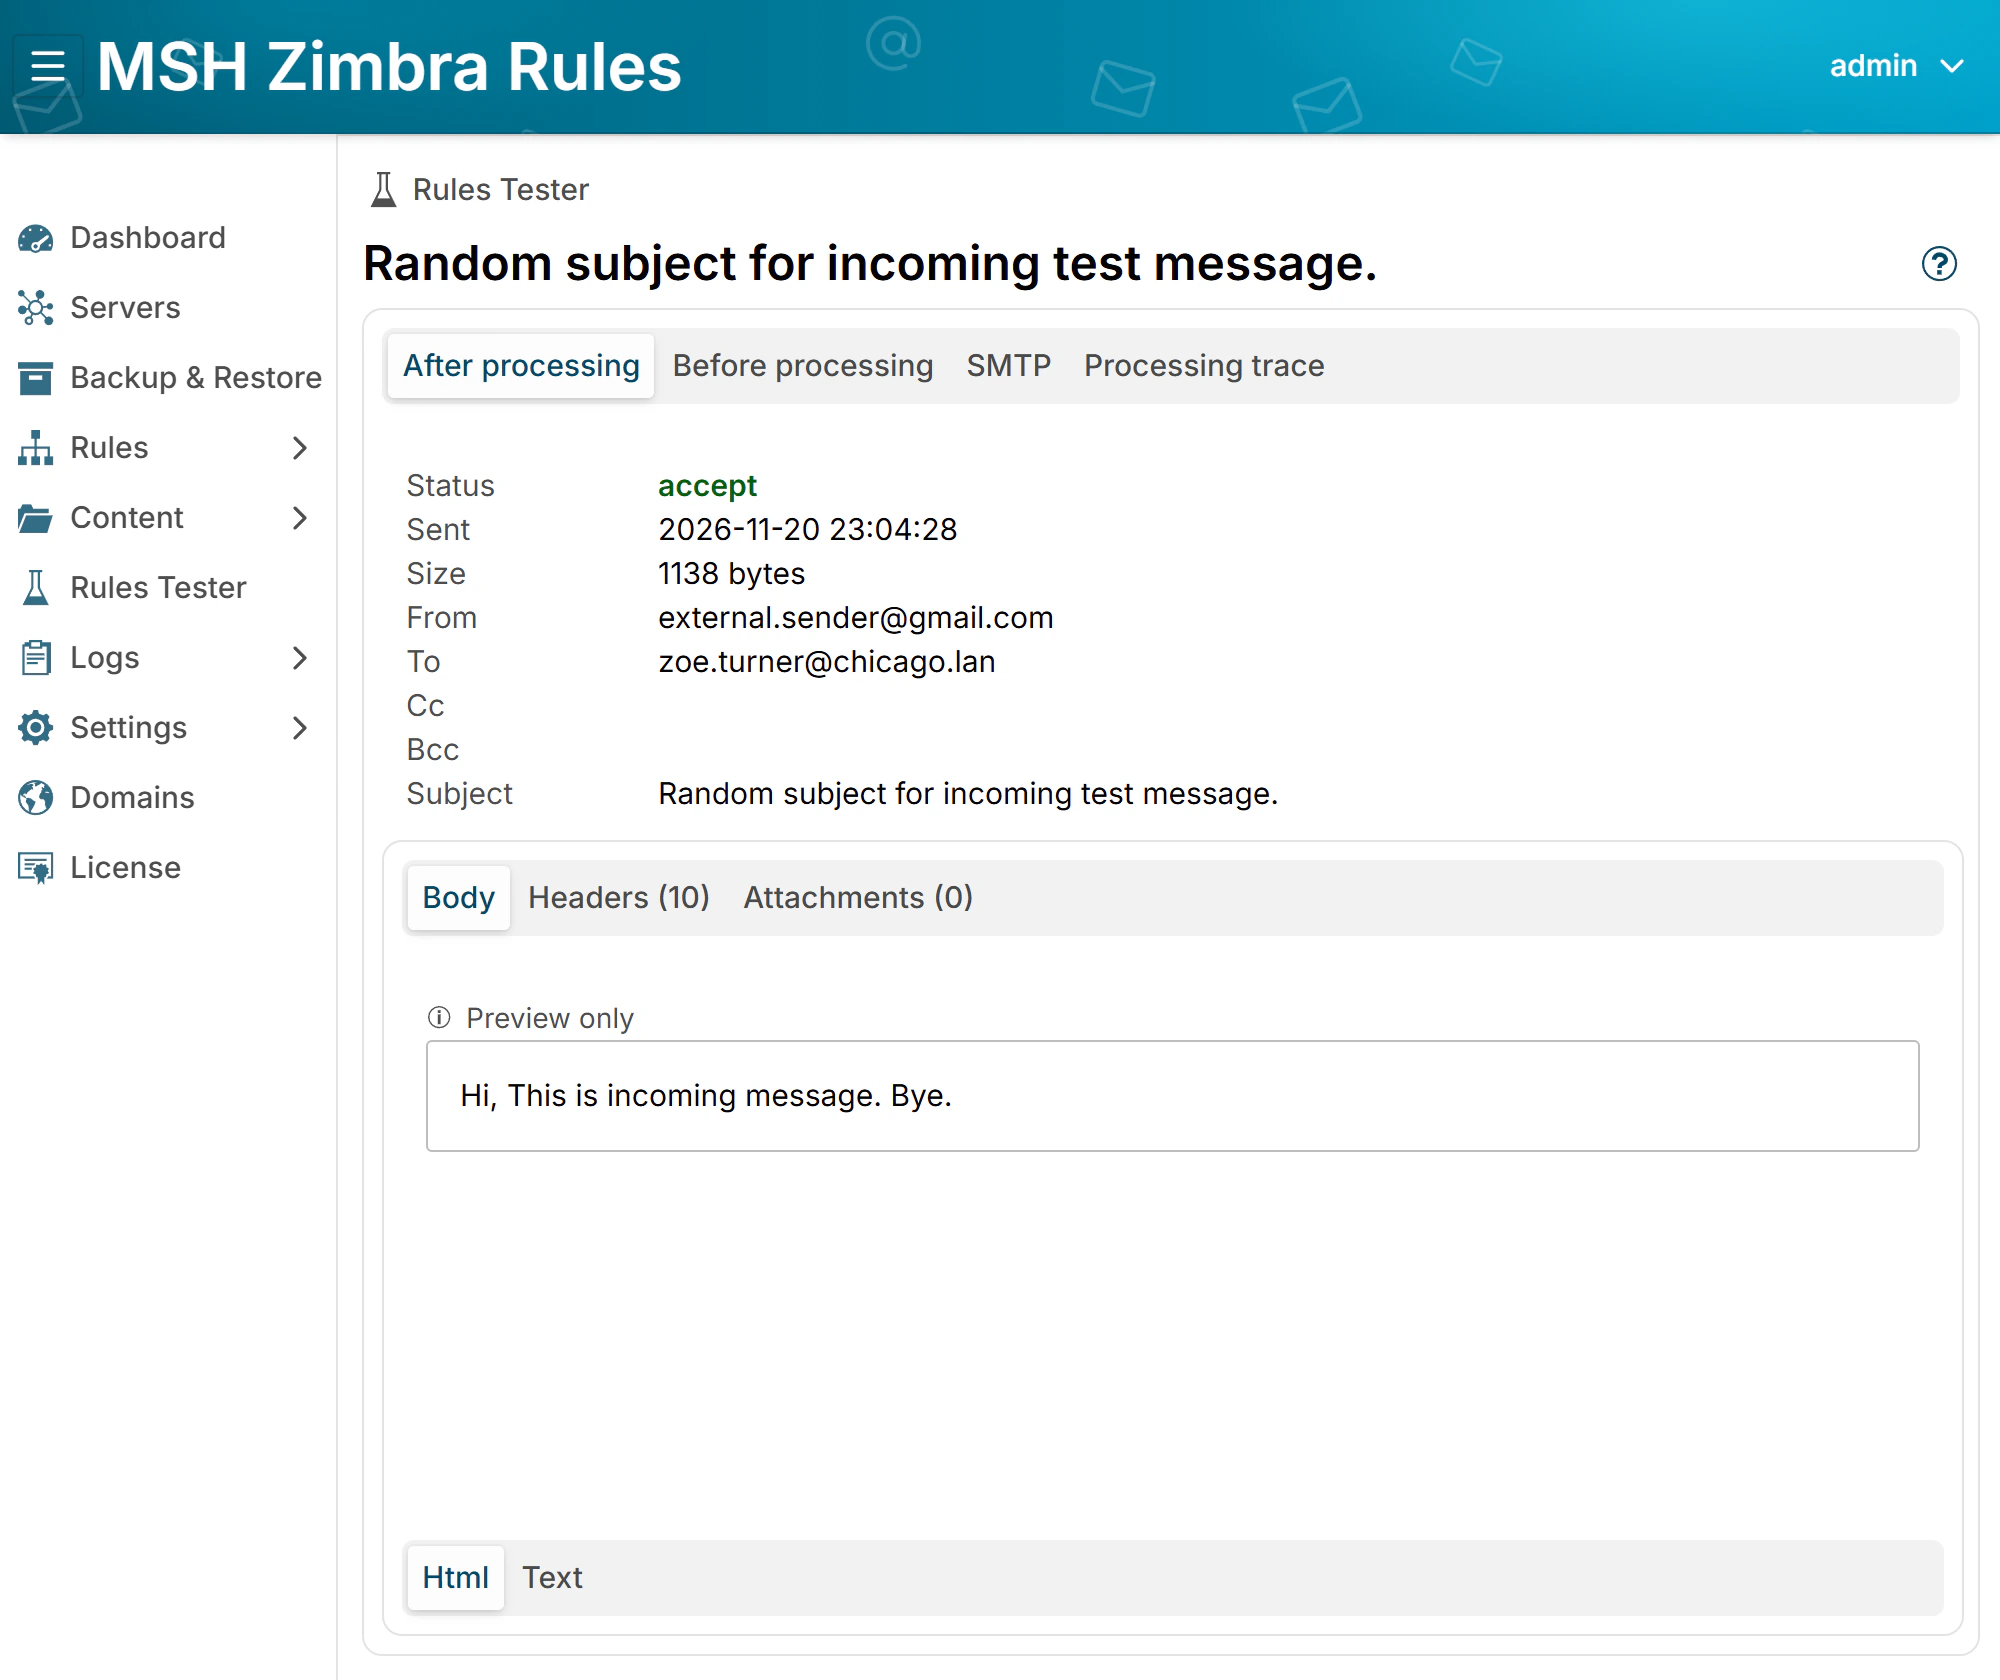
message from an outside address to one of your users. Click Send, click the
message and open its Processing trace. It shows the exceptions not matching, the
condition matching and both actions applied, and the message now carries the two
X-MSH-Message-Notice headers.
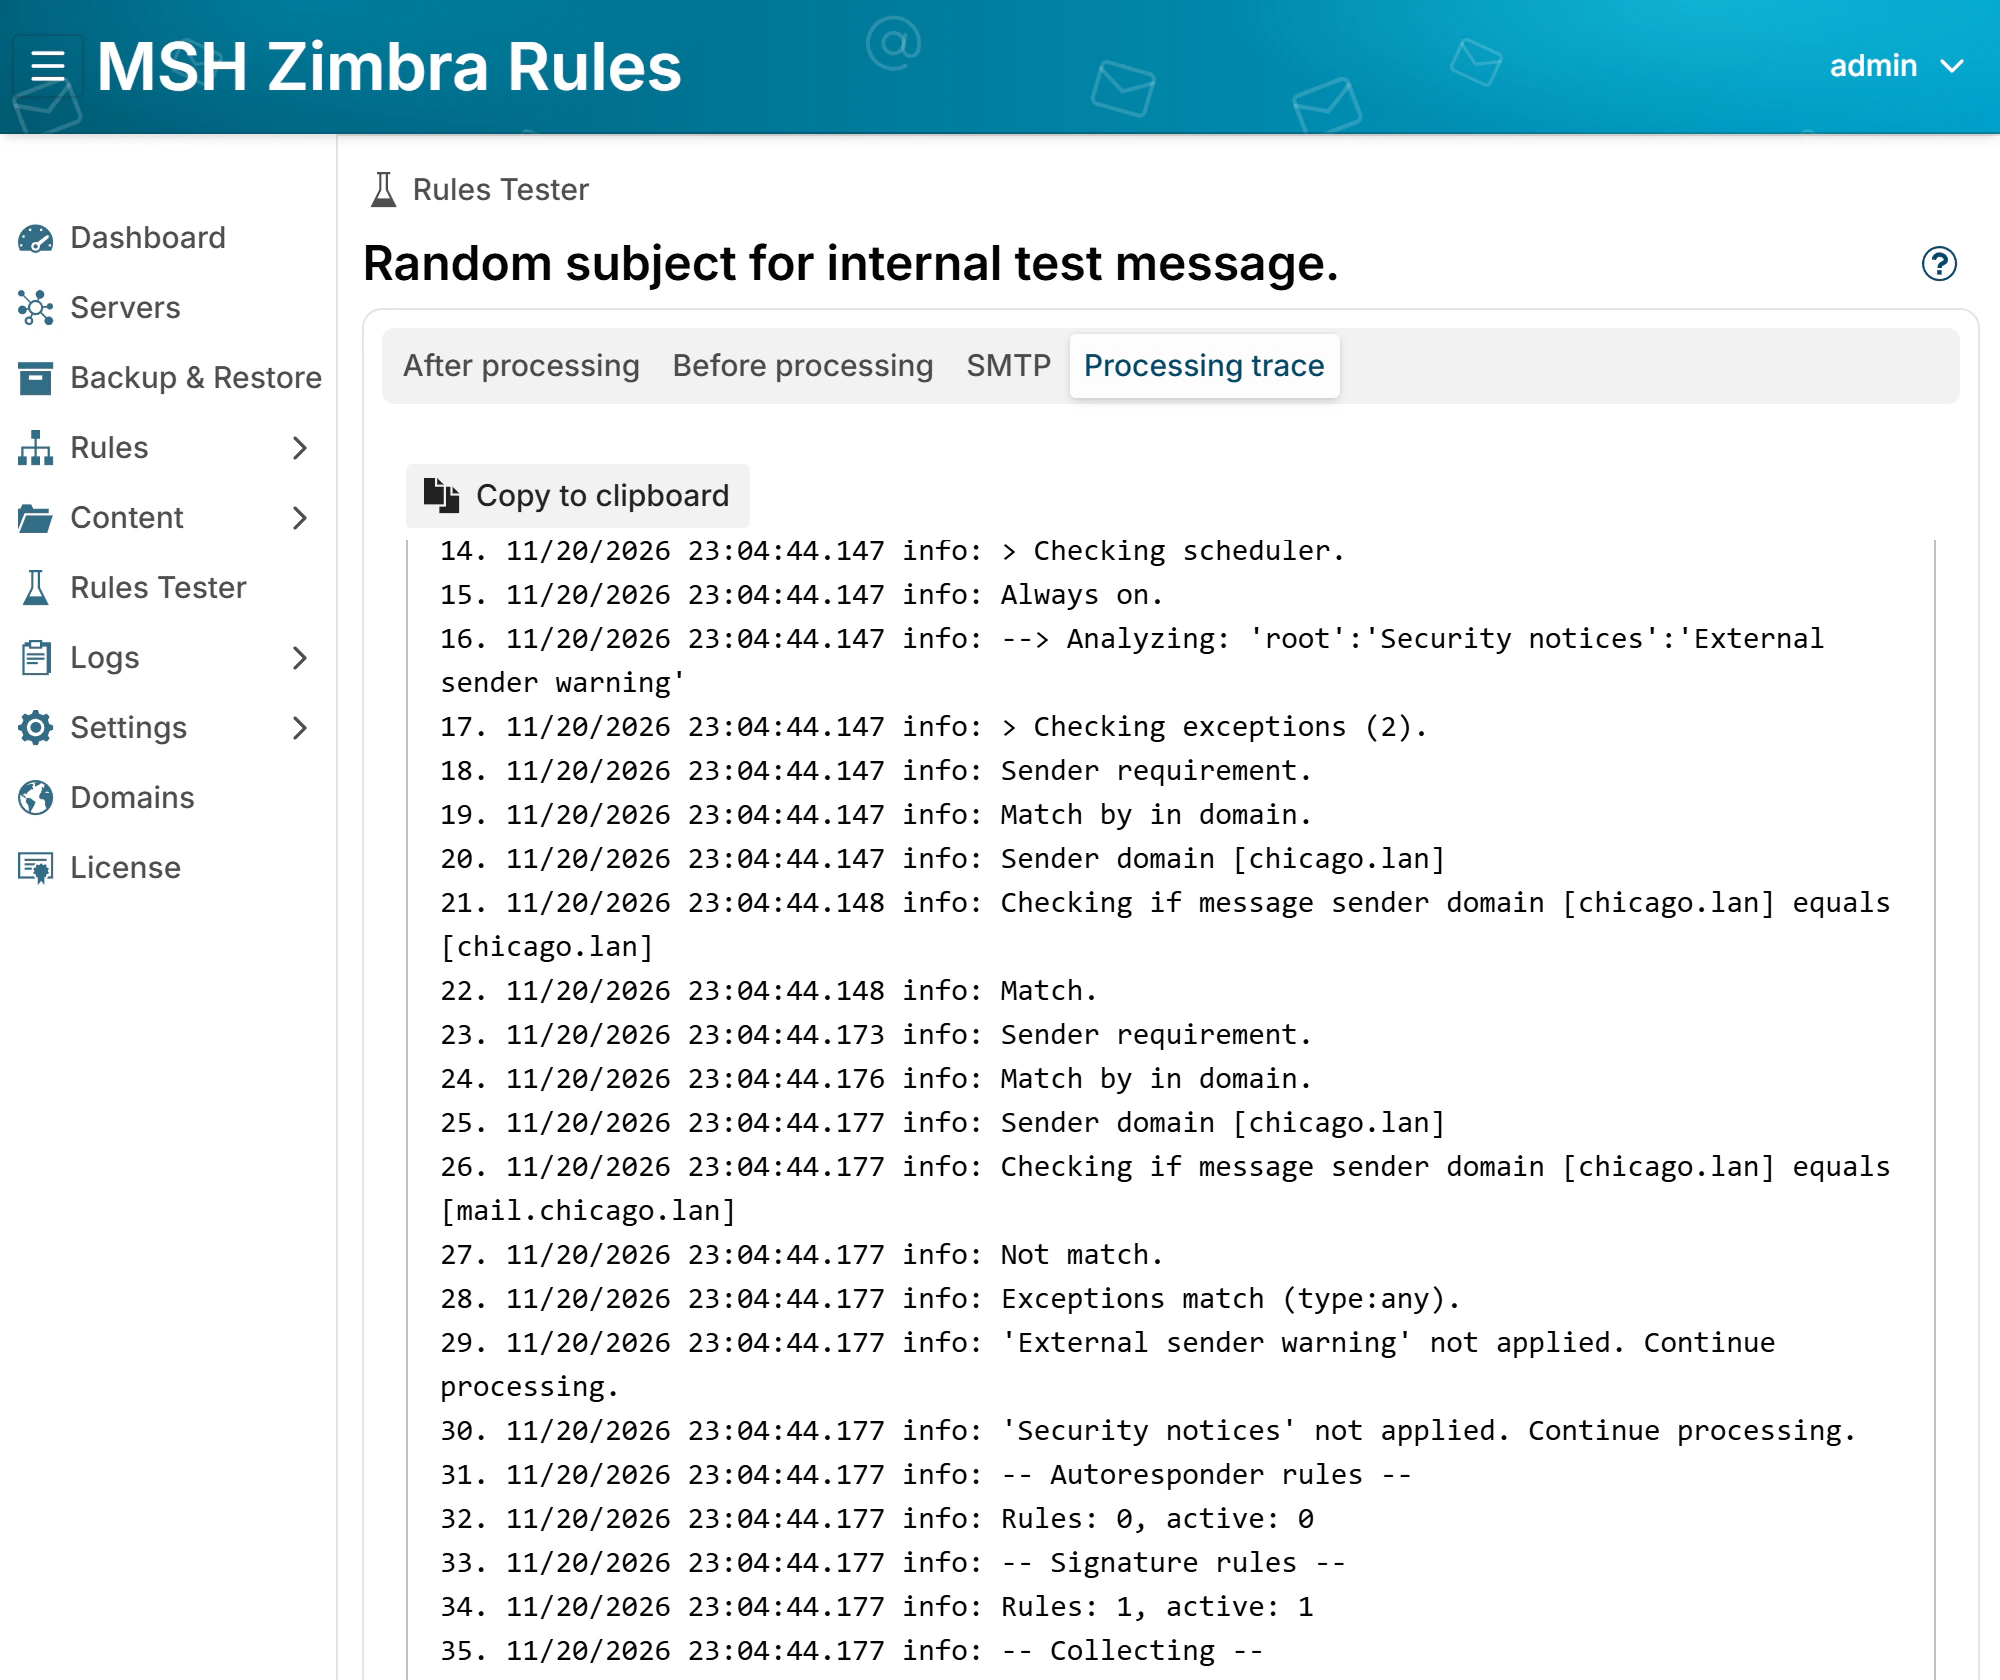
Then test Random internal..., a message between colleagues: the exception matches and the rule is not applied. To try a sender of each of your domains, choose Custom... and set From yourself.
Then send a real message from a personal webmail account to your own mailbox and open it in the web client. If the rule matched but no banner appears, the zimlets are not deployed for that user yet.
Make the warning smarter
A banner on every external message is a good start. A few additions make it more useful.
A red banner for mail that claims to be someone it is not
Turn on DKIM verification and add a second rule for a domain that signs all its mail, such as your bank or a key supplier:
- Conditions: Message sender
is
*@bank.example(wildcards), and DKIM result ofbank.exampleis not pass. - Action: Add message banner with the level Danger and the text
This message claims to come from Example Bank but is not signed by it. Do not pay or reply before you call them.
Only use this for domains that sign everything. Mailing lists and forwarders break the signatures of legitimate mail, so a failed signature alone is no proof of forgery. If both rules are in one group, set Next of the first one to Go to the next rule, so a message can get both notices.
Fewer banners, more attention
If most of what a mailbox receives is external, users stop seeing the banner within a
week. Add your closest partners as further exceptions, with Message sender, Email
address and a wildcard such as *@partner.example, or keep the banner for everyone and
save the red one above for what really matters.
Nobody can fake your banner
Anyone can send a message that already carries an X-MSH-Message-Notice header, for
example to show Verified internal sender in a banner that looks like yours. The milter
removes every such header before any rule runs, so the only notices users see are the
ones your rules added, see
Forged notices.
Limits worth knowing
- Only the Zimbra web client shows it. Outlook, phones and other IMAP or ActiveSync clients show the message without the banner. If many users read mail there, keep a subject marker or a disclaimer at the top of the body for them.
- A forged sender of your own domain gets no banner. The rule reads the
From:address, and a forger writes your domain there. Stopping such mail is the job of SPF, DKIM and DMARC records for your domains, enforced before the message is accepted. - Only new mail gets it. The notice is added when a message passes through the rules. Messages already in the mailboxes stay as they are.
- Conversation view has no tags in the list. The rows are conversations, not messages, so the sender tag shows only once a conversation is open.
Banner or subject marker?
| Subject marker | Disclaimer in the body | Banner and sender tag | |
|---|---|---|---|
| Changes the message | ✓ | ✓ | ✗ |
| Shown in every mail client | ✓ | ✓ | Zimbra web client only |
| Carried into replies and forwards | ✓ | ✓, quoted | ✗ |
| Visible in the message list | ✓ | ✗ | ✓, with the sender tag |
| Can link to your security guidelines | ✗ | ✓ | ✓ |
| Leaves the sender's DKIM signature valid | ✗ | ✗ | ✓ |
With DKIM verification on, the milter checks the signature before any rule changes the message, so a subject marker or a disclaimer does not make the message fail your own server's DKIM check.
If your users live in the Zimbra web client, the banner is the cleaner choice. If they do not, the two combine well: a banner for the web client and a short marker for everything else.
Related reading
- Message Notices - everything the zimlets show and where
- Add message banner and Add sender tag - every field of the two actions
- Tag External Mail in Zimbra with a Sieve Filter - the same idea as a subject marker, with no extra software
- MSH Zimbra Rules vs Sieve - which of the two to use when both could do the job
Want to try it on your own server? Start a free trial.